


3DPortraiture
momma bear gets a make over

let’s begin
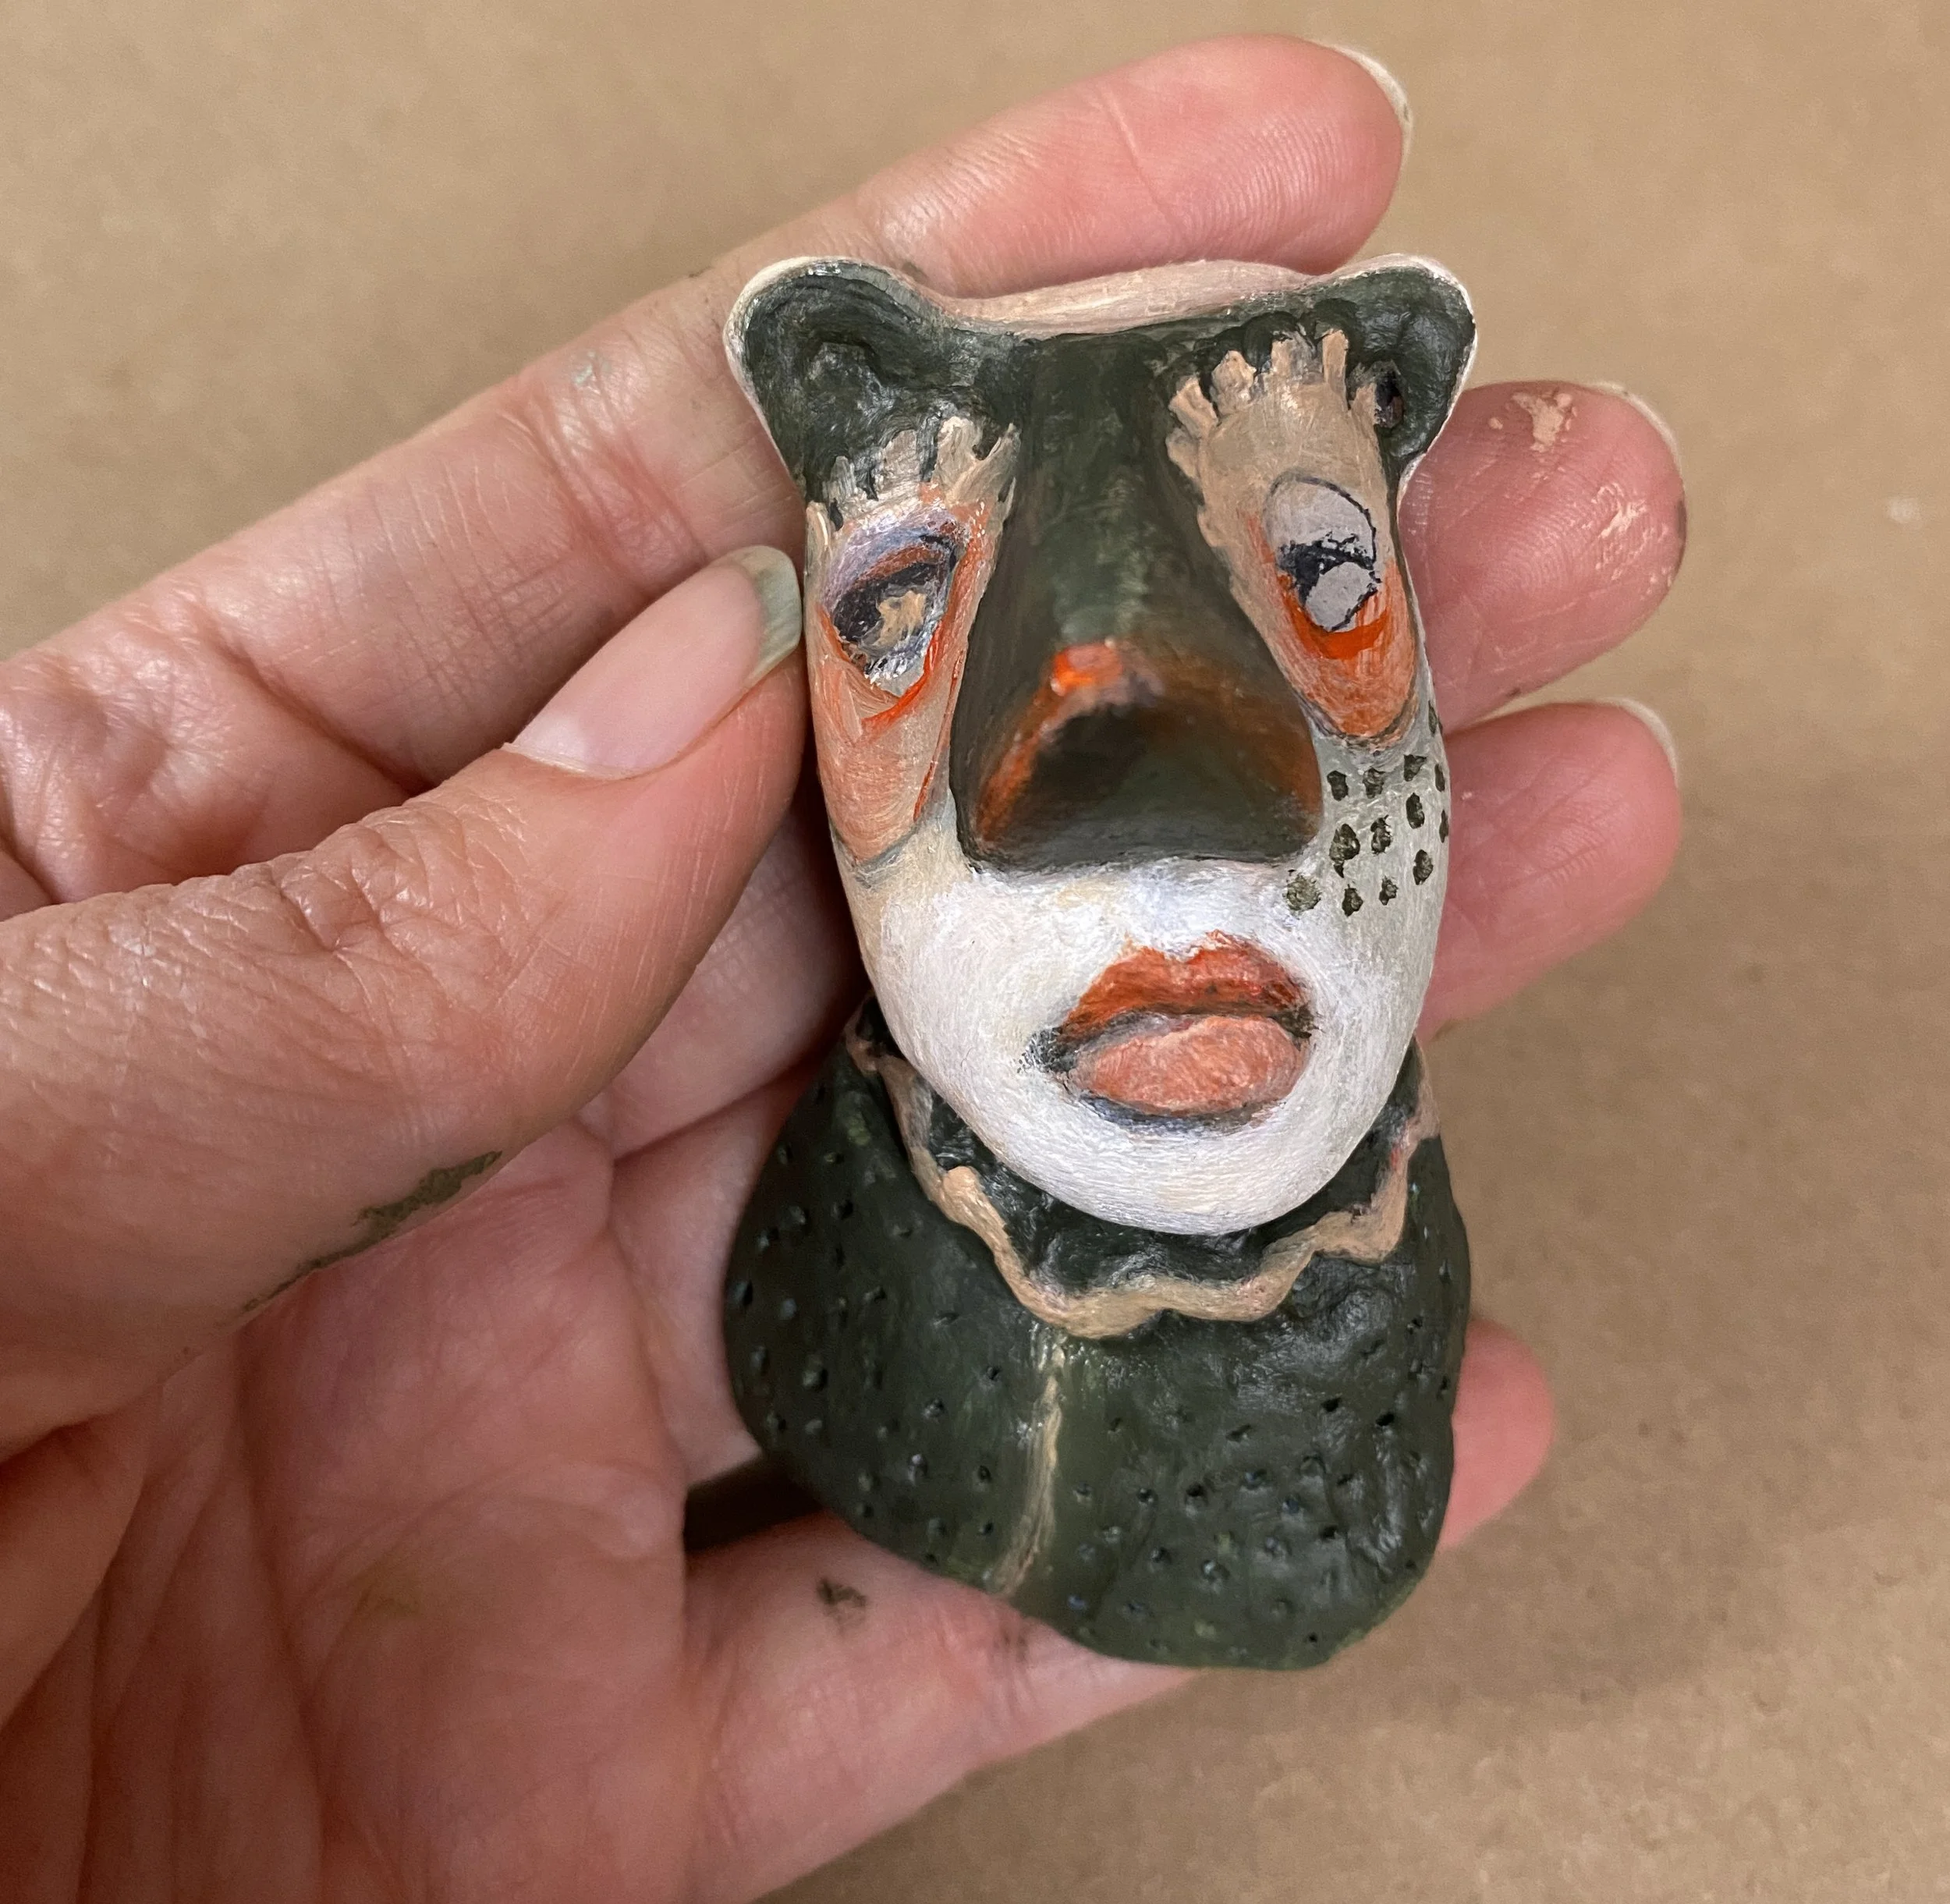
I had a little giggle to myself and I thought… “ahhh, momma bear is in town.”
This was a super fun and totally unexpected face to show up on my studio table. I’m not really one to do animals and, although most of my pieces all kind of start off a little on the masculine side, this one was more so than the others. When I looked down to assess the end product, I was delighted to see a little bear had appeared.
I have discovered through the years that I have a very innate and protective momma bear inside of me and sometimes, she comes out to visit, to which I am always a little taken aback. Where did she come from? I think as mothers, we all have a maternal bear inside of us.
I ended up loving this little character so much and what she represents to me with her wise, ever-knowing and equally fiercely protective temperament.
Lesson 1 - Clay face
LESSON 2
Remember, a little sandpaper, a little dust off with a damp cloth and a waterwash with a soft brush.
Allow the mostly dry and now we can go ahead and paint our piece.
supplies
Titanium White (Golden)
Paynes Grey (Systems 3)
Oxide Red (Maimeri)
Portrait Pink (Systems 3)
Light Blue (Amsterdam)
Yellow Ochre (Amsterdam)
Black Stabilo pencil and blue neocolor crayon
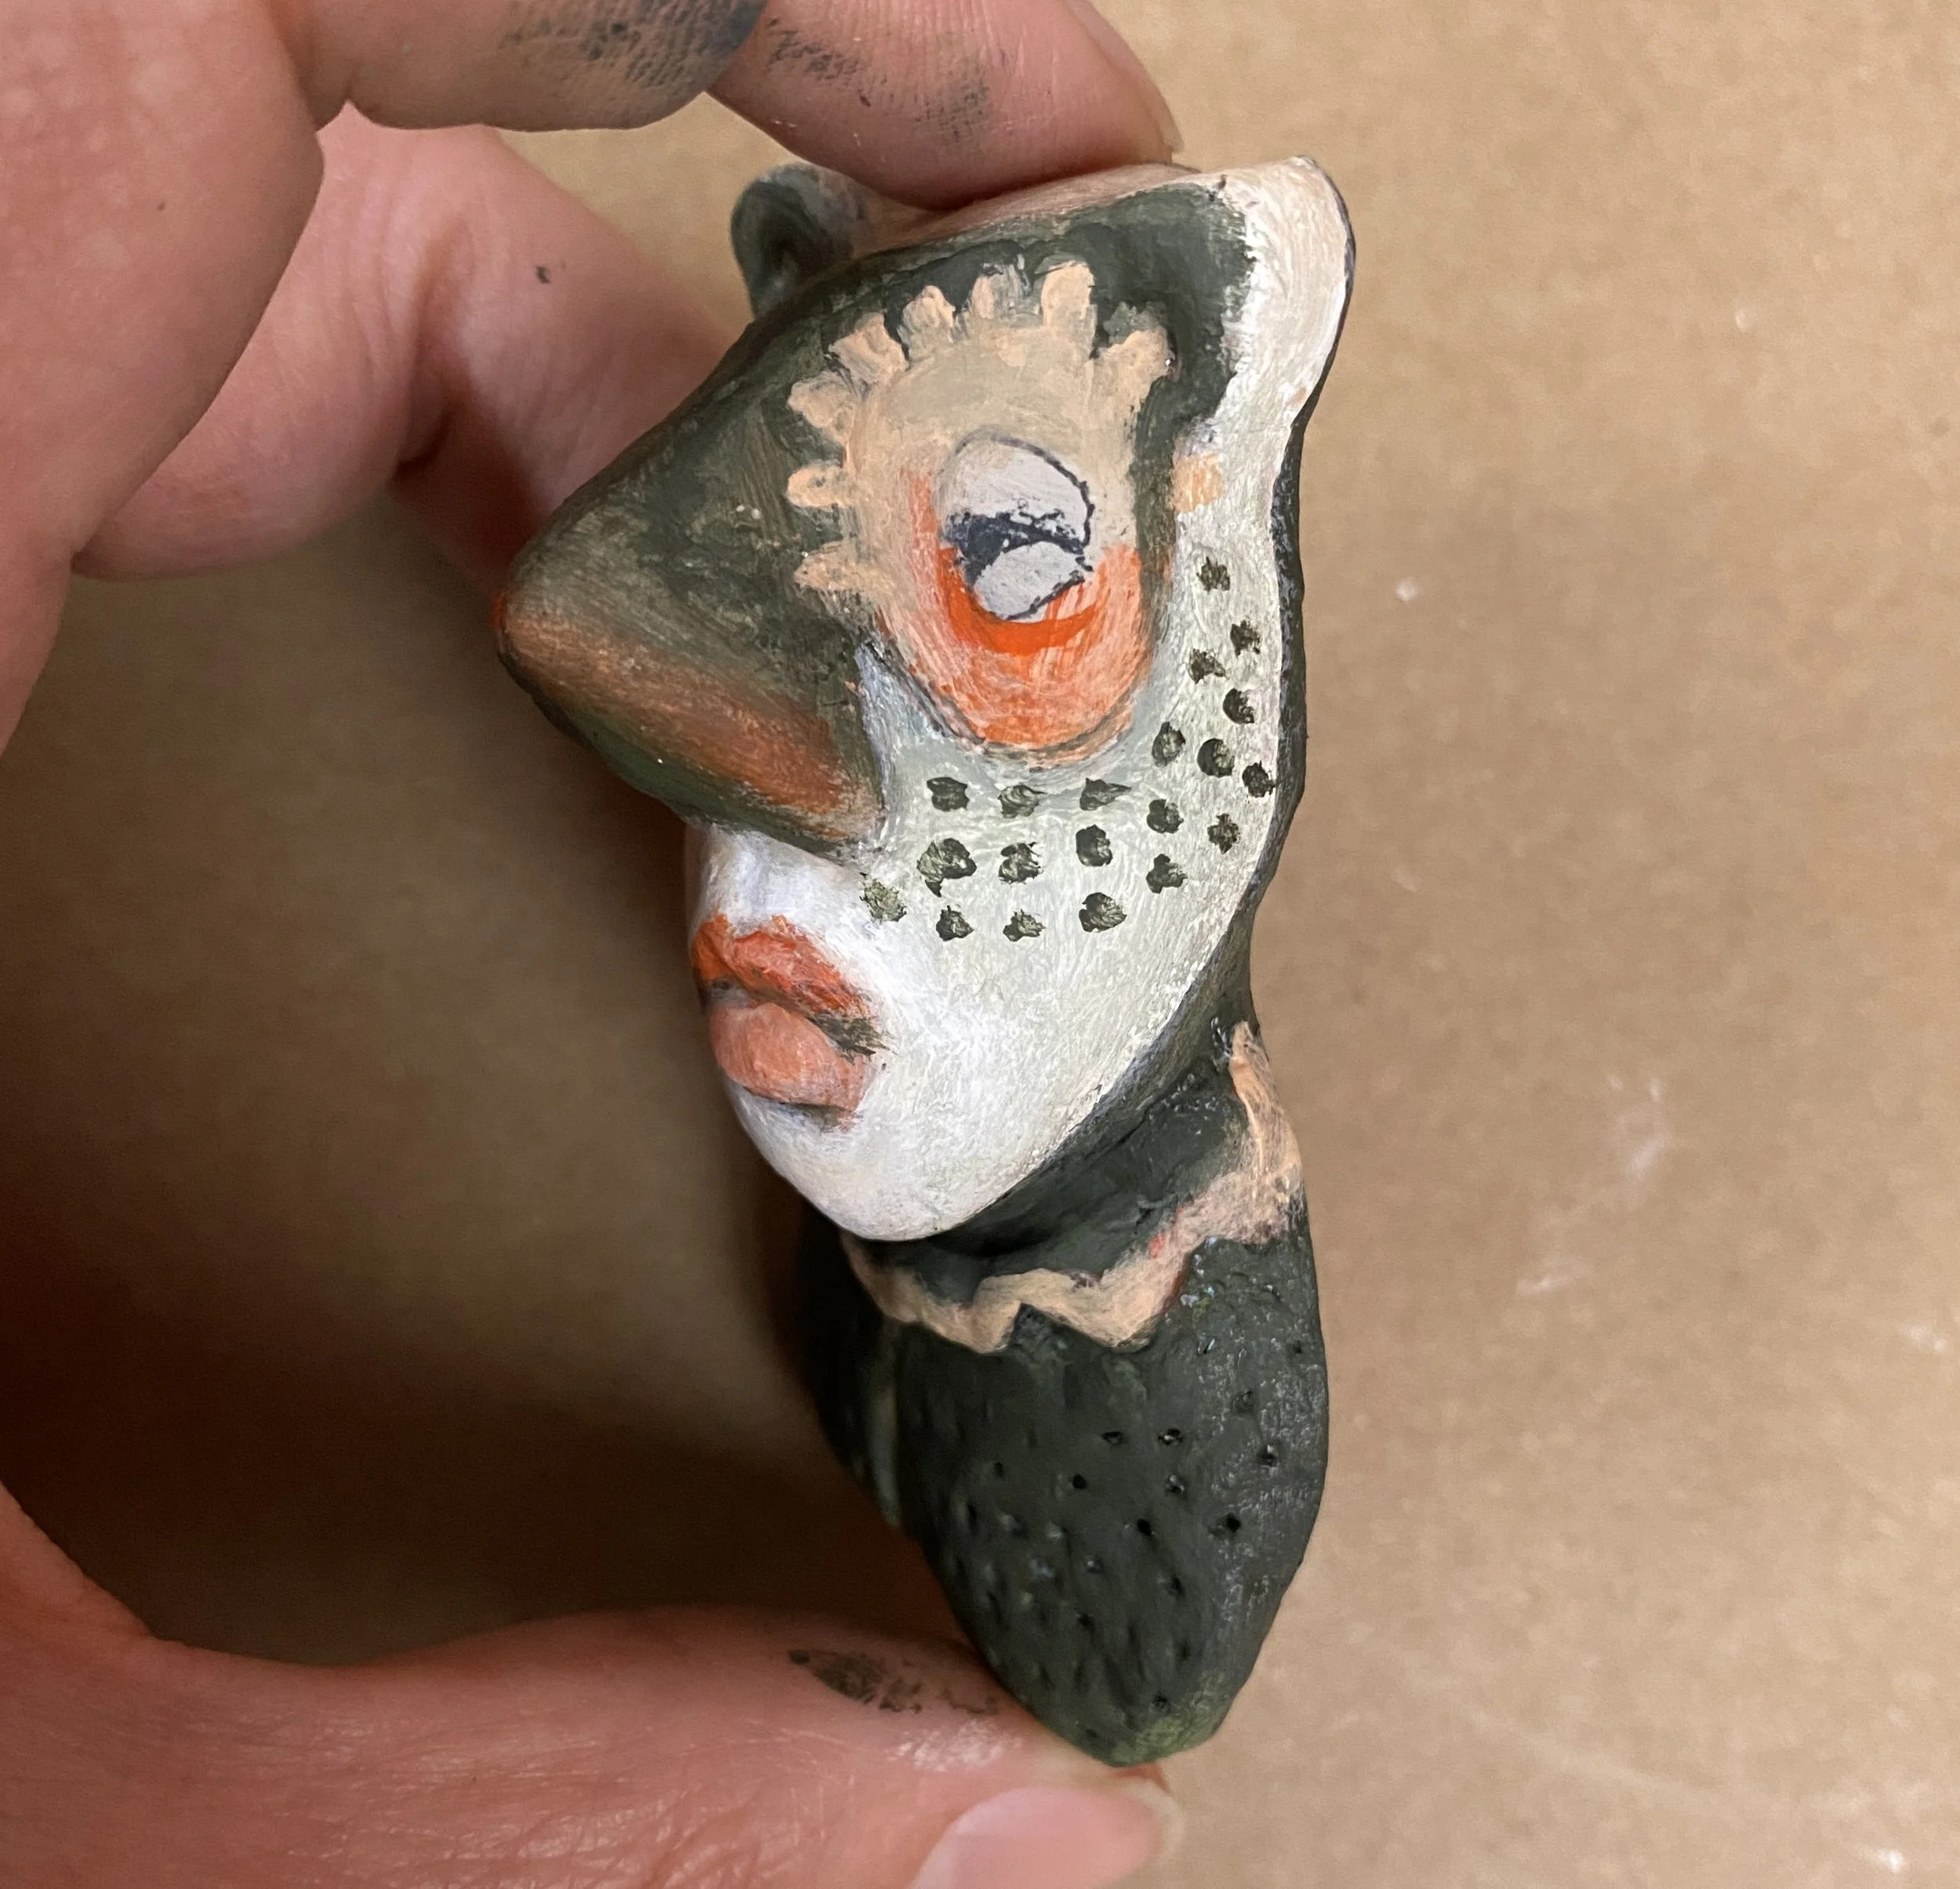
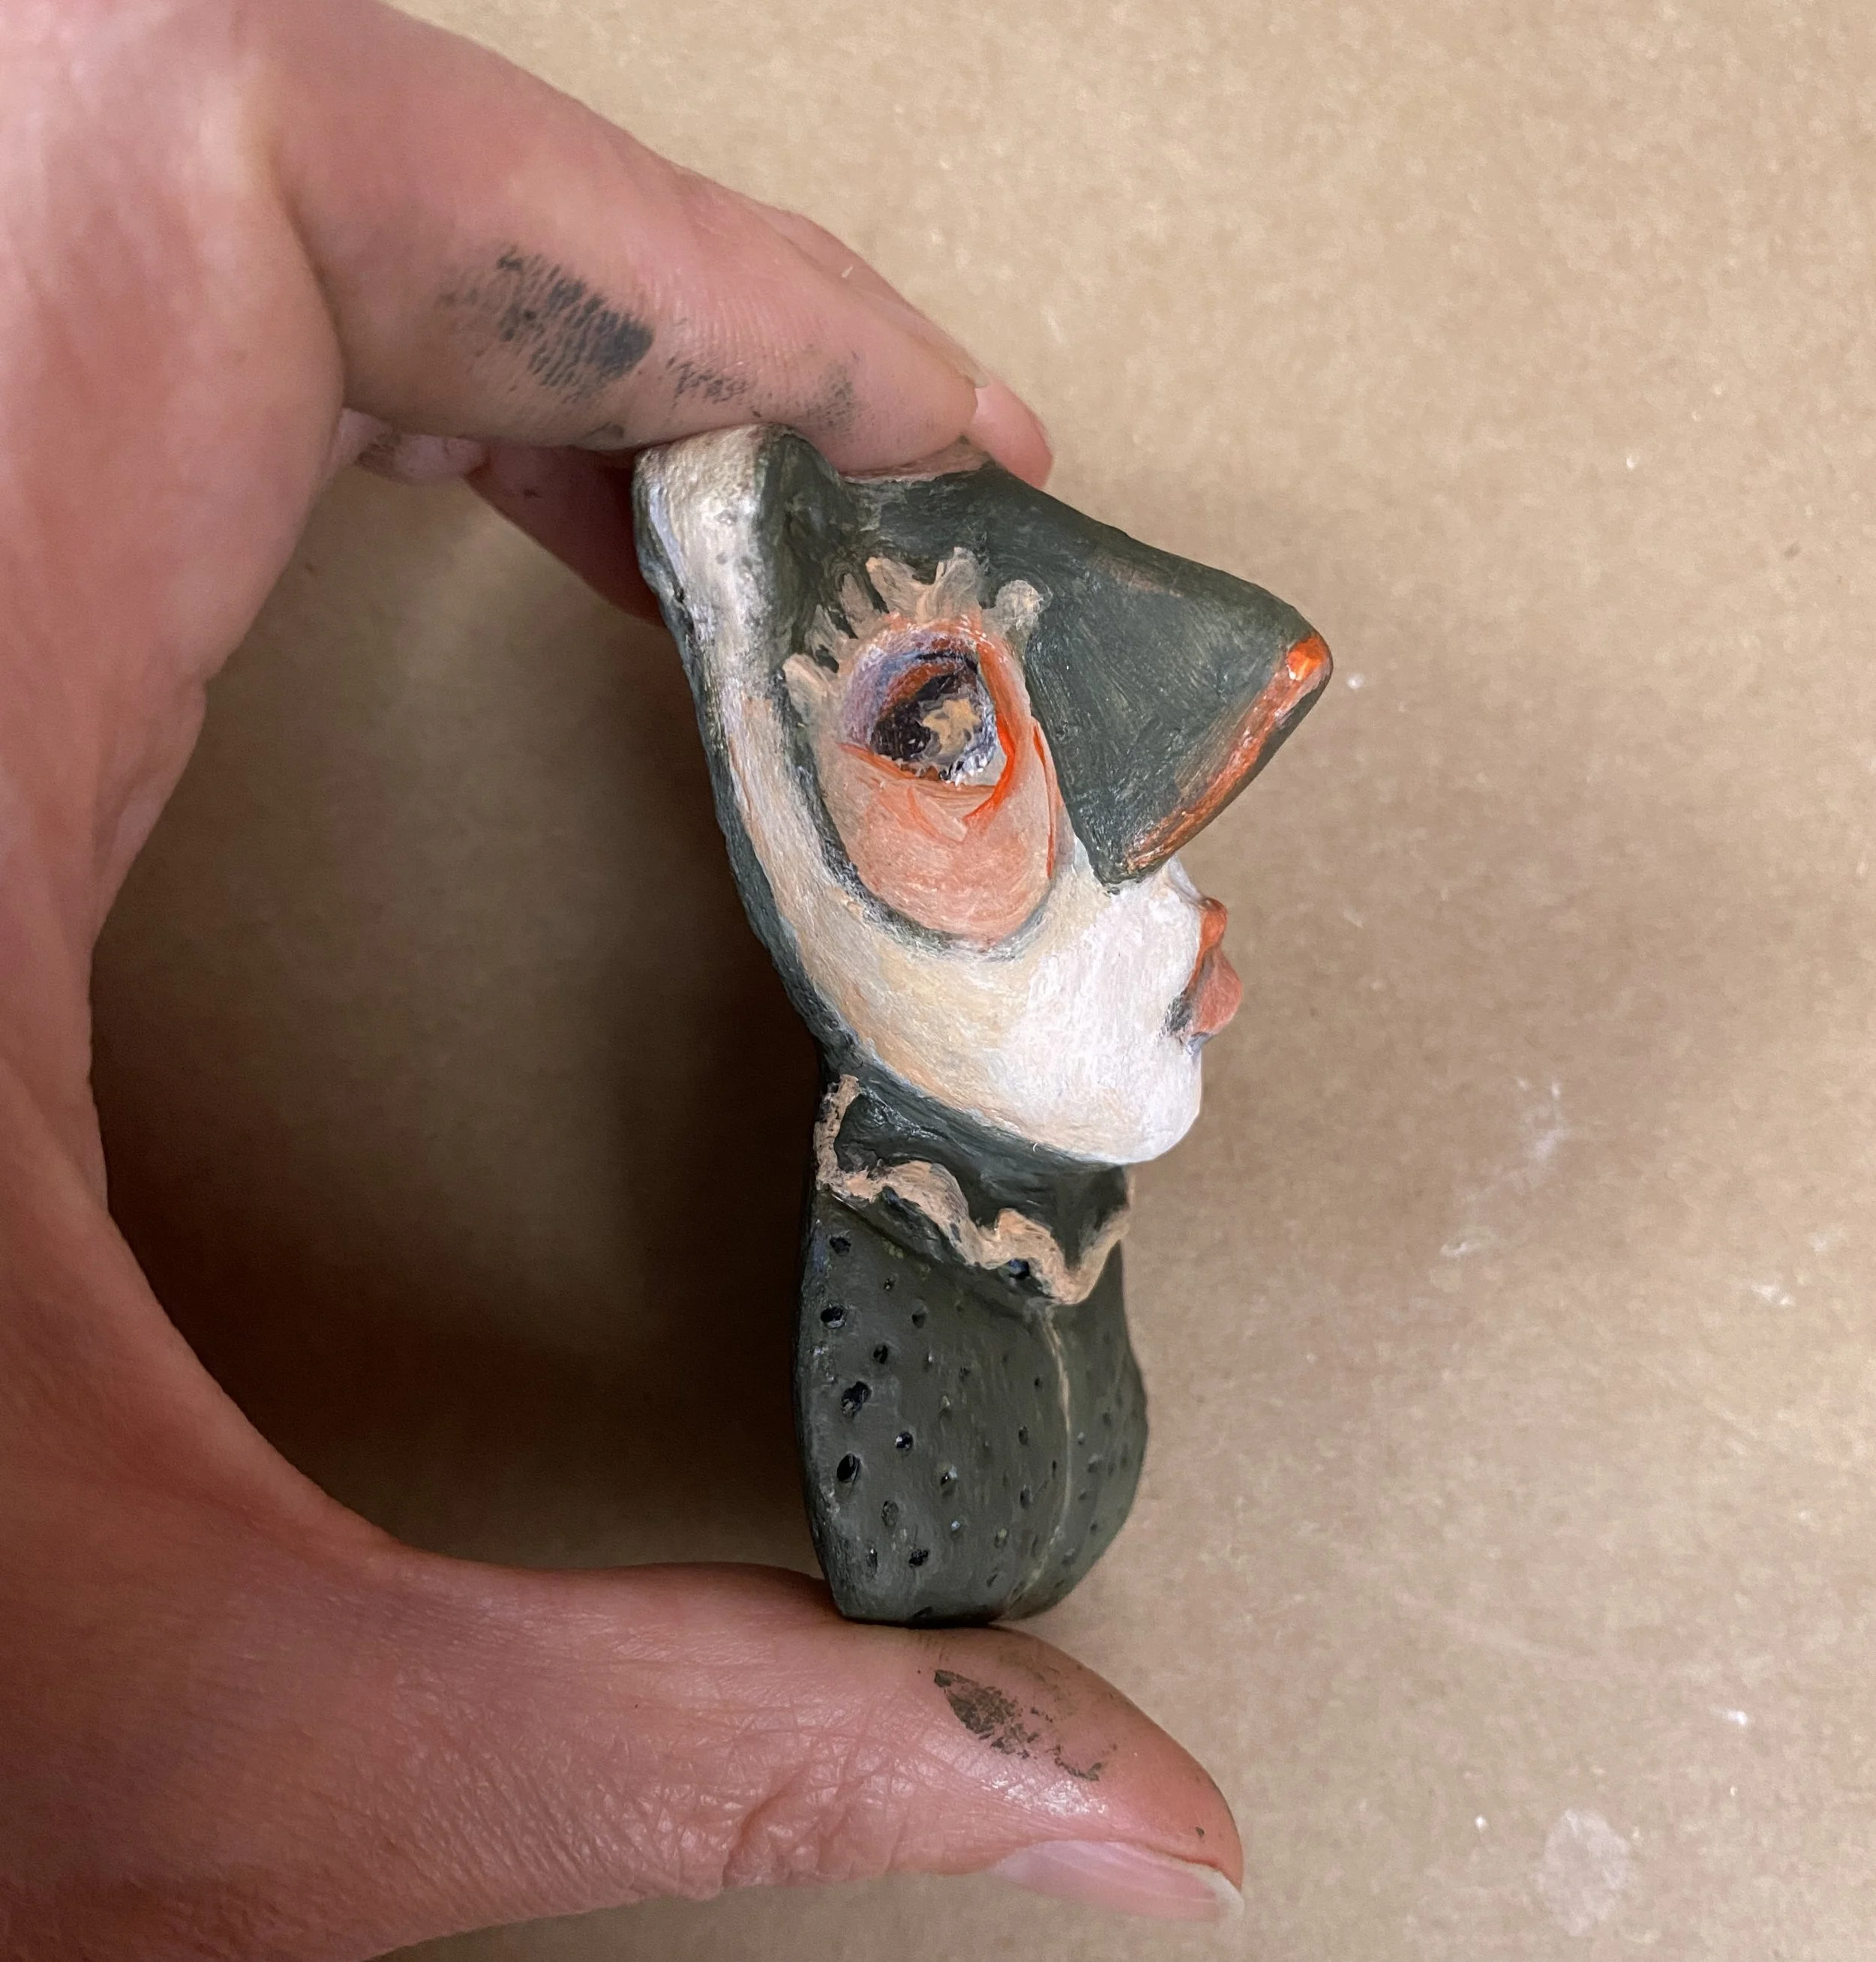
Lesson 2 - Painting Momma Bear
I spent time painting her for this tutorial and then ended up repainting her but didn’t film that.

LESSON 3
NOW Working with an already made face.
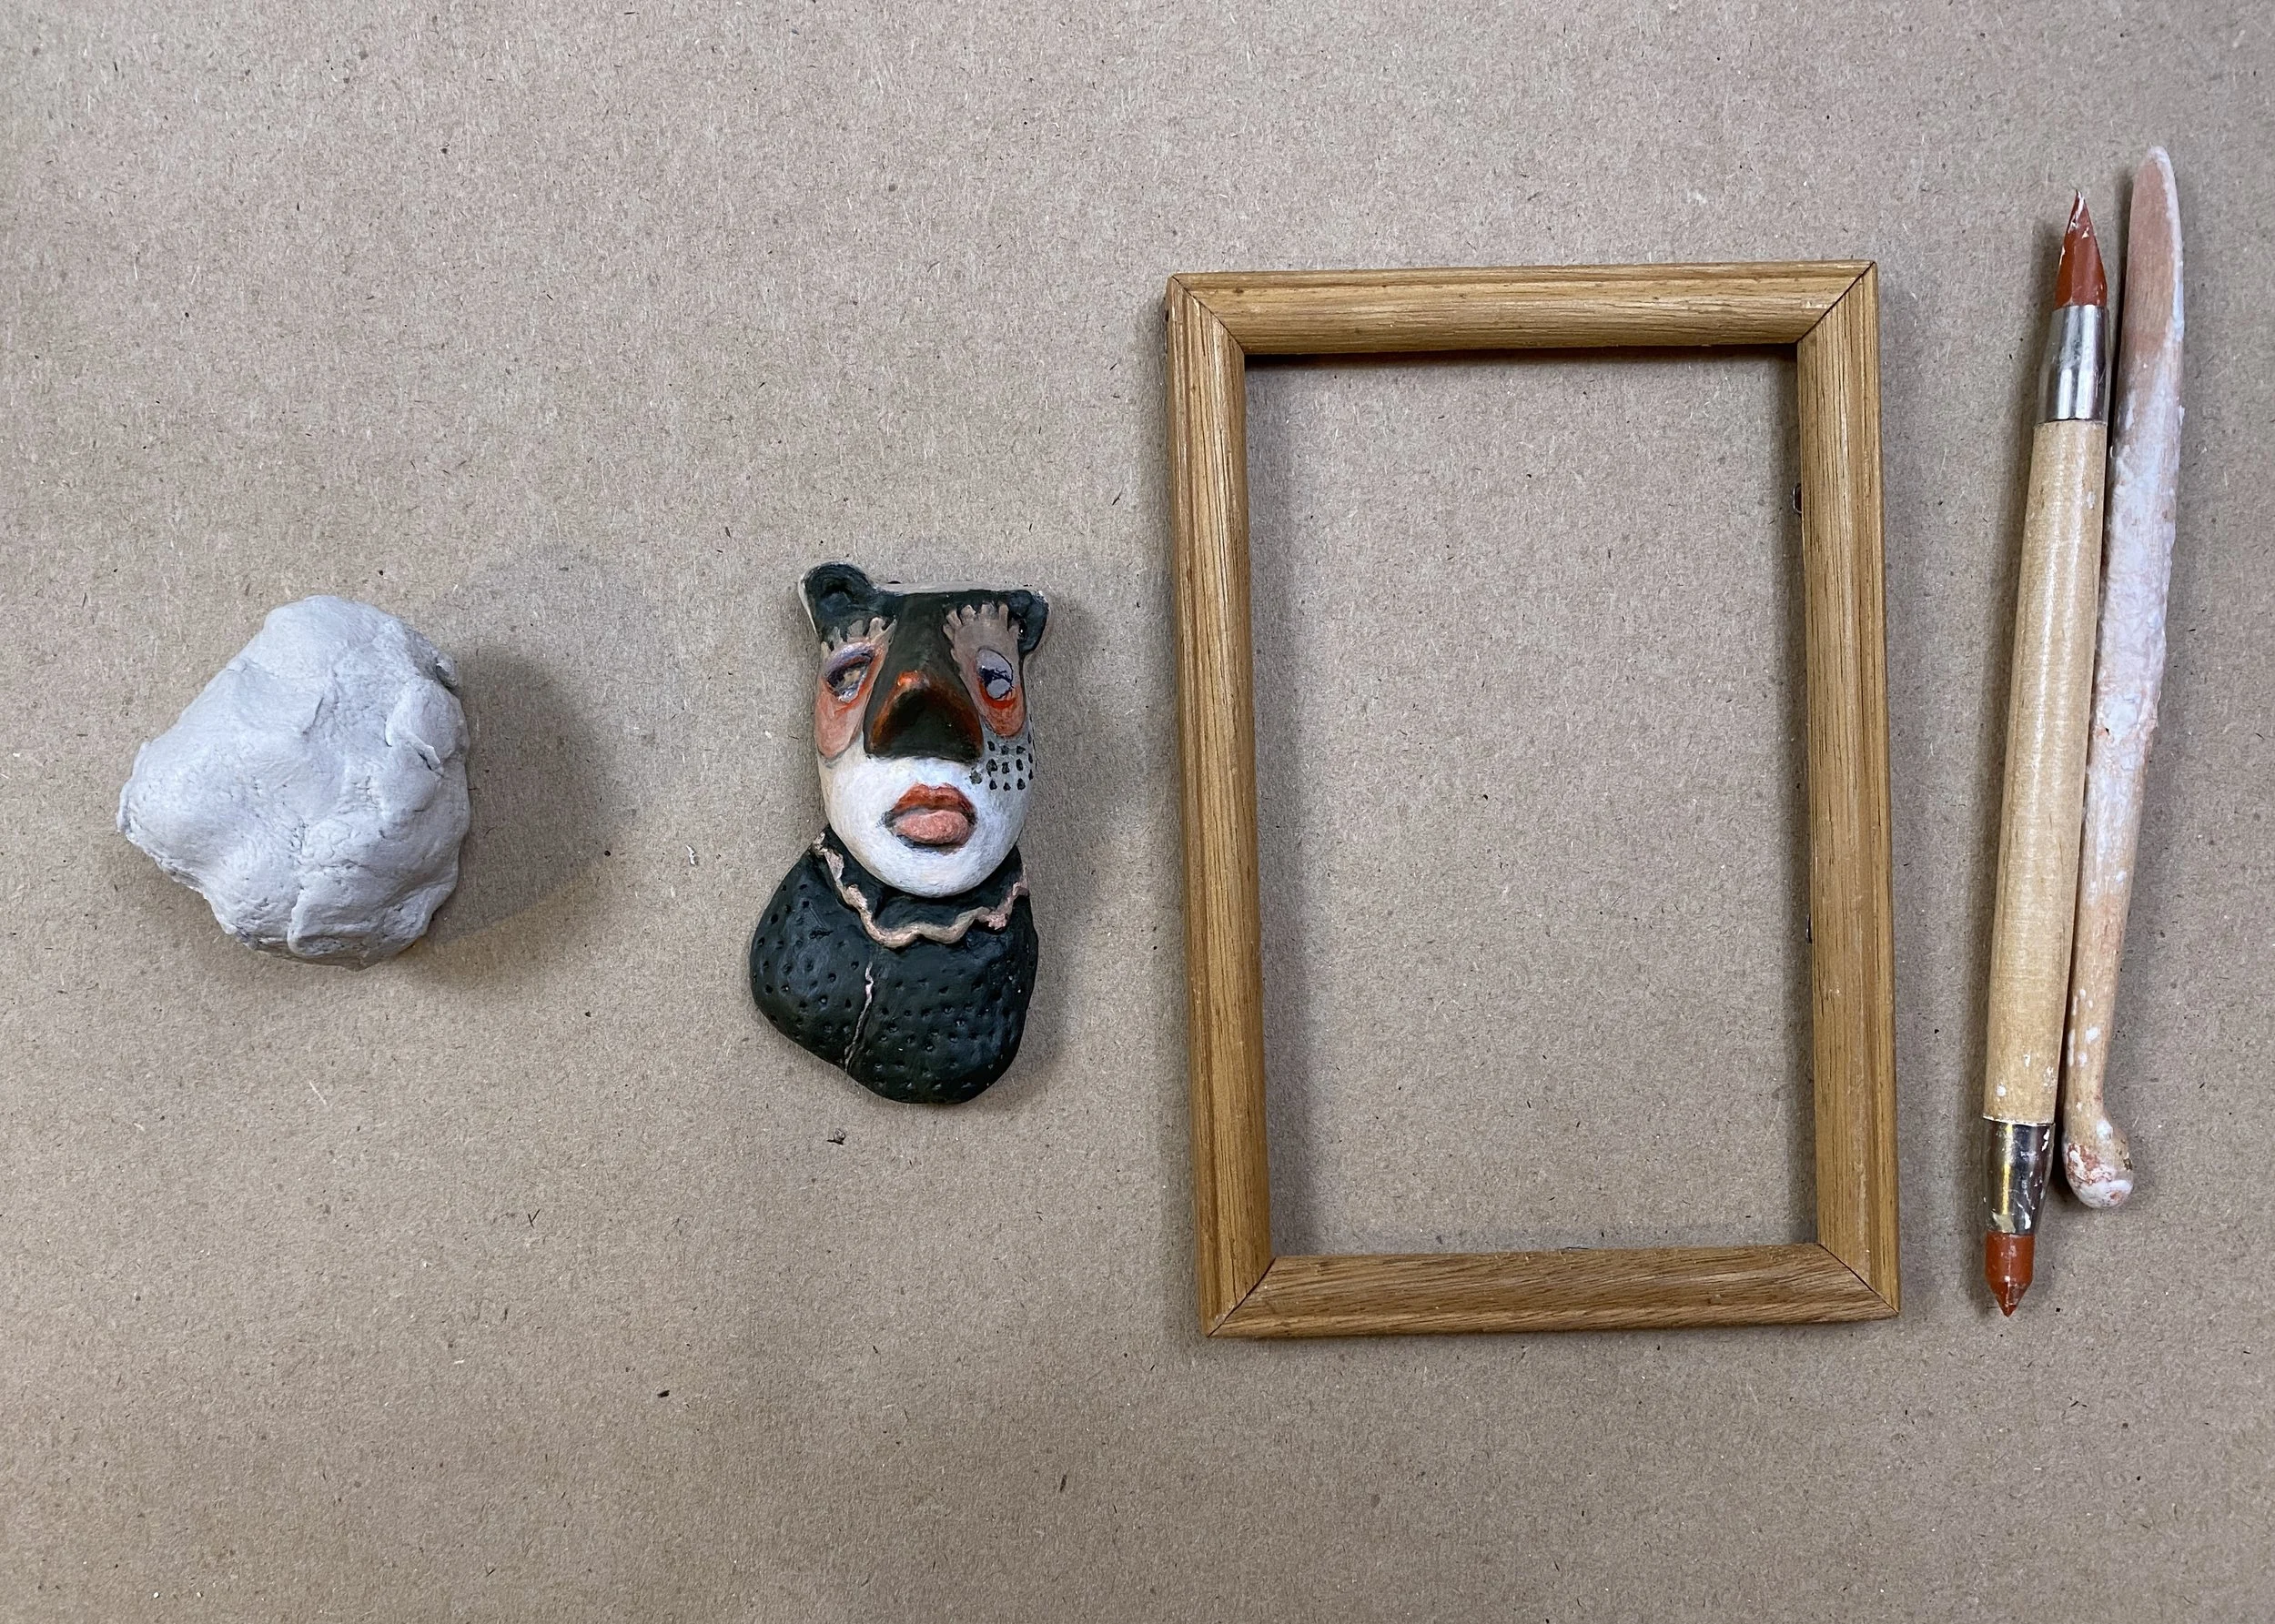
let’s begin
select your wooden frame
using masking tape, make sure your little frame is covered to minimize mess
lightly wet the inside the wooden frame.
Make sure you have a few handy clay tools available. I have my clay roller, my trusted “go-to” wooden tool and my porcupine quill for added details. Any other items that you love working with.

let’s continue
Start filling your space with clay.
Once you have a clean base, merge base with your already made face.
Lightly wet the rear of your clay face before merging
Continue to rebuild body, arms and hands
lesson 3- filling your frame with some momma-love
PAINTING
Colors / Paint I used
Titanium White (Golden)
Paynes Grey (Systems 3)
Burnt Green Earth (Sennelier)
Light Perm Red (Maimeri)
Portrait Pink (Systems 3)
Titanium Buff (Systems 3)
Yellow Ochre (Amsterdam)
Black Stabilo pencil and white & red neocolor crayon
lesson 4b - painting - part 1
lesson 4c - painting - part 2
varnish time
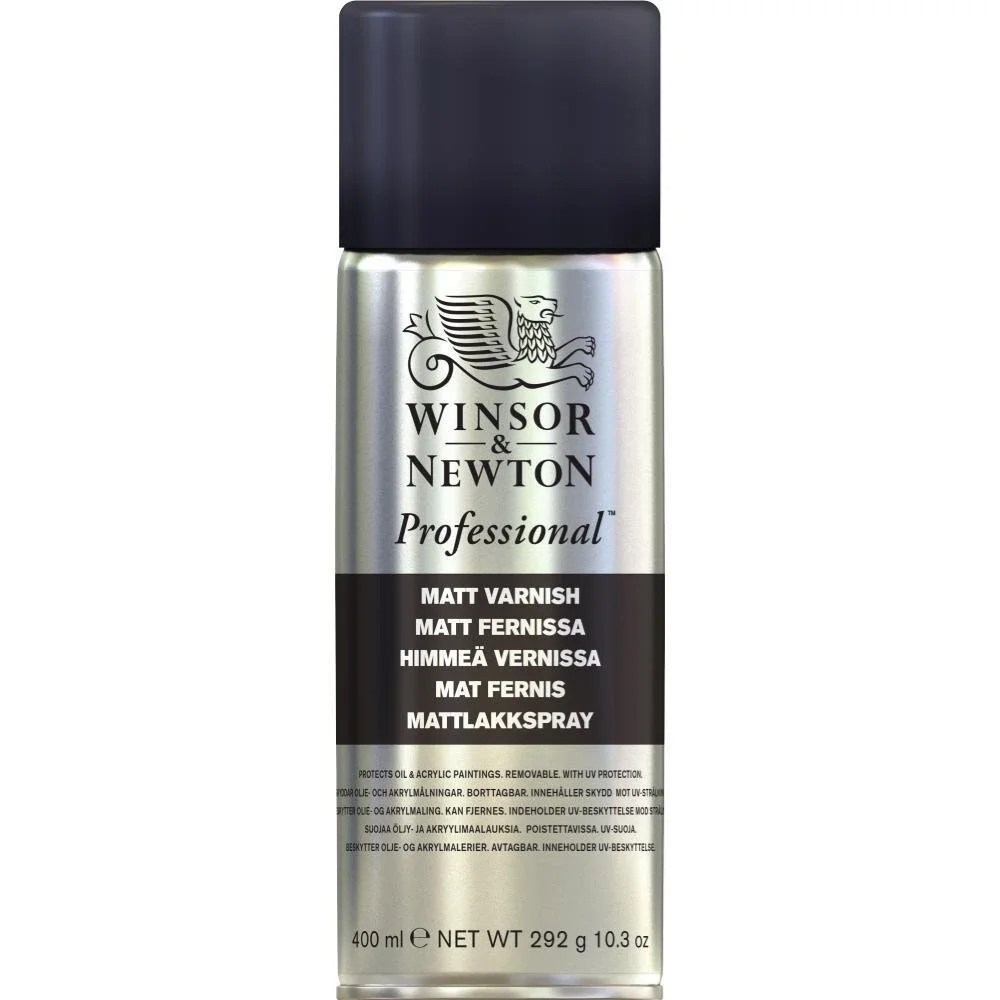
If you have been in my other classes, you will know that I use Winsor Newton Matt Varnish spray finish off all my pieces.
I adore the matt finish.
Please make sure you spray in a well ventilated room and with a mask on. Please use caution to ensure your safety.
Allow your painted piece to thoroughly dry before and after use.
