ComeClay3DwithMe
Lesson 1
Lesson 1
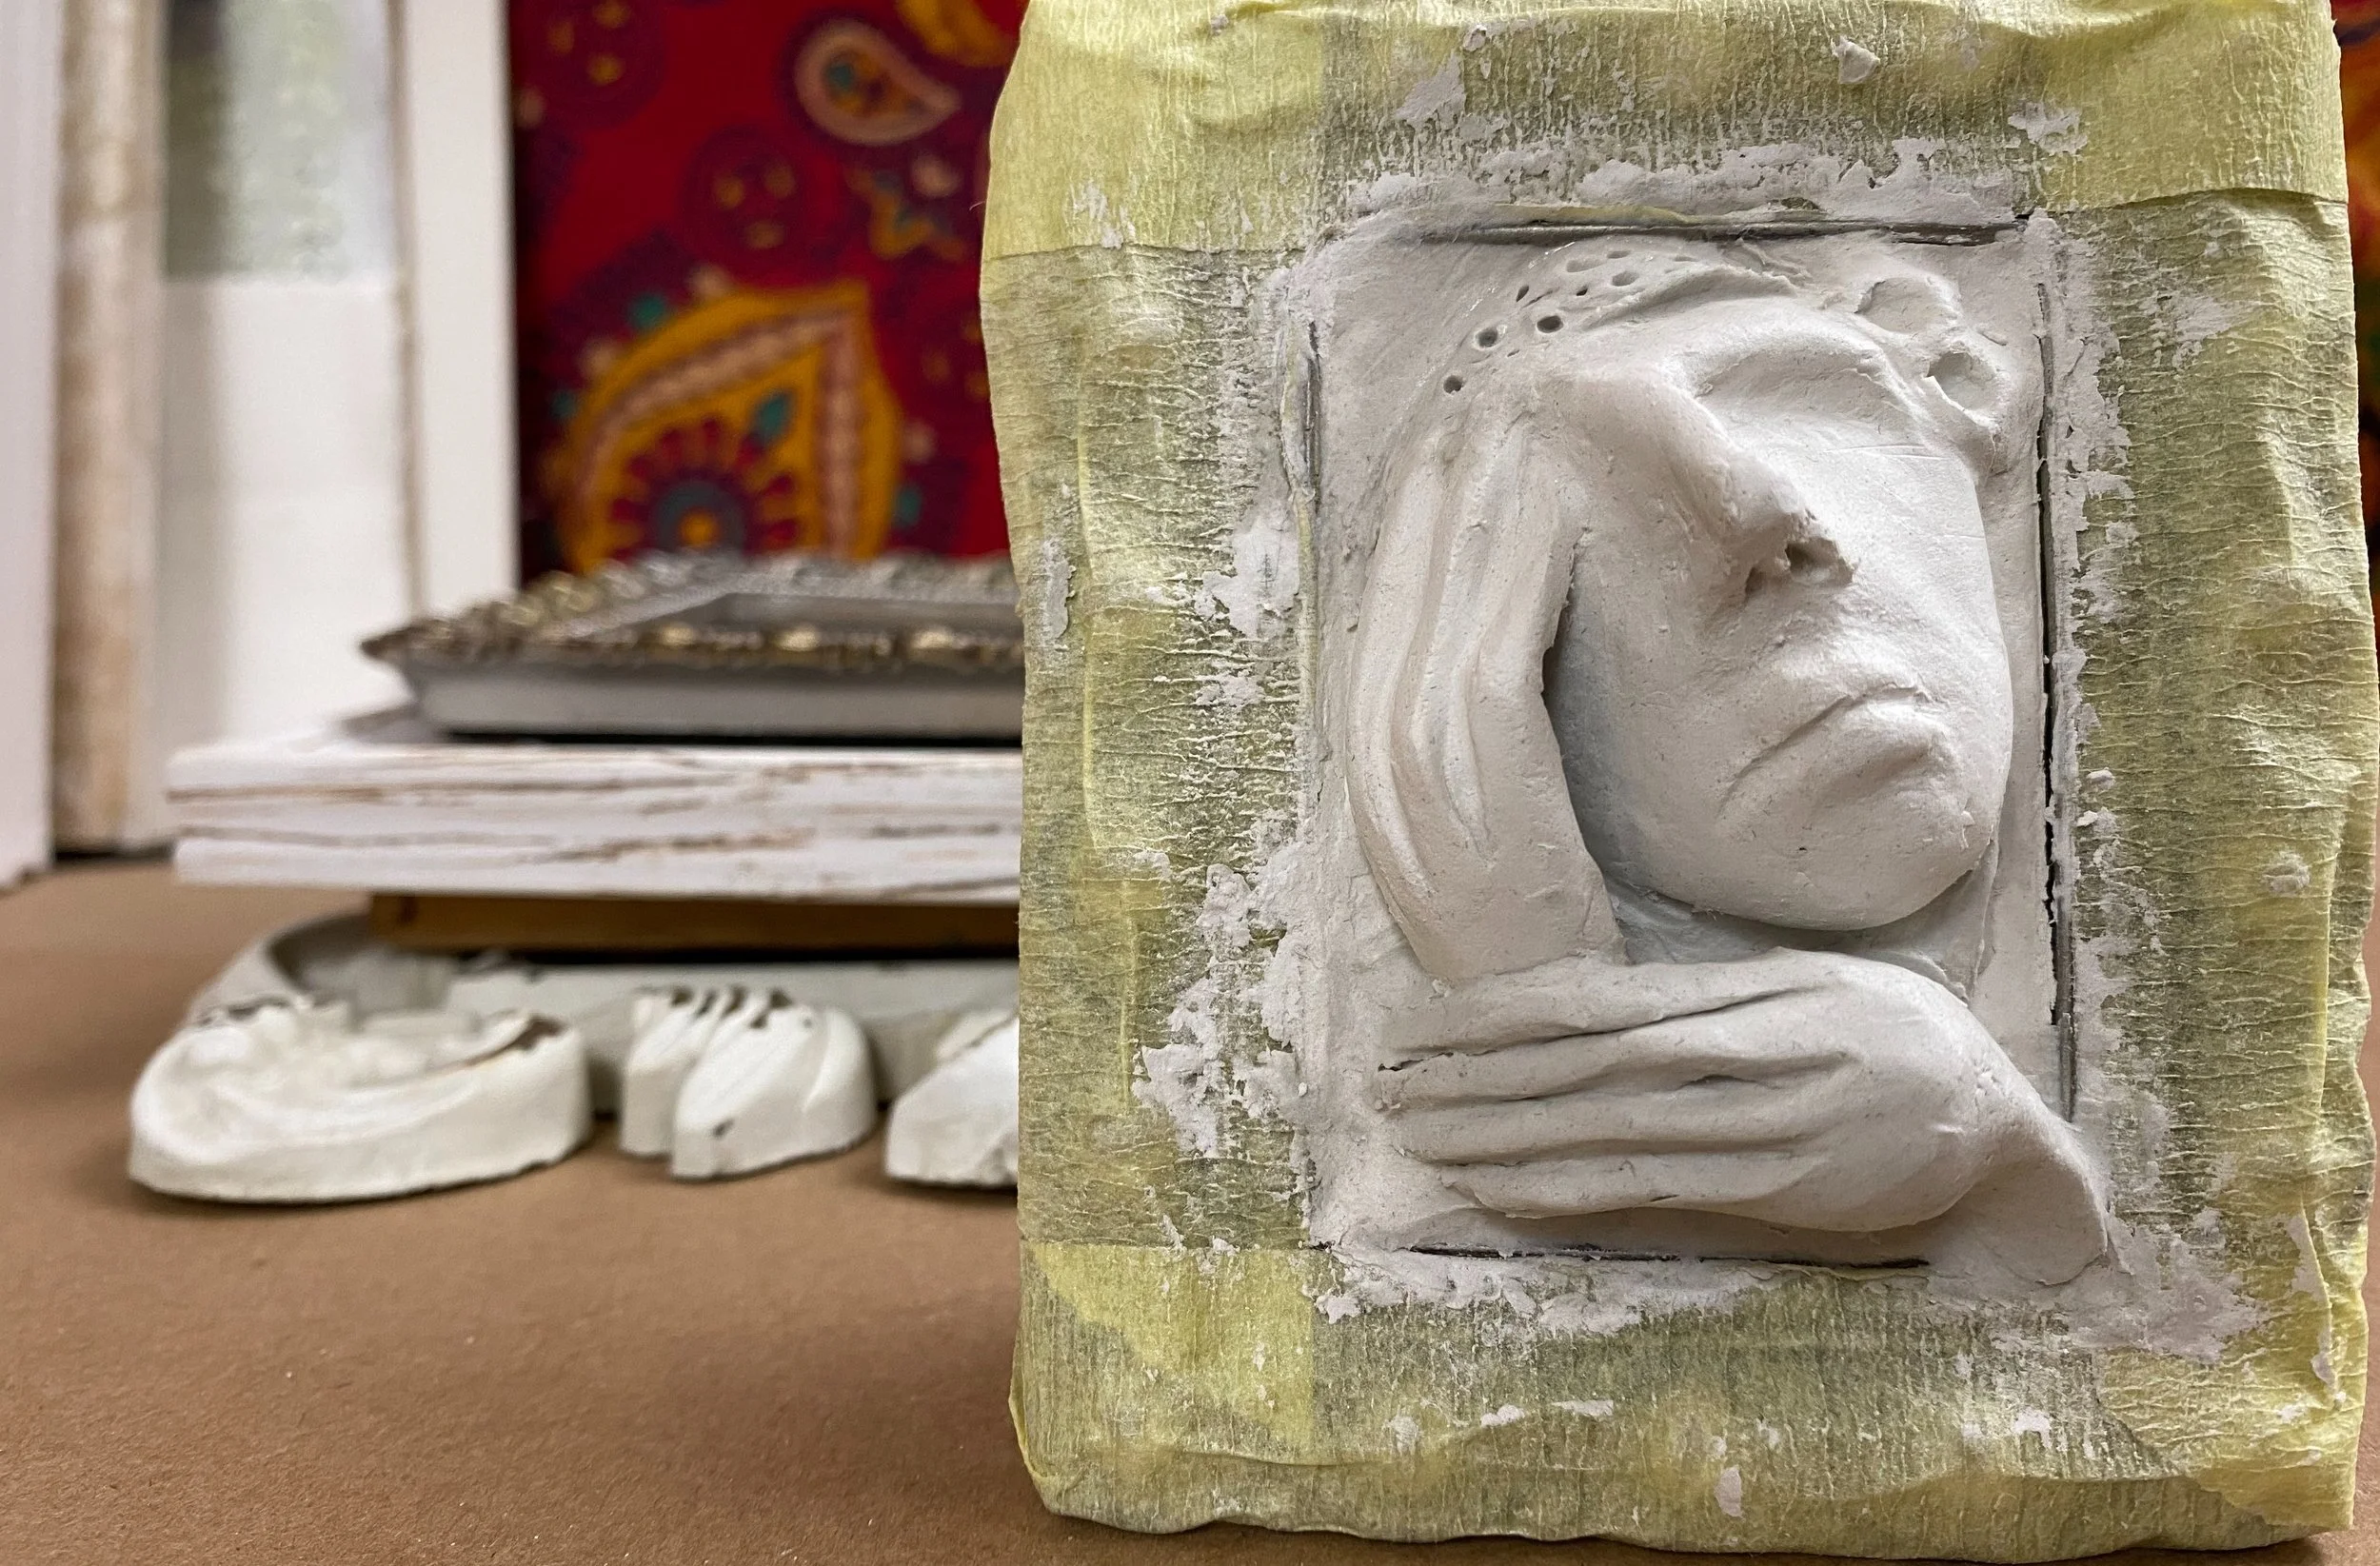
First tiny frame
Starting small… and filling your little frame with your first 3d soul.
I wanted to start small and with my smallest frame and show you how I filled this tiny little space with love with the tiniest little story. Even though the portal is small, much drama can be created in the most unlikely of spaces. I knew I would do this with the use of my expressive hands and perhaps the tilt of the head.
So in essence this lesson will be about filling space, a 3D face and expressive emotive hands…
Then continuing to find the rest of her story in the paint.


Starting with your small frame…
Make sure you have safely removed the glass.
Tape up your frame with masking tape.
Lightly wet your backing board of the frame and the inside edges of your metal / wooden frame.
Make sure you have a few handy clay tools available. I have my clay roller, my trusted “go-to” wooden tool and my porcupine quill for added details. Add any other items that you love working with.
Size: 3” x 4”
lesson 1a - filling your frame with love
expressive hands
If you have been following my work this year, you will know I have been working with expressive hands in my clay work and, I knew I wanted to continue with this feature, in my little frames. I spend a bit of time placing my character hands around her tiny face to add more emotion to slightly tilted head creating so much more expression and drama to this piece.
lesson 1b - expressive hands
sanding, cleaning up and adding on

Now that my clay piece is dry, I sand away the rough areas, fix some shape and form issues with my sandpaper and see if there is anything that needs tweaking and rebuilding. I can see my hands need a bit more care, hands take practice but that being said, I do tend to work very simply. Sometimes when it’s dry for a second round, I continue to build up the length and thickness of each finger and make sure the form is good. I also check that there is no shrinkage from the side of you frame. This can happen.
Remember what I always say… painting covers a multitude of sins - by sins I mean little sculpting errors or imperfections. If there are a few mistakes in the clay, the paint can create the illusion of the completed picture, shape and form.
It’s also good to know that with paperclay, you can work in phases and stages. Sometimes it’s better to wait for phase one to dry before you add on because you have a surface area to push back on as you are adding new elements. You can also cut away pieces you no longer want, sand, re-wet an area and add your new clay. Making sure your wooden clay tool is wet enough. You might need a kind and of a slip consistency to get your new wet clay to adhere.
lesson 1c - sanding, cleaning and adding on
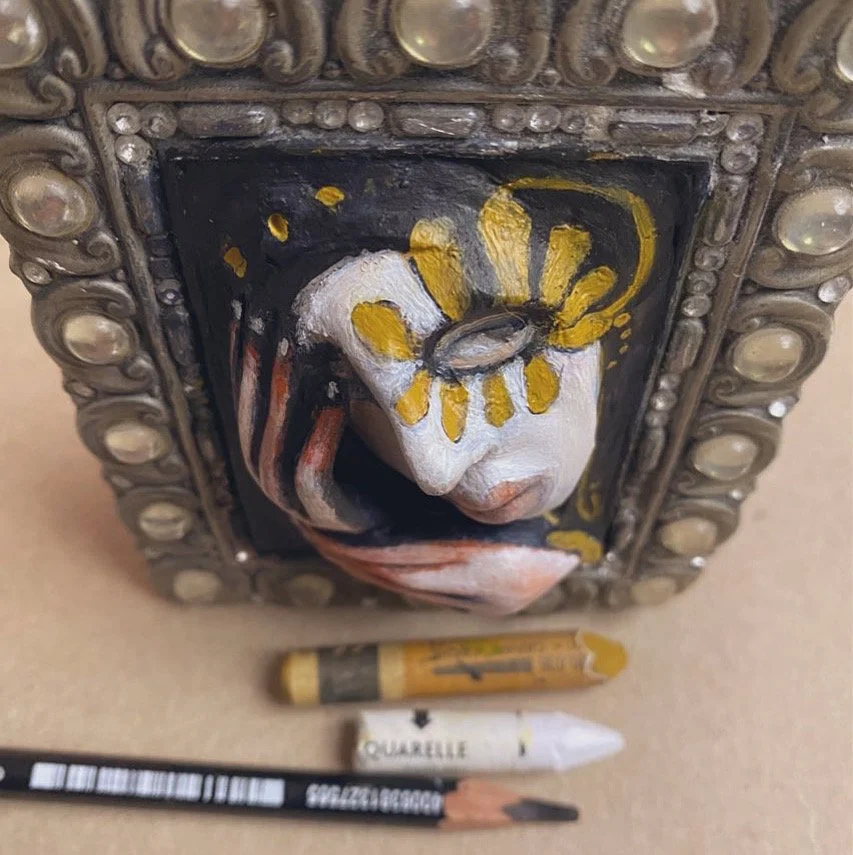
painting
Wow that was pretty brutal.
Not really how I wanted my first lesson to go but I really struggled to find this sweet girl and it took me many hours for her to finally appear. It felt like a big mess most of the way through. I wish I could say I always have these beautifully curated videos for you but it’s utterly vulnerable to show you how long and deep I was in the ugly stage. I did cut out a lot of the excess footage to spare you some of that and I am glad to report that in the final painting video, we resolved most of our issues.
Colors / Paint I used
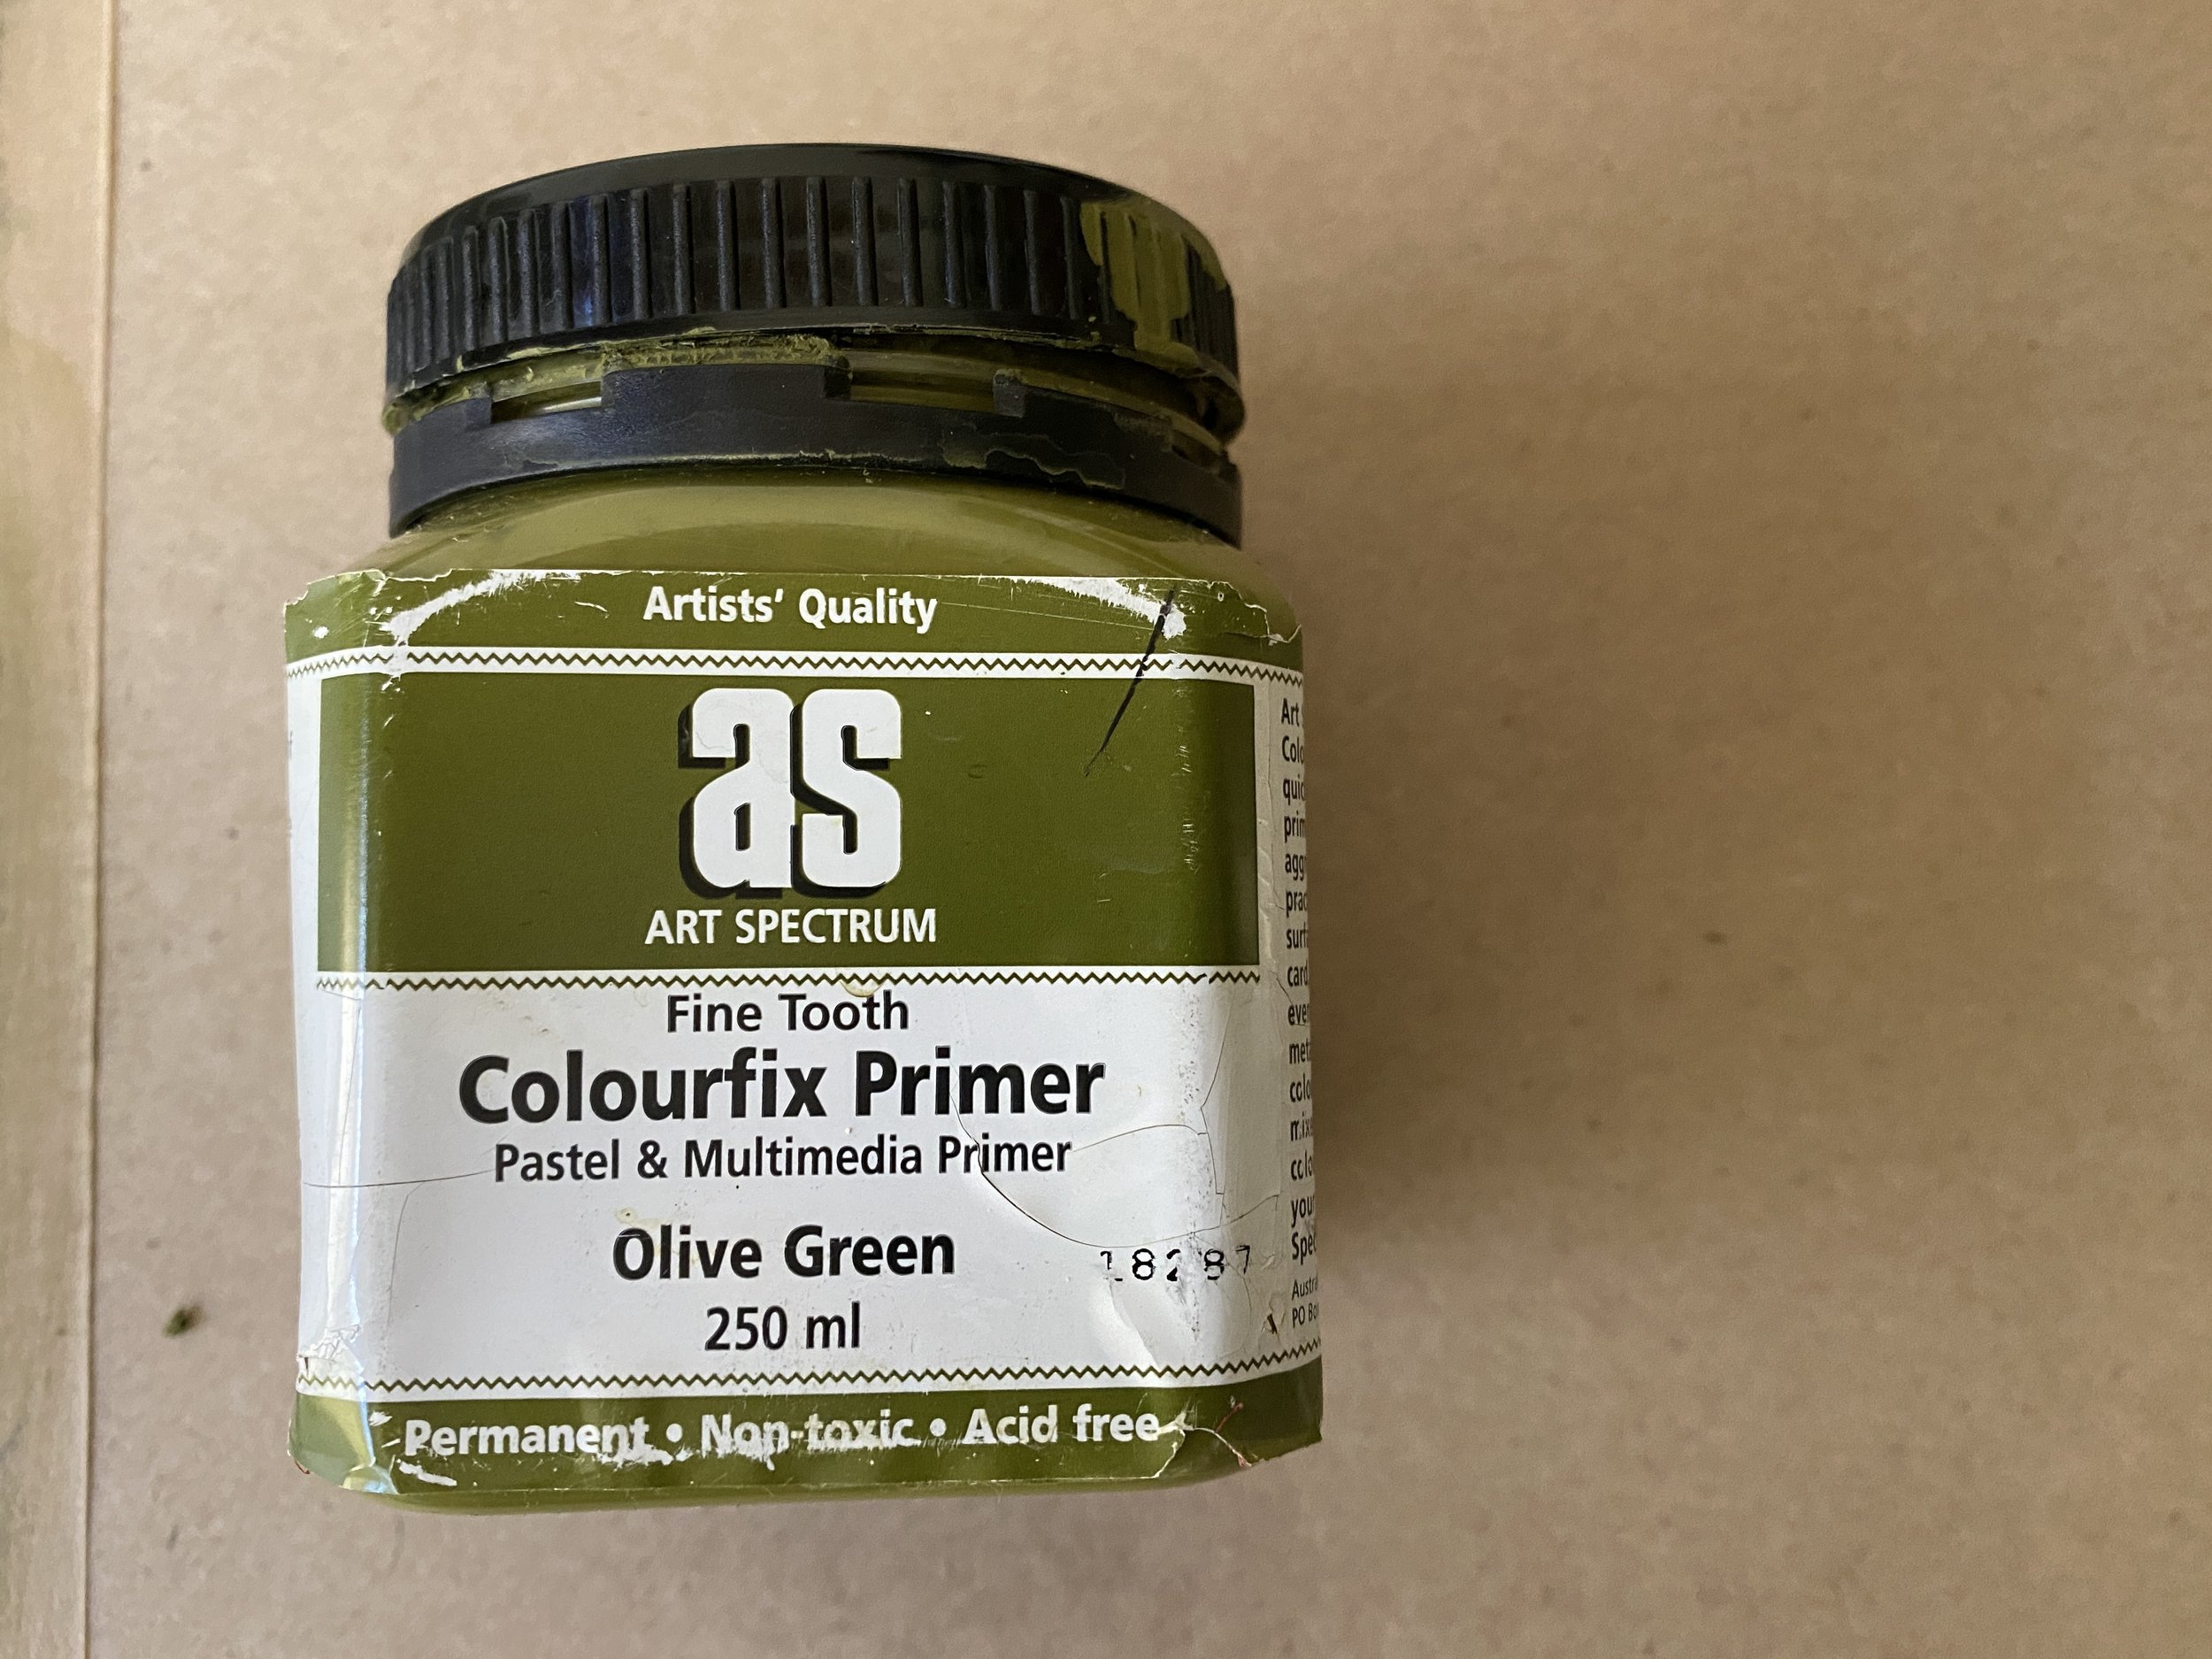
Titanium White (Golden)
Paynes Grey (Systems 3)
Burnt Green Earth (Sennelier)
Cadmium Scarlet Hue (Systems 3)
Portrait Pink (Systems 3)
Titanium Buff (Systems 3)
Yellow Ochre (Amsterdam)
Olive Green Colorfix Primer (Art Spectrum)
and of course…
Black Stabilo pencil and white & yellow neocolor crayons
lesson 1d - painting frame 1
I am always grateful for all the journeys I go on, even the difficult ones. I always learn so much and yes, sometimes I do want to throw some of them in the bin and start over. Now looking back at this piece and my struggle, it would have been better for me to walk way and come back when the paint had dried. For some or other reason when I paint clay, I am impatient and I don’t want to wait. This is such a valuable lesson for me. There is a kind of surrender in the waiting and a letting go of the control.
That being said, I do know this, she sure is interesting and I am so glad we pushed through. Don’t let the struggle put you off, that just how it goes sometimes.
painting elegant hands
I have a very specific way of painting hands that I’ve formulated over the years. I’ve Just recently started painting finger nails. They used to freak me out a little because they can look a little witchy and I’m always very careful not to make long pointy tips but more soft rounded ends to my nails. Adding this tiny nuance to my clay works has changed my pieces completely and one I am particularly happy about.
Colors / Paint I used:-
Titanium White (Golden)
Paynes Grey (Systems 3)
Light Perm Red (Systems 3)
Portrait Pink (Systems 3)
I pretty much use a very limited palette of red, portrait pink and white, with payne’s grey in the recesses of each finger and around the finger nails. I also use payne’s grey to shape each finger especially if my clay work isn’t 100% accurate.
lesson 1e - painting elegant hands
lesson 1f - painting frame 1 continues
resource
In my painting video I refer to a book that I read last year called Drawing on the Dominant Eye by Betty Edwards. She also wrote Drawing on the Right Side of Brain, I am sure you know about this one.
I loved this book so much and I am inspired to read it again. She speaks a lot about how most people and artists have in a dominant eye and we often reveal our dominant eye in our work and it’s a little tell.
It was something I noticed I do in all my portrait work in painting and in clay and then I stumbled across her book. I was intrigued. I want to read the book again this year.
Focusing on eyes has been something I’ve been doing for some time. It kind of started early on in my portrait work but even more so for me in 2018 when I did a body of works with the focus on eye and more particularly a dominant eye being the focal point. I even did some embroidery work just focusing on single eyes. This last year I’ve been focusing flowers and leaves circulating around my chosen dominant eye, this focus was a theme I’ve been playing with lately.
I’m really enjoying this.
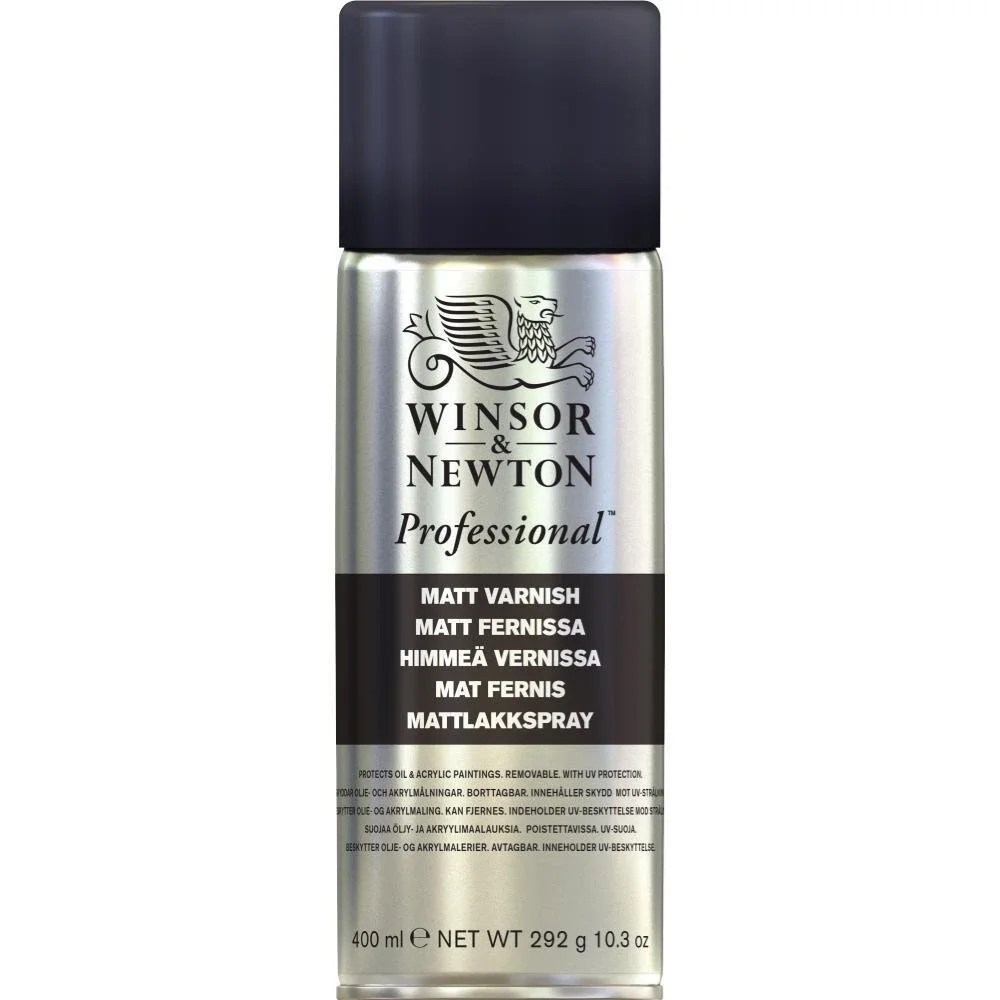
varnish time
I use a matt varnish spray to seal my work when I’m finished. I find it mutes down any shine and the high intensity of some brands. I love this finish.
Allow your clay to be thoroughly dry first before spraying.
Spray in a well ventilated room and with a mask on.
Leave your varnished piece to dry thoroughly before moving.
Please use with caution and exercise extreme care.