3DPortraiture
Lesson 2
second tiny frame
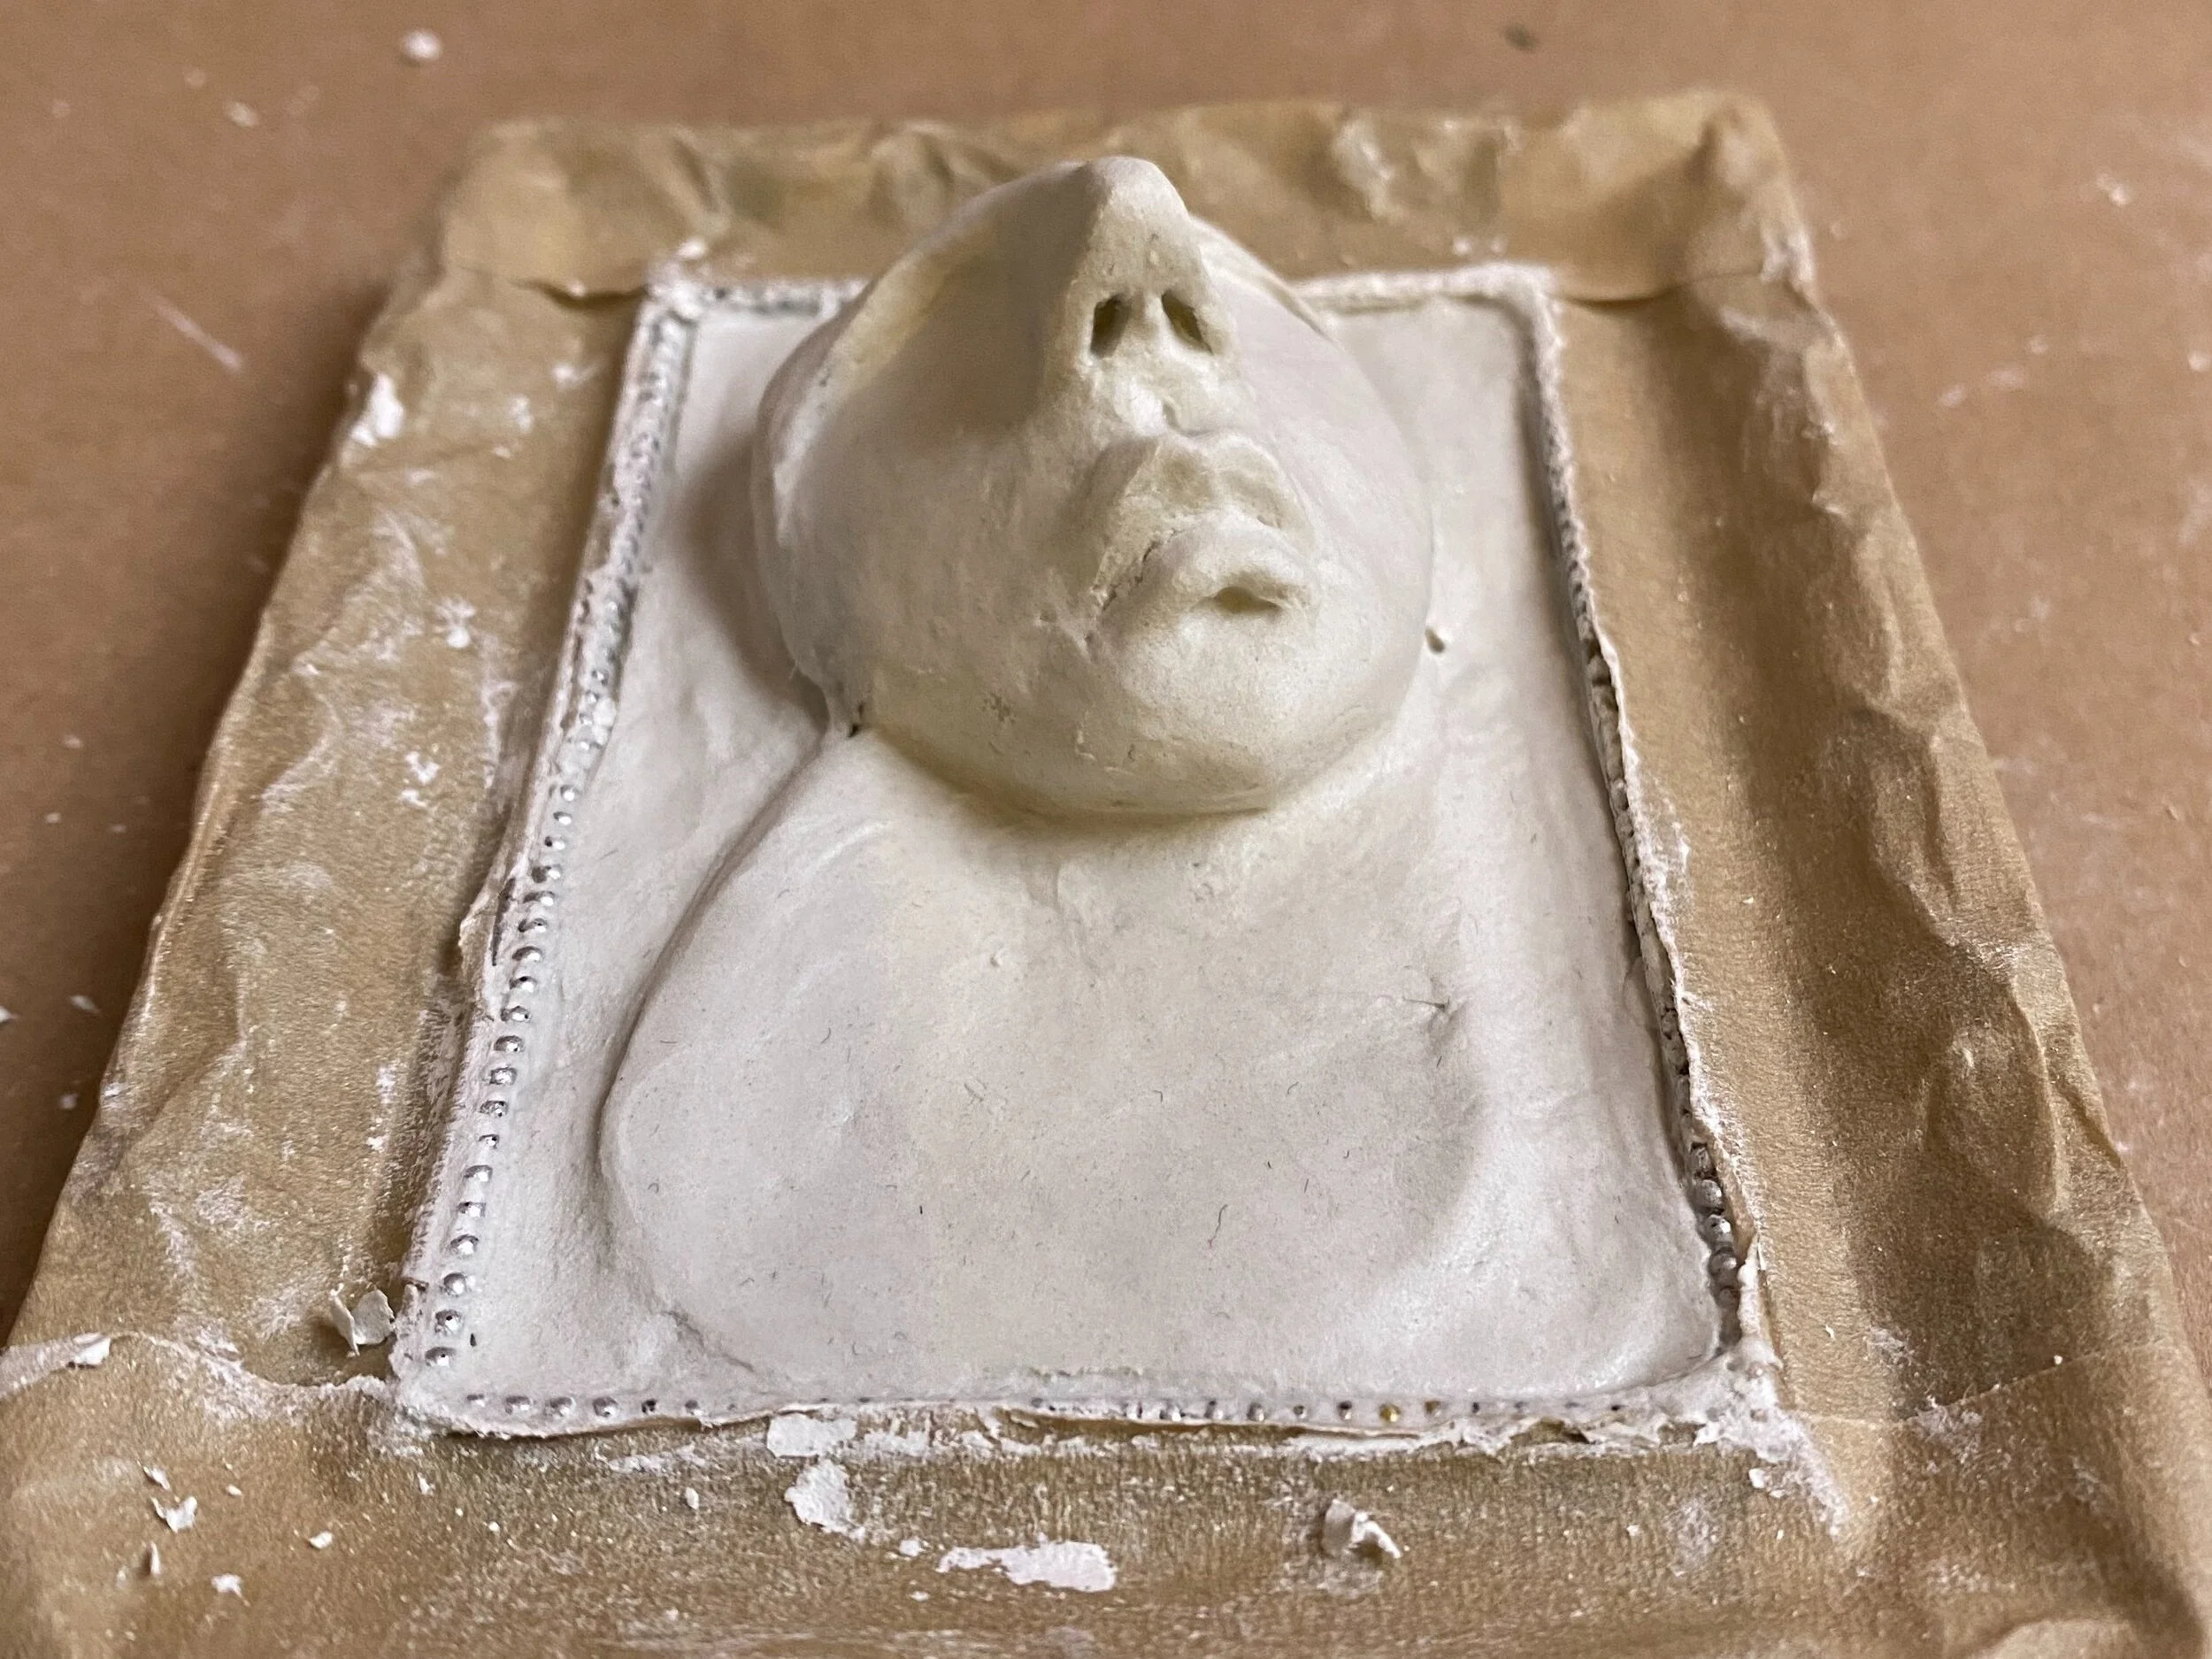
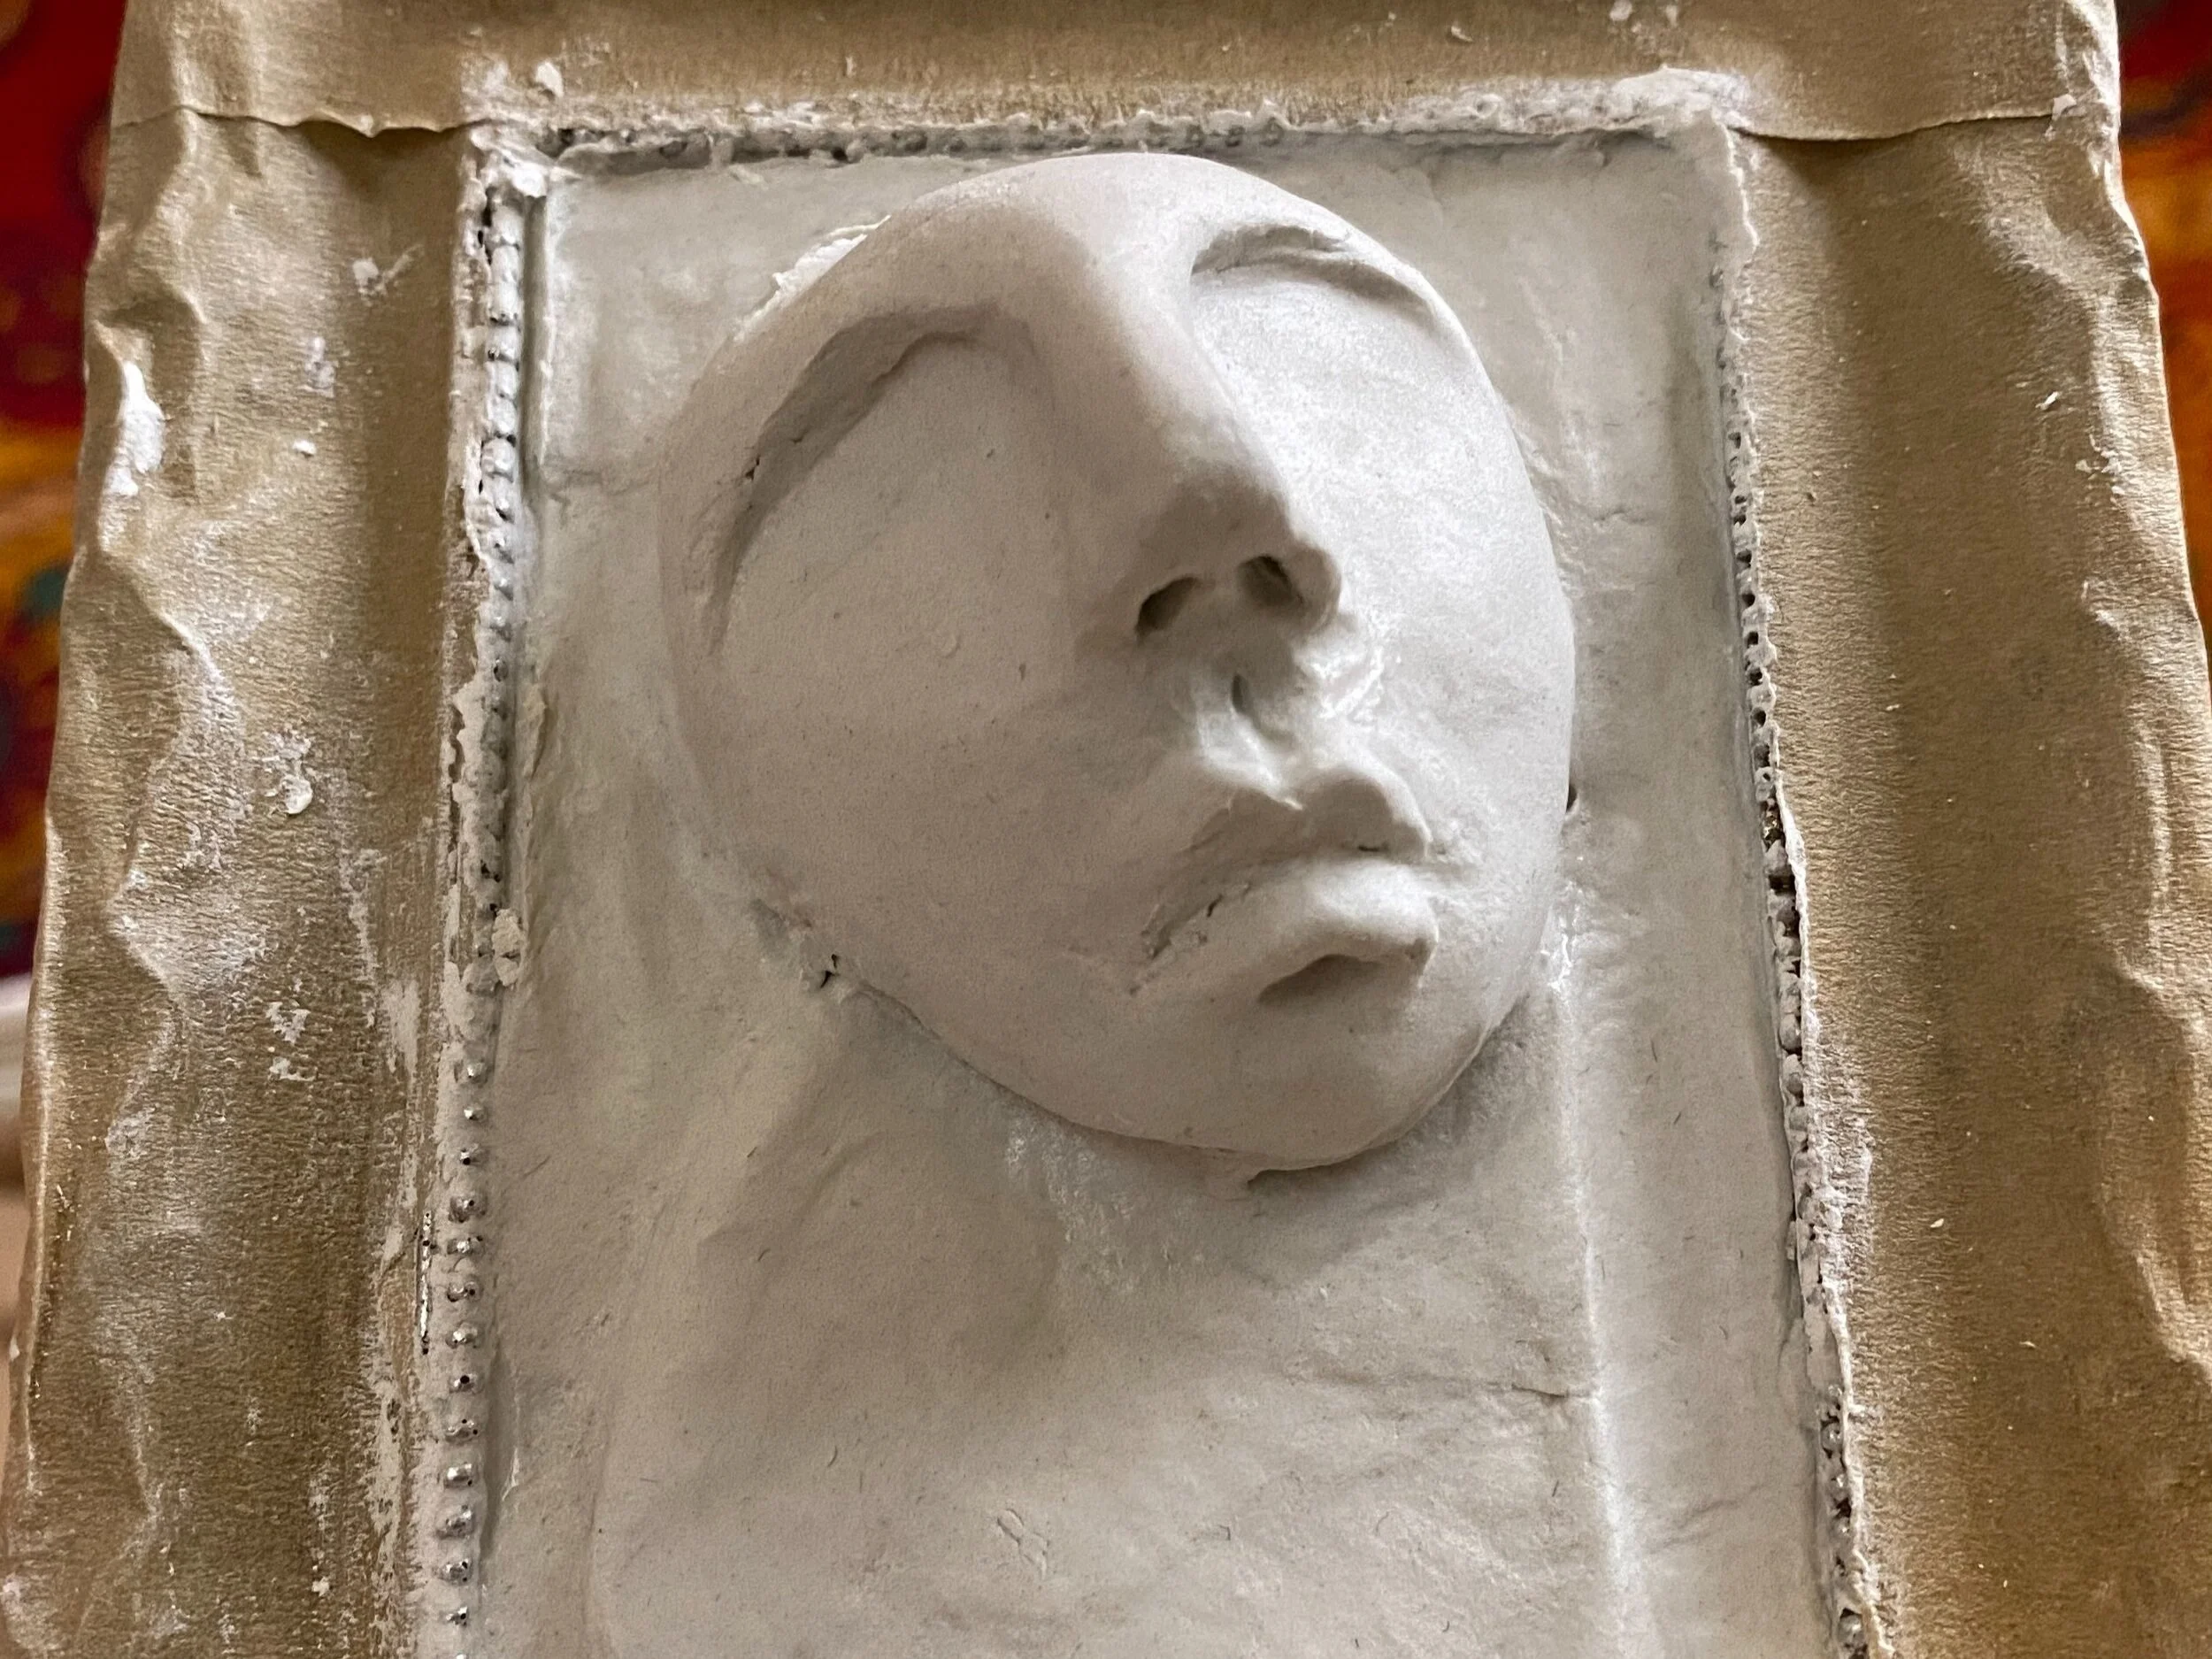
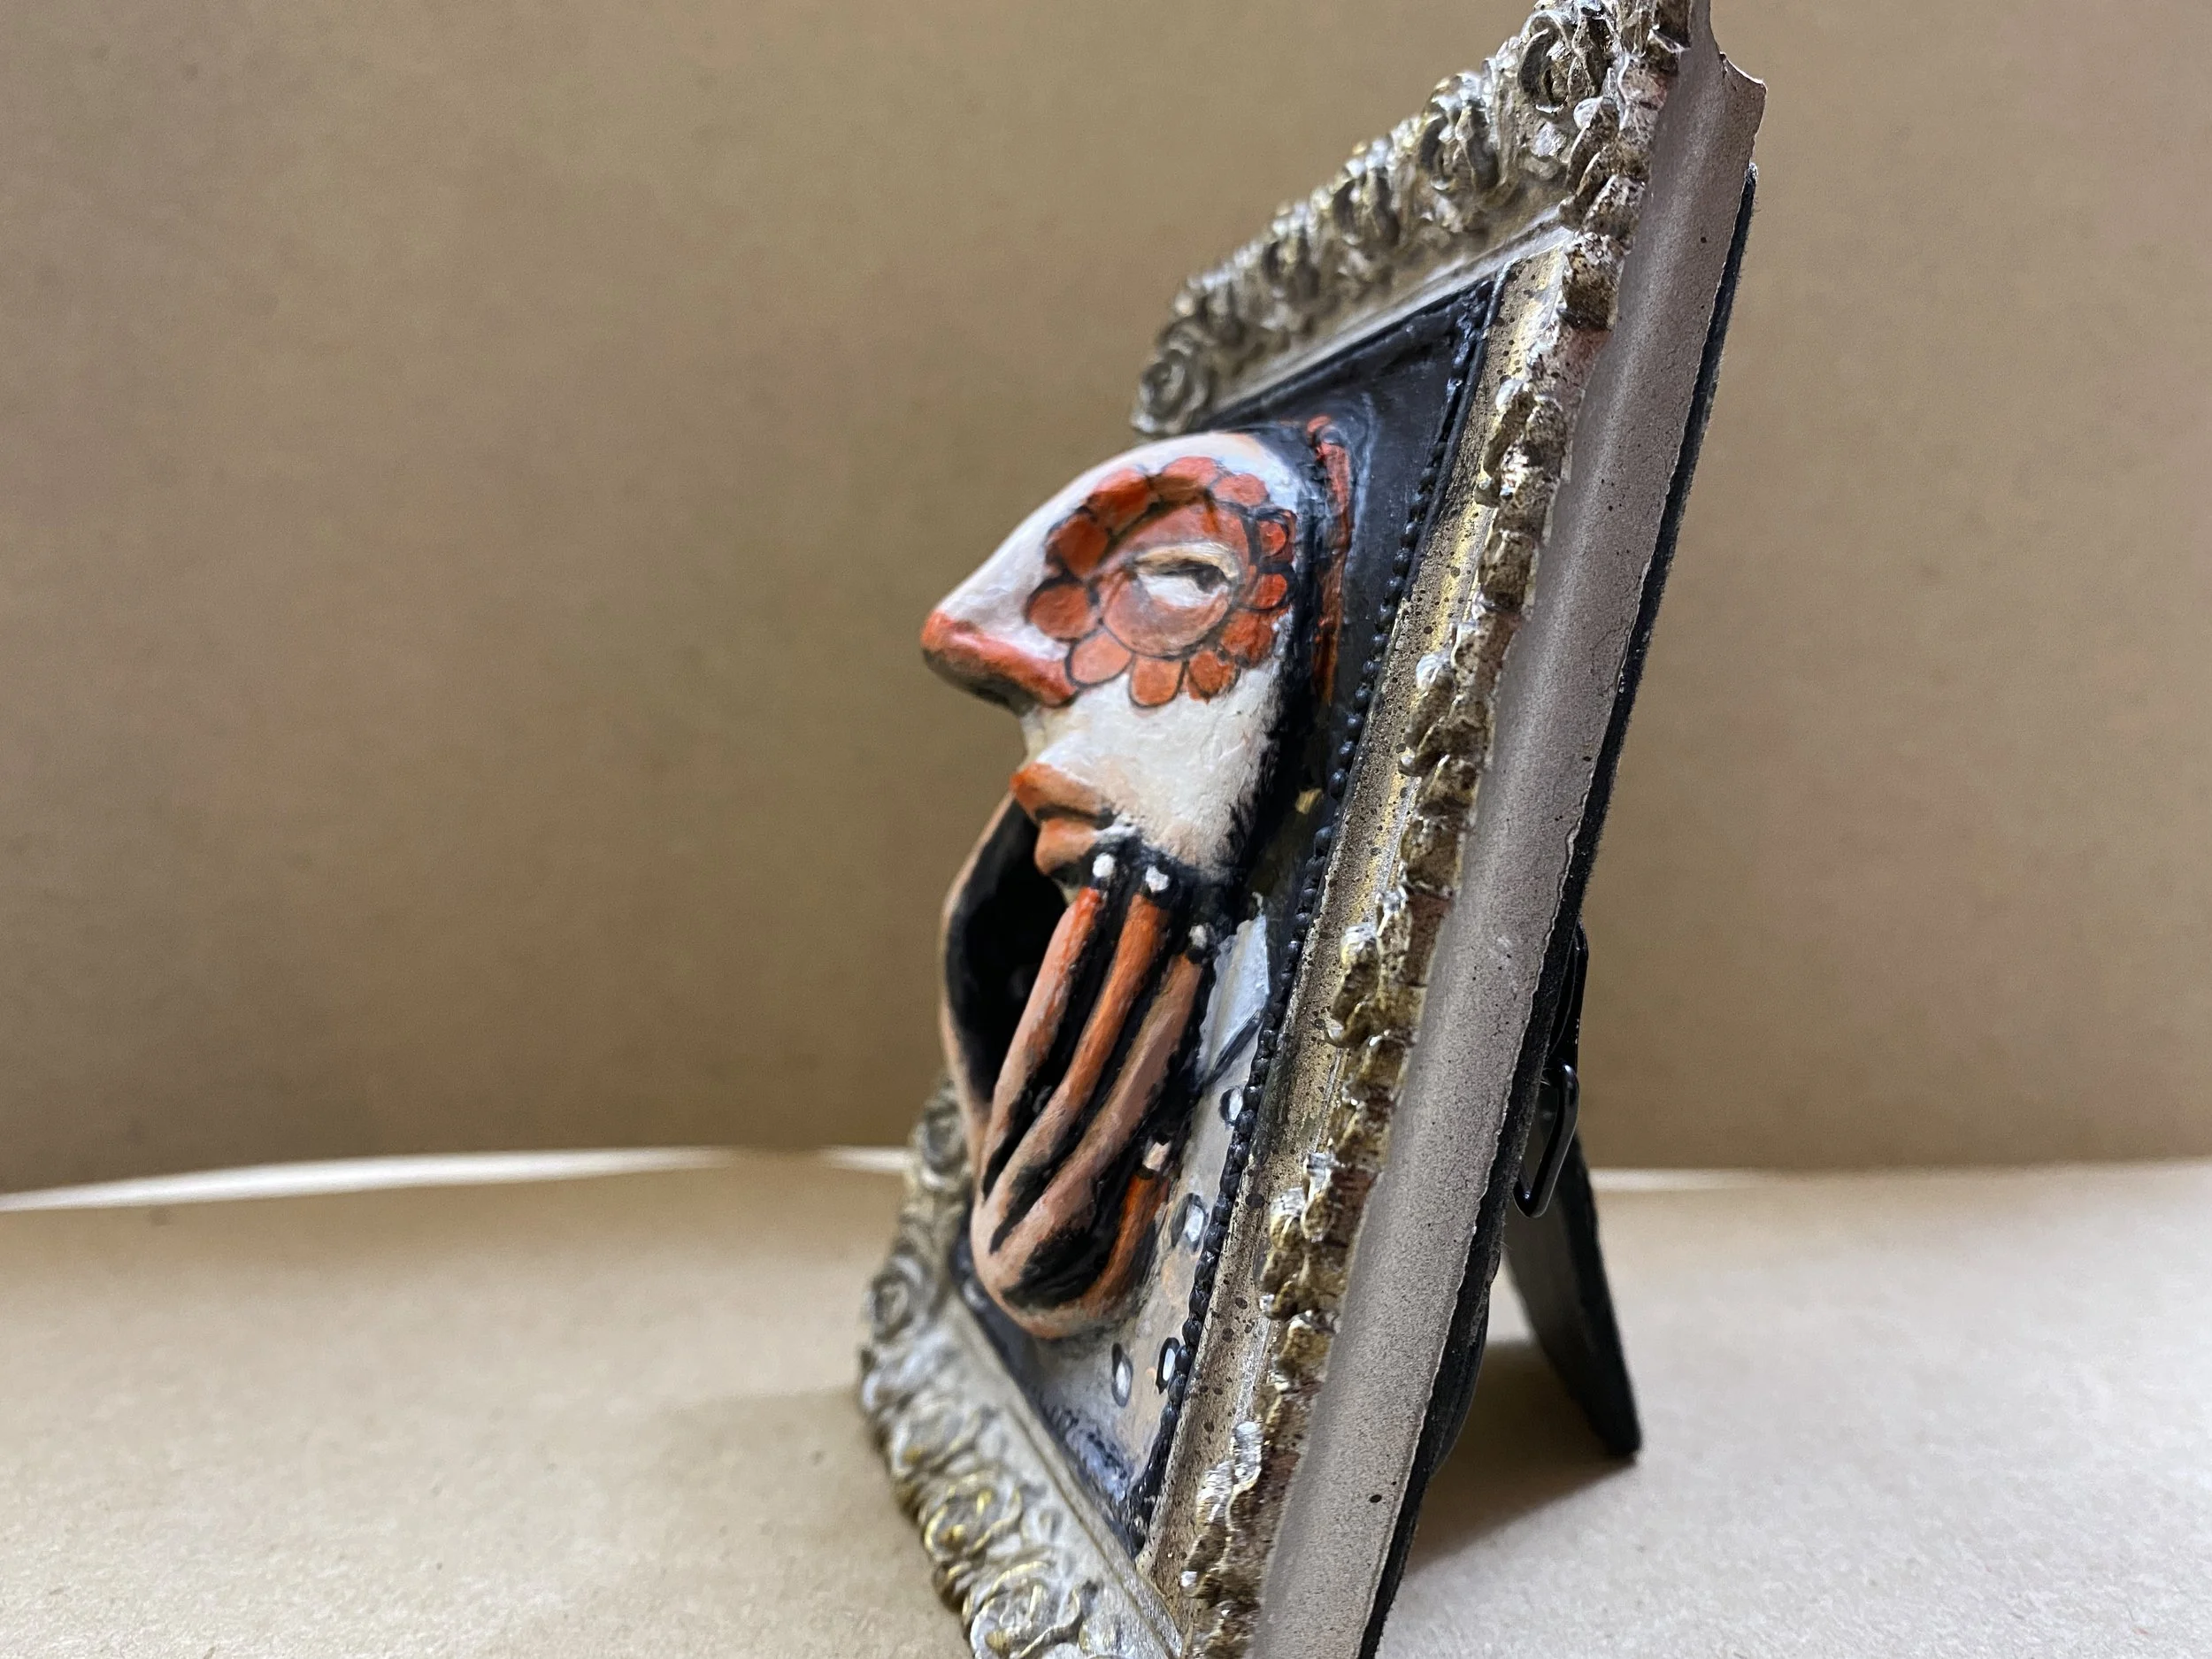
Moving to a slightly bigger frame this time… and filling your little frame with your first 3d soul.
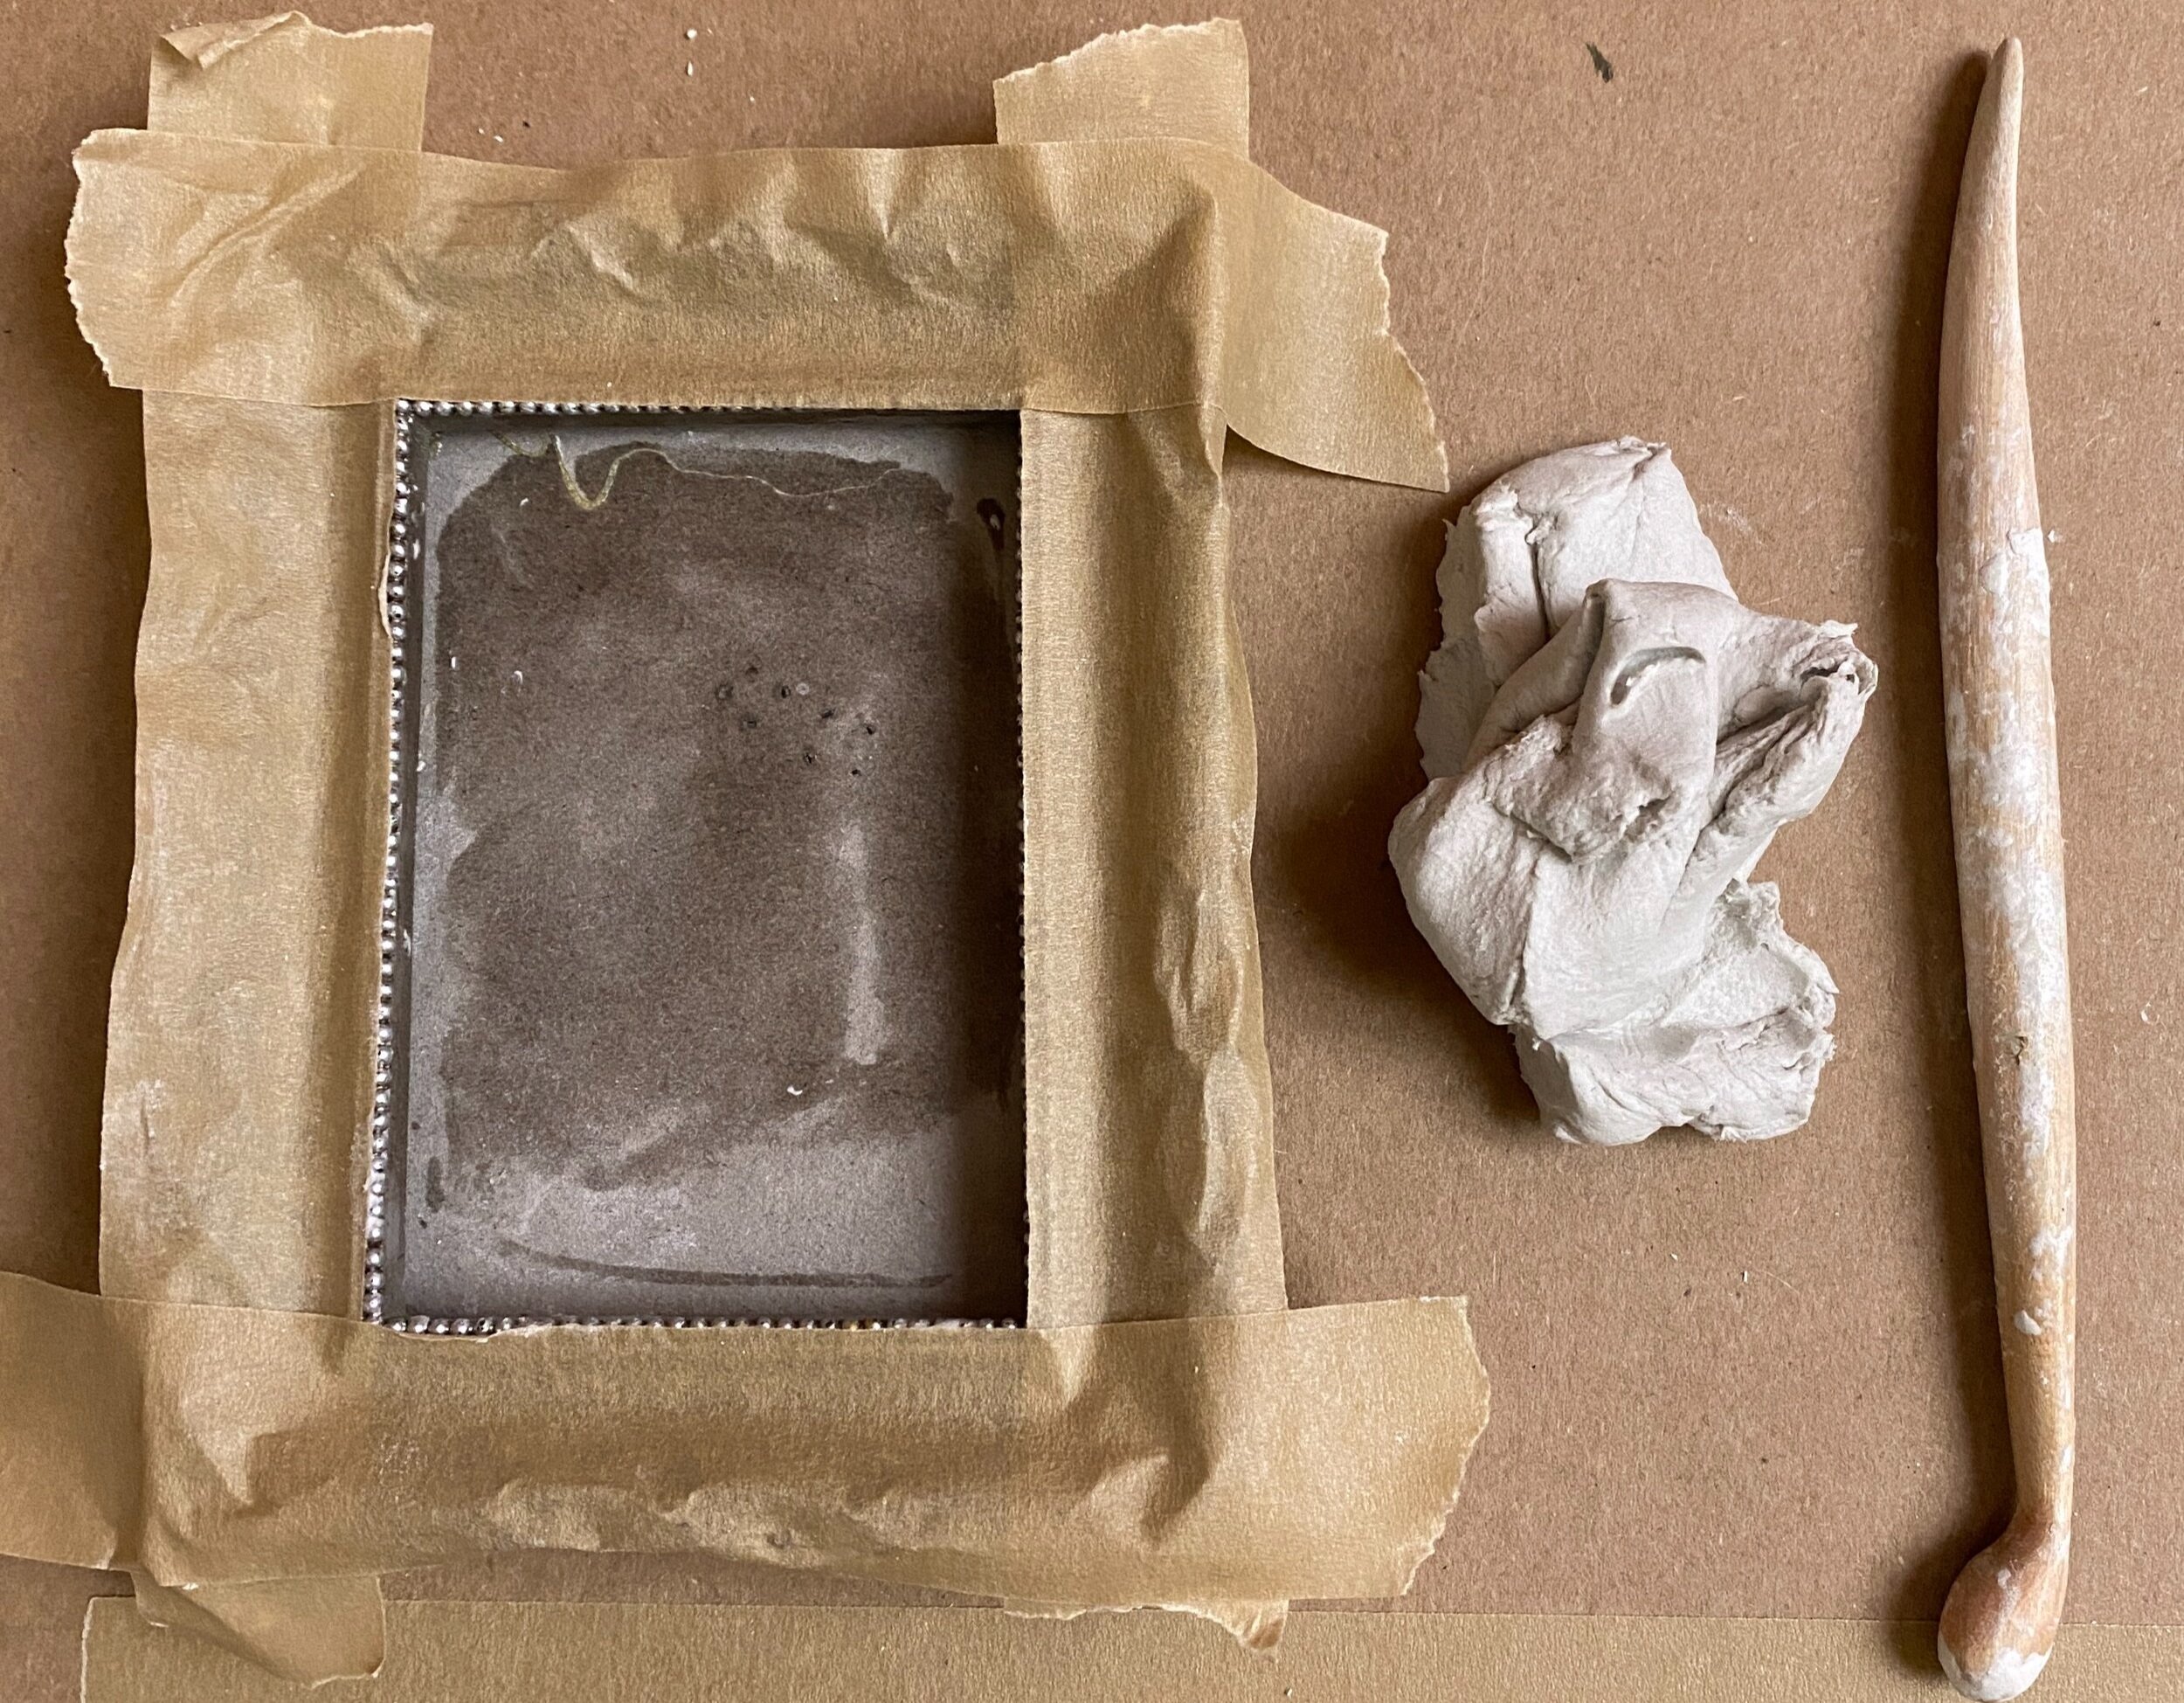
Starting with your small frame…
Make sure you have safely removed the glass.
Lightly wet your backing board of the frame and the inside edges of your metal / wooden frame.
Make sure you have a few handy clay tools available. I have my clay roller, my trusted “go-to” wooden tool and my porcupine quill for added details. Any other items that you love working with.
lesson 2a - filling your frame with love
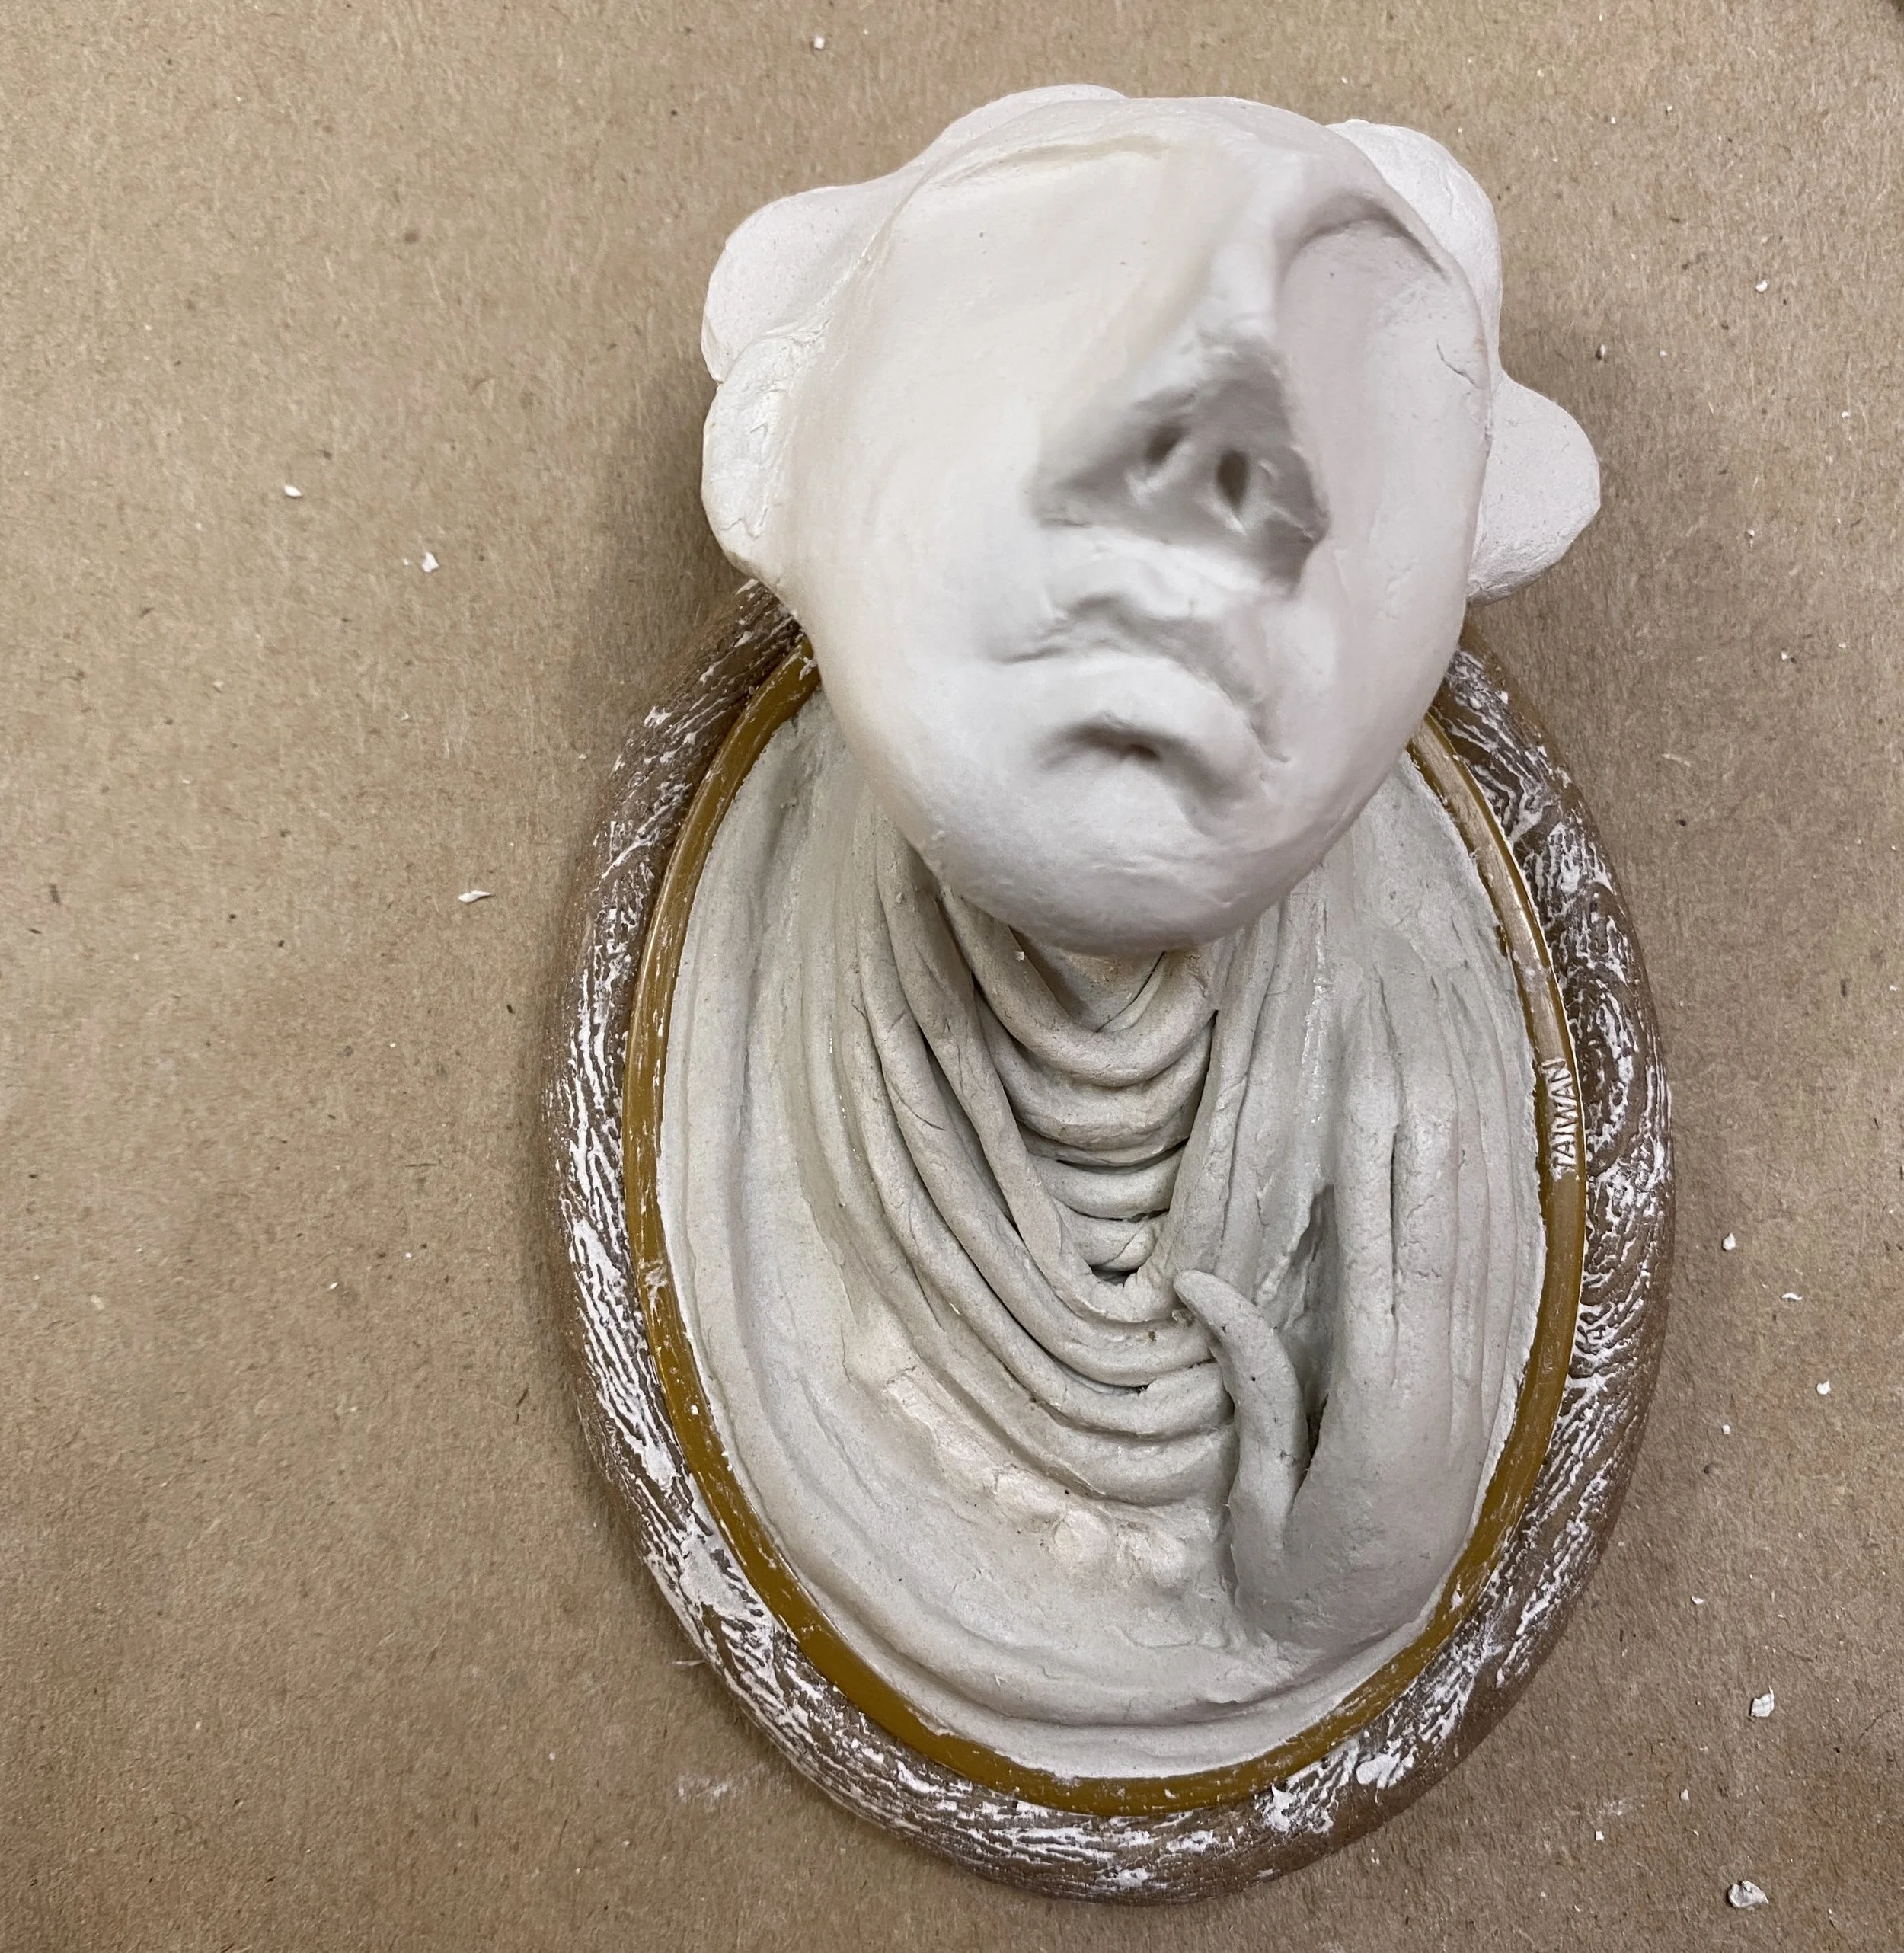
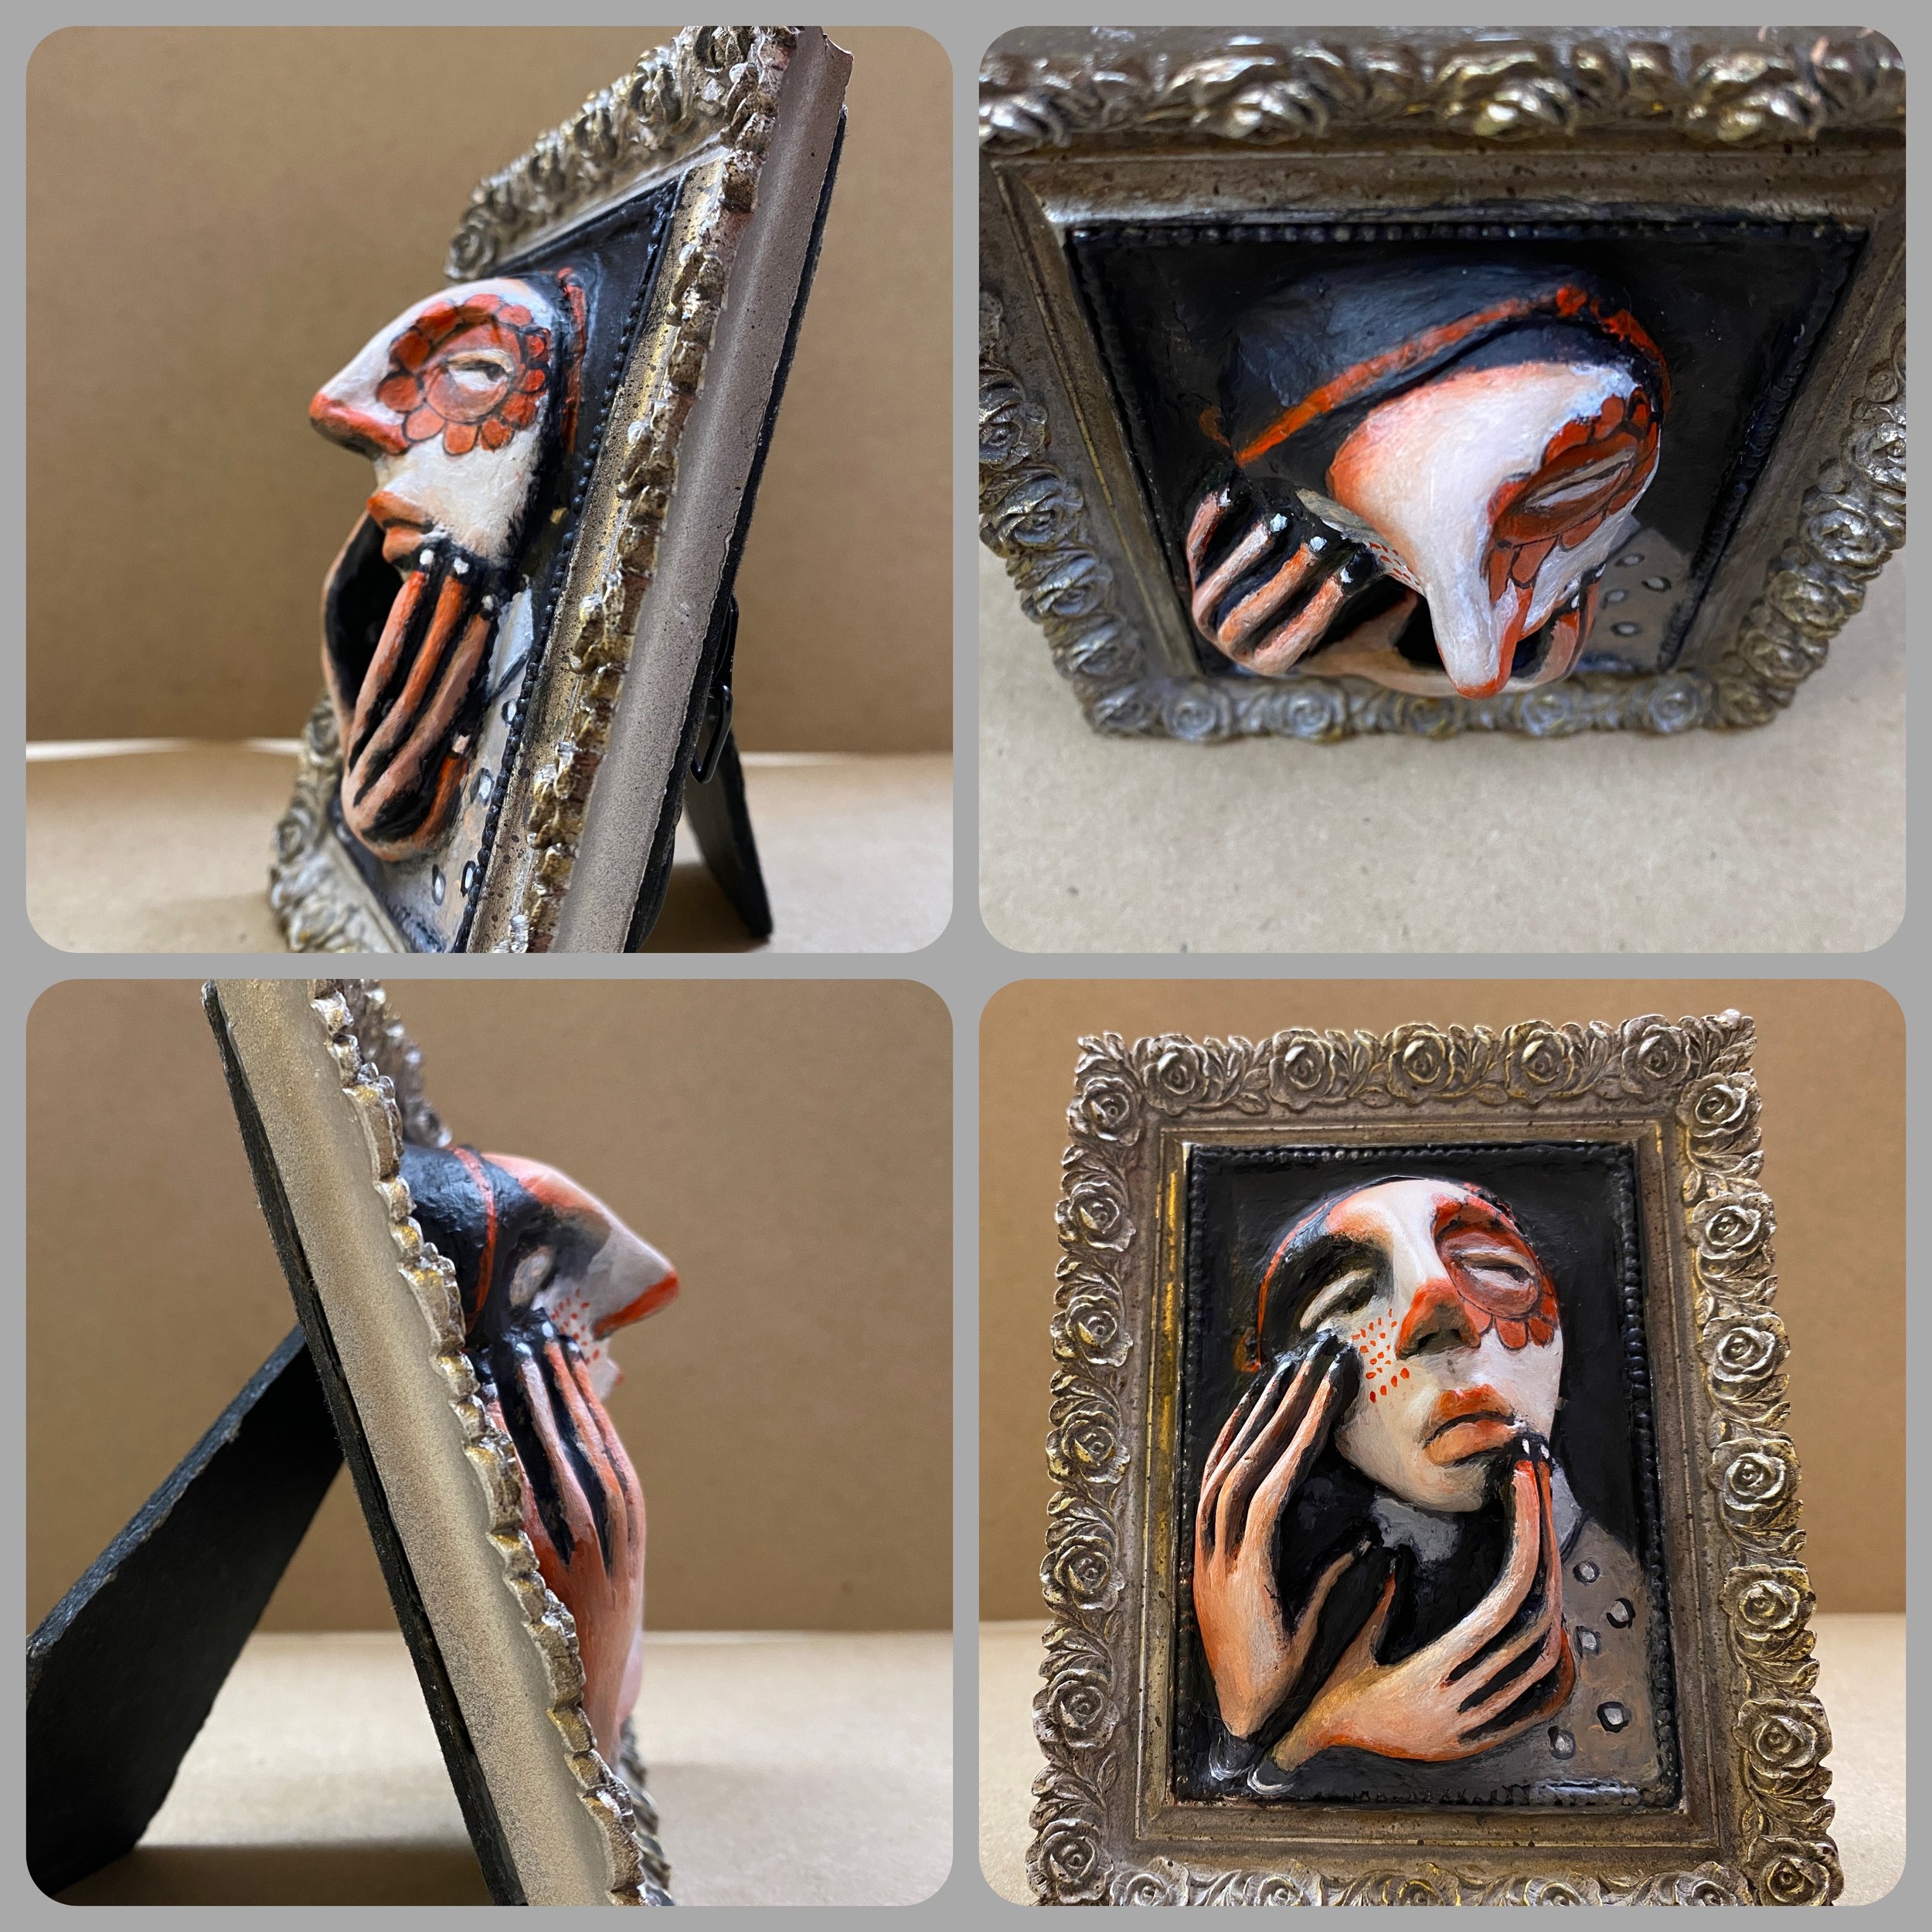
expressive hands
If you have been following my work this year, you will know I have been working with expressive hands in my clay work and, I knew I wanted to continue with this feature, in my little frames. I spend a bit of time placing my character hands around her tiny face to add more emotion to slightly tilted head creating so much more expression and drama to this piece.
lesson 2b - expressive hands
painting
Colors / Paint I used
Titanium White (Golden)
Paynes Grey (Systems 3)
Burnt Green Earth (Sennelier)
Light Perm Red (Maimeri)
Portrait Pink (Systems 3)
Black Stabilo pencil and white & red neocolor crayon
lesson 2c - painting part 1
Colors / Paint I used to paint her hands…
Titanium White (Golden)
Paynes Grey (Systems 3)
Light Perm Red (Systems 3)
Portrait Pink (Systems 3)
lesson 2d - painting - part 2
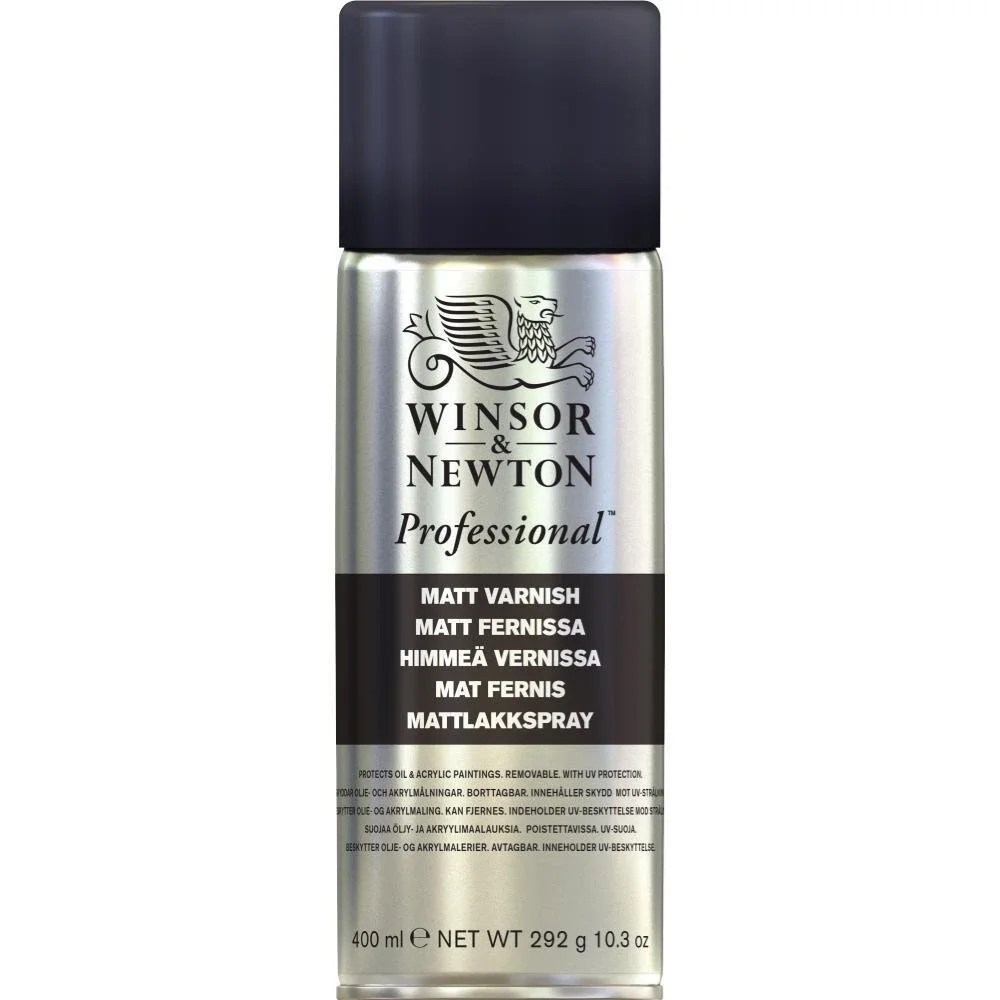
varnish time
If you have been in my other classes, you will know that I use Winsor Newton Matt Varnish spray finish off all my pieces.
I adore the matt finish.
Please make sure you spray in a well ventilated room and with a mask on. Please use caution to ensure your safety.
Allow your painted piece to thoroughly dry before and after use.