The Nature of Clay
Greetings

Hello
My name is Jeanne-Marie Webb and I am from the beautiful coastal town of Cape Town, South Africa.
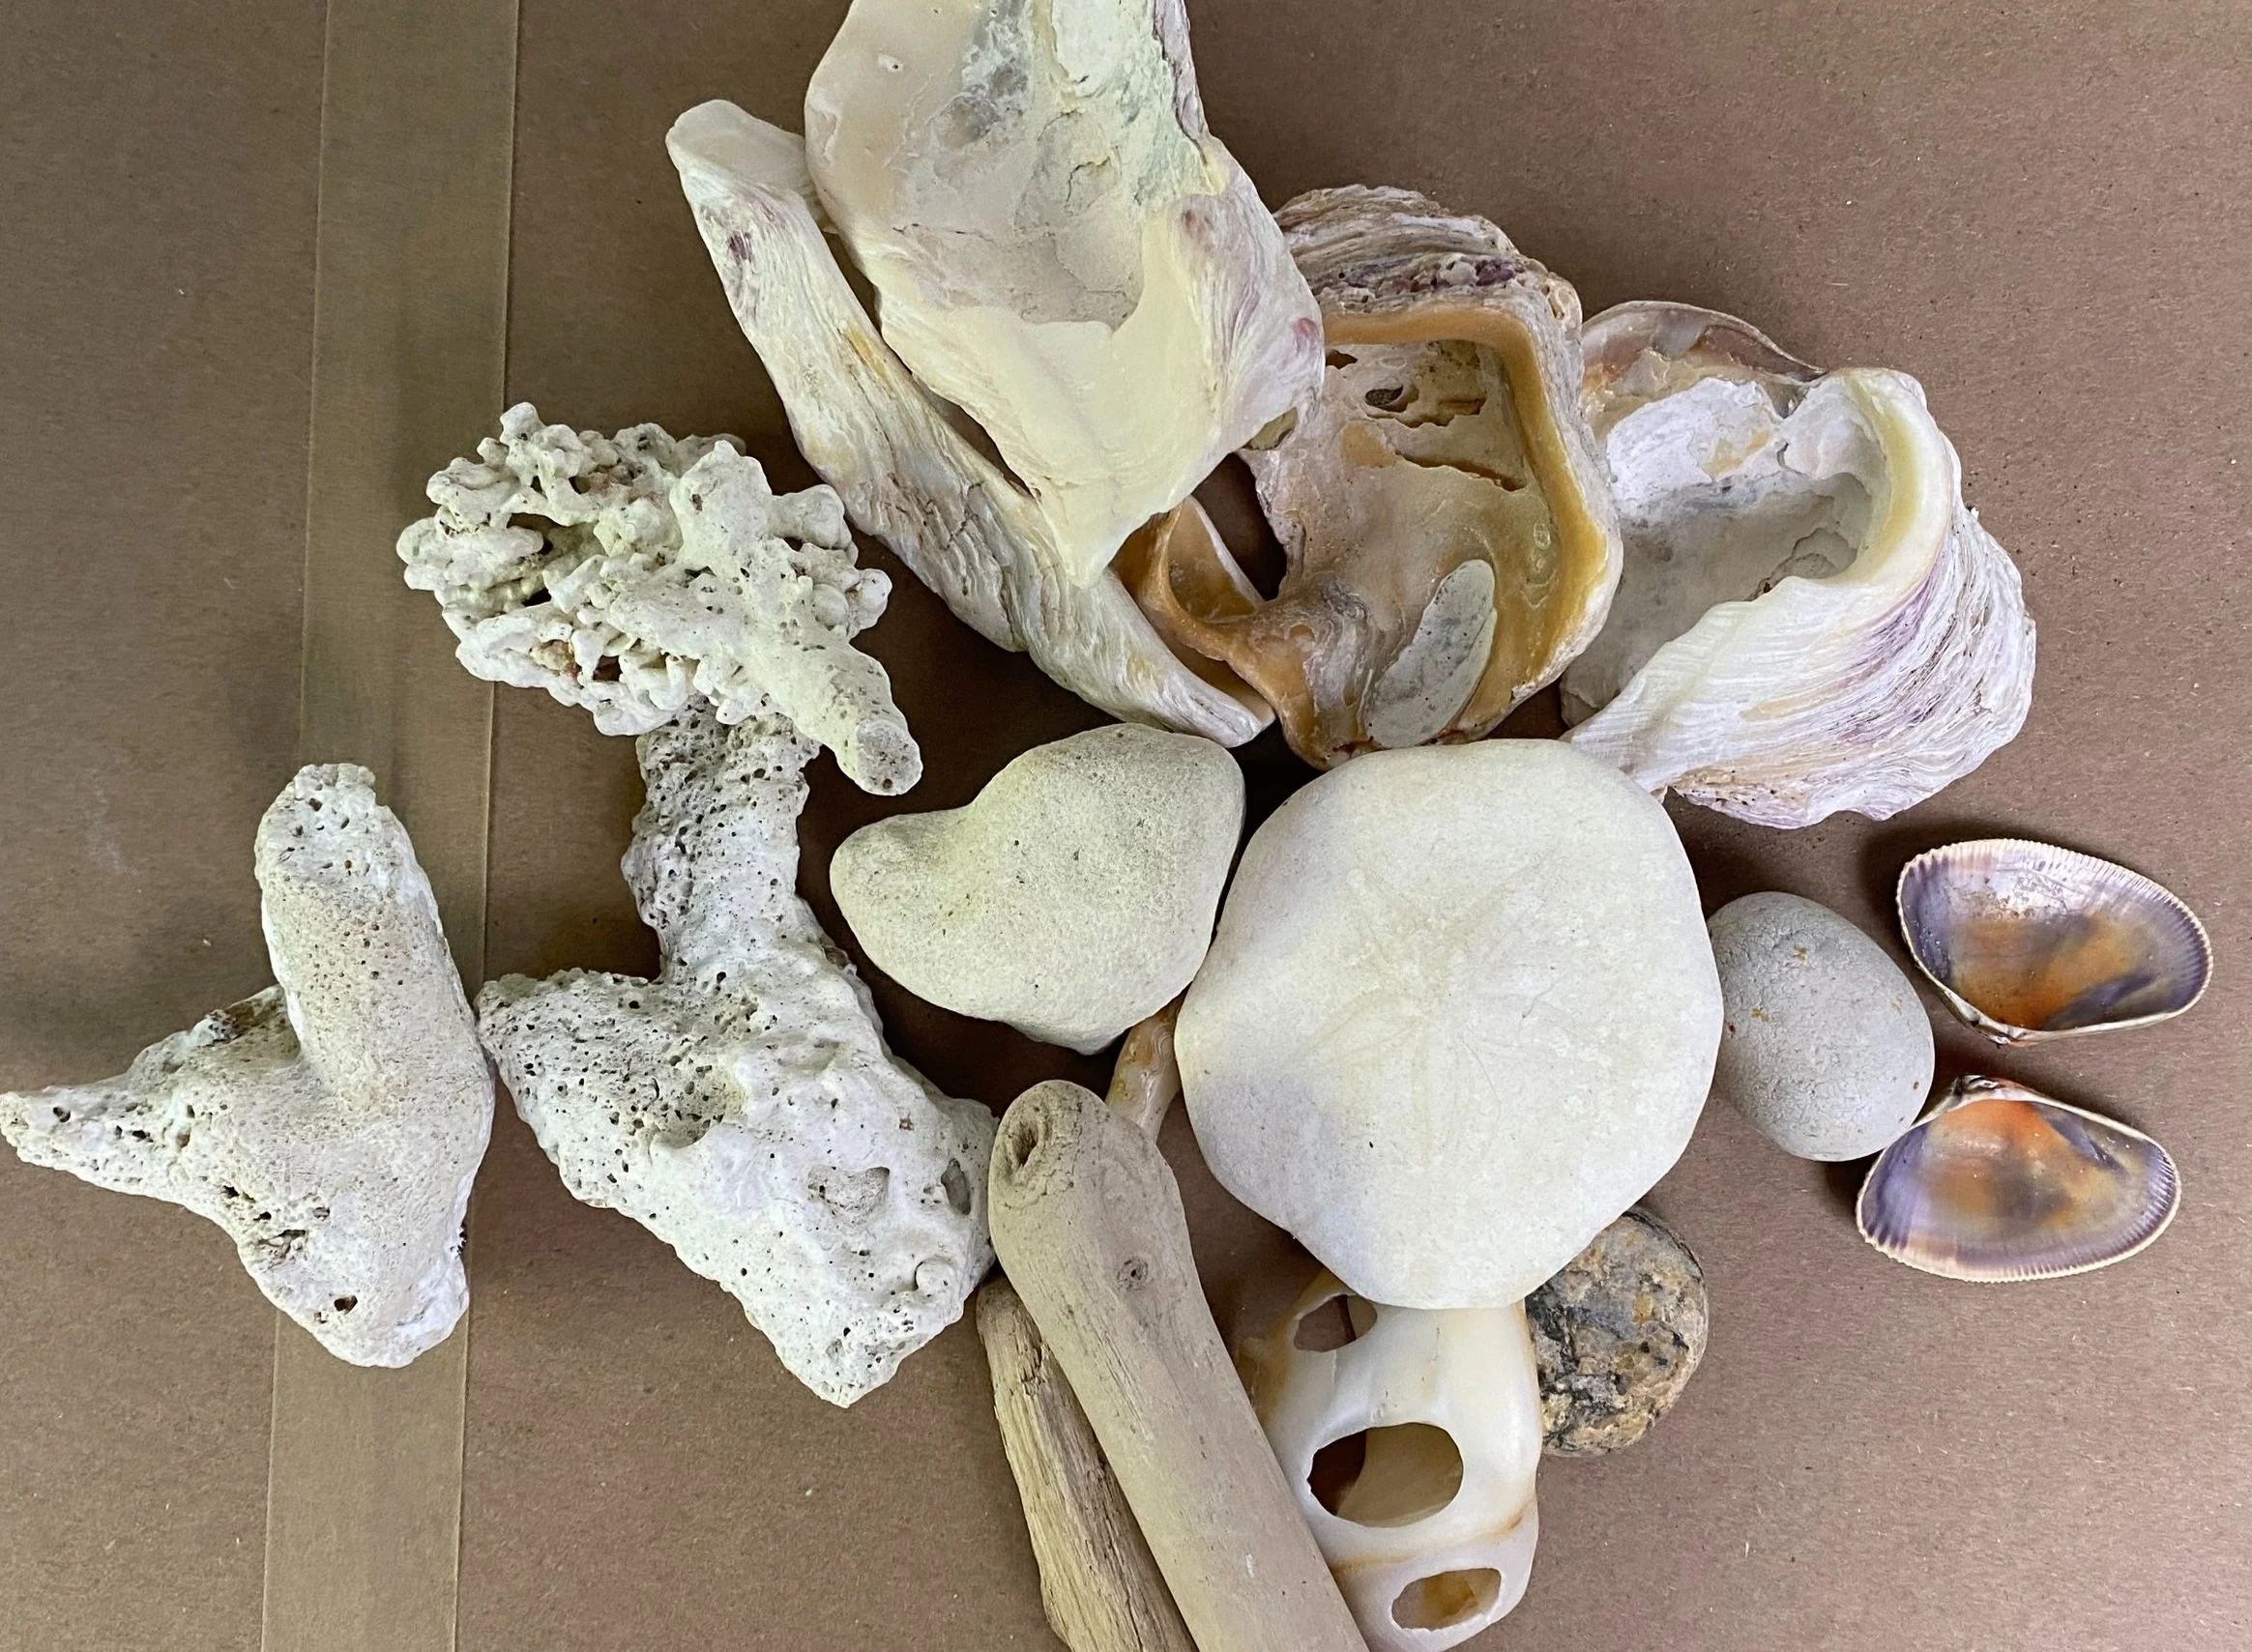
If you don’t know much about Cape Town, I have to say it is one of the most beautiful places. The nature is breath-taking and I am surrounded by mountains, forests and the Atlantic oceans on one side of me and the Indian ocean on the other – making me spoilt for much beach strolling and treasure collecting.
I know we don’t all have access to the beach but that’s where Etsy is useful and you can find pretty much anything you are looking for.
Just search for the following:-
beach pebbles, holey seashells, hag/hex stones, seashell shards, mixed seashells etc etc.
resource
Click on the image here and it will lead you to the most delightful Etsy shop filled with shell combinations and packages.
Happy treasure hutting.

Picking up my pieces - Etsy shop
If you don’t not know me, I have taught on this beautiful platform a few times and have had the privilege of travelling and teaching together in person with Ivy in Italy. I am so thrilled and honoured to be teaching clay here again, in this space.
Thank you for having me.
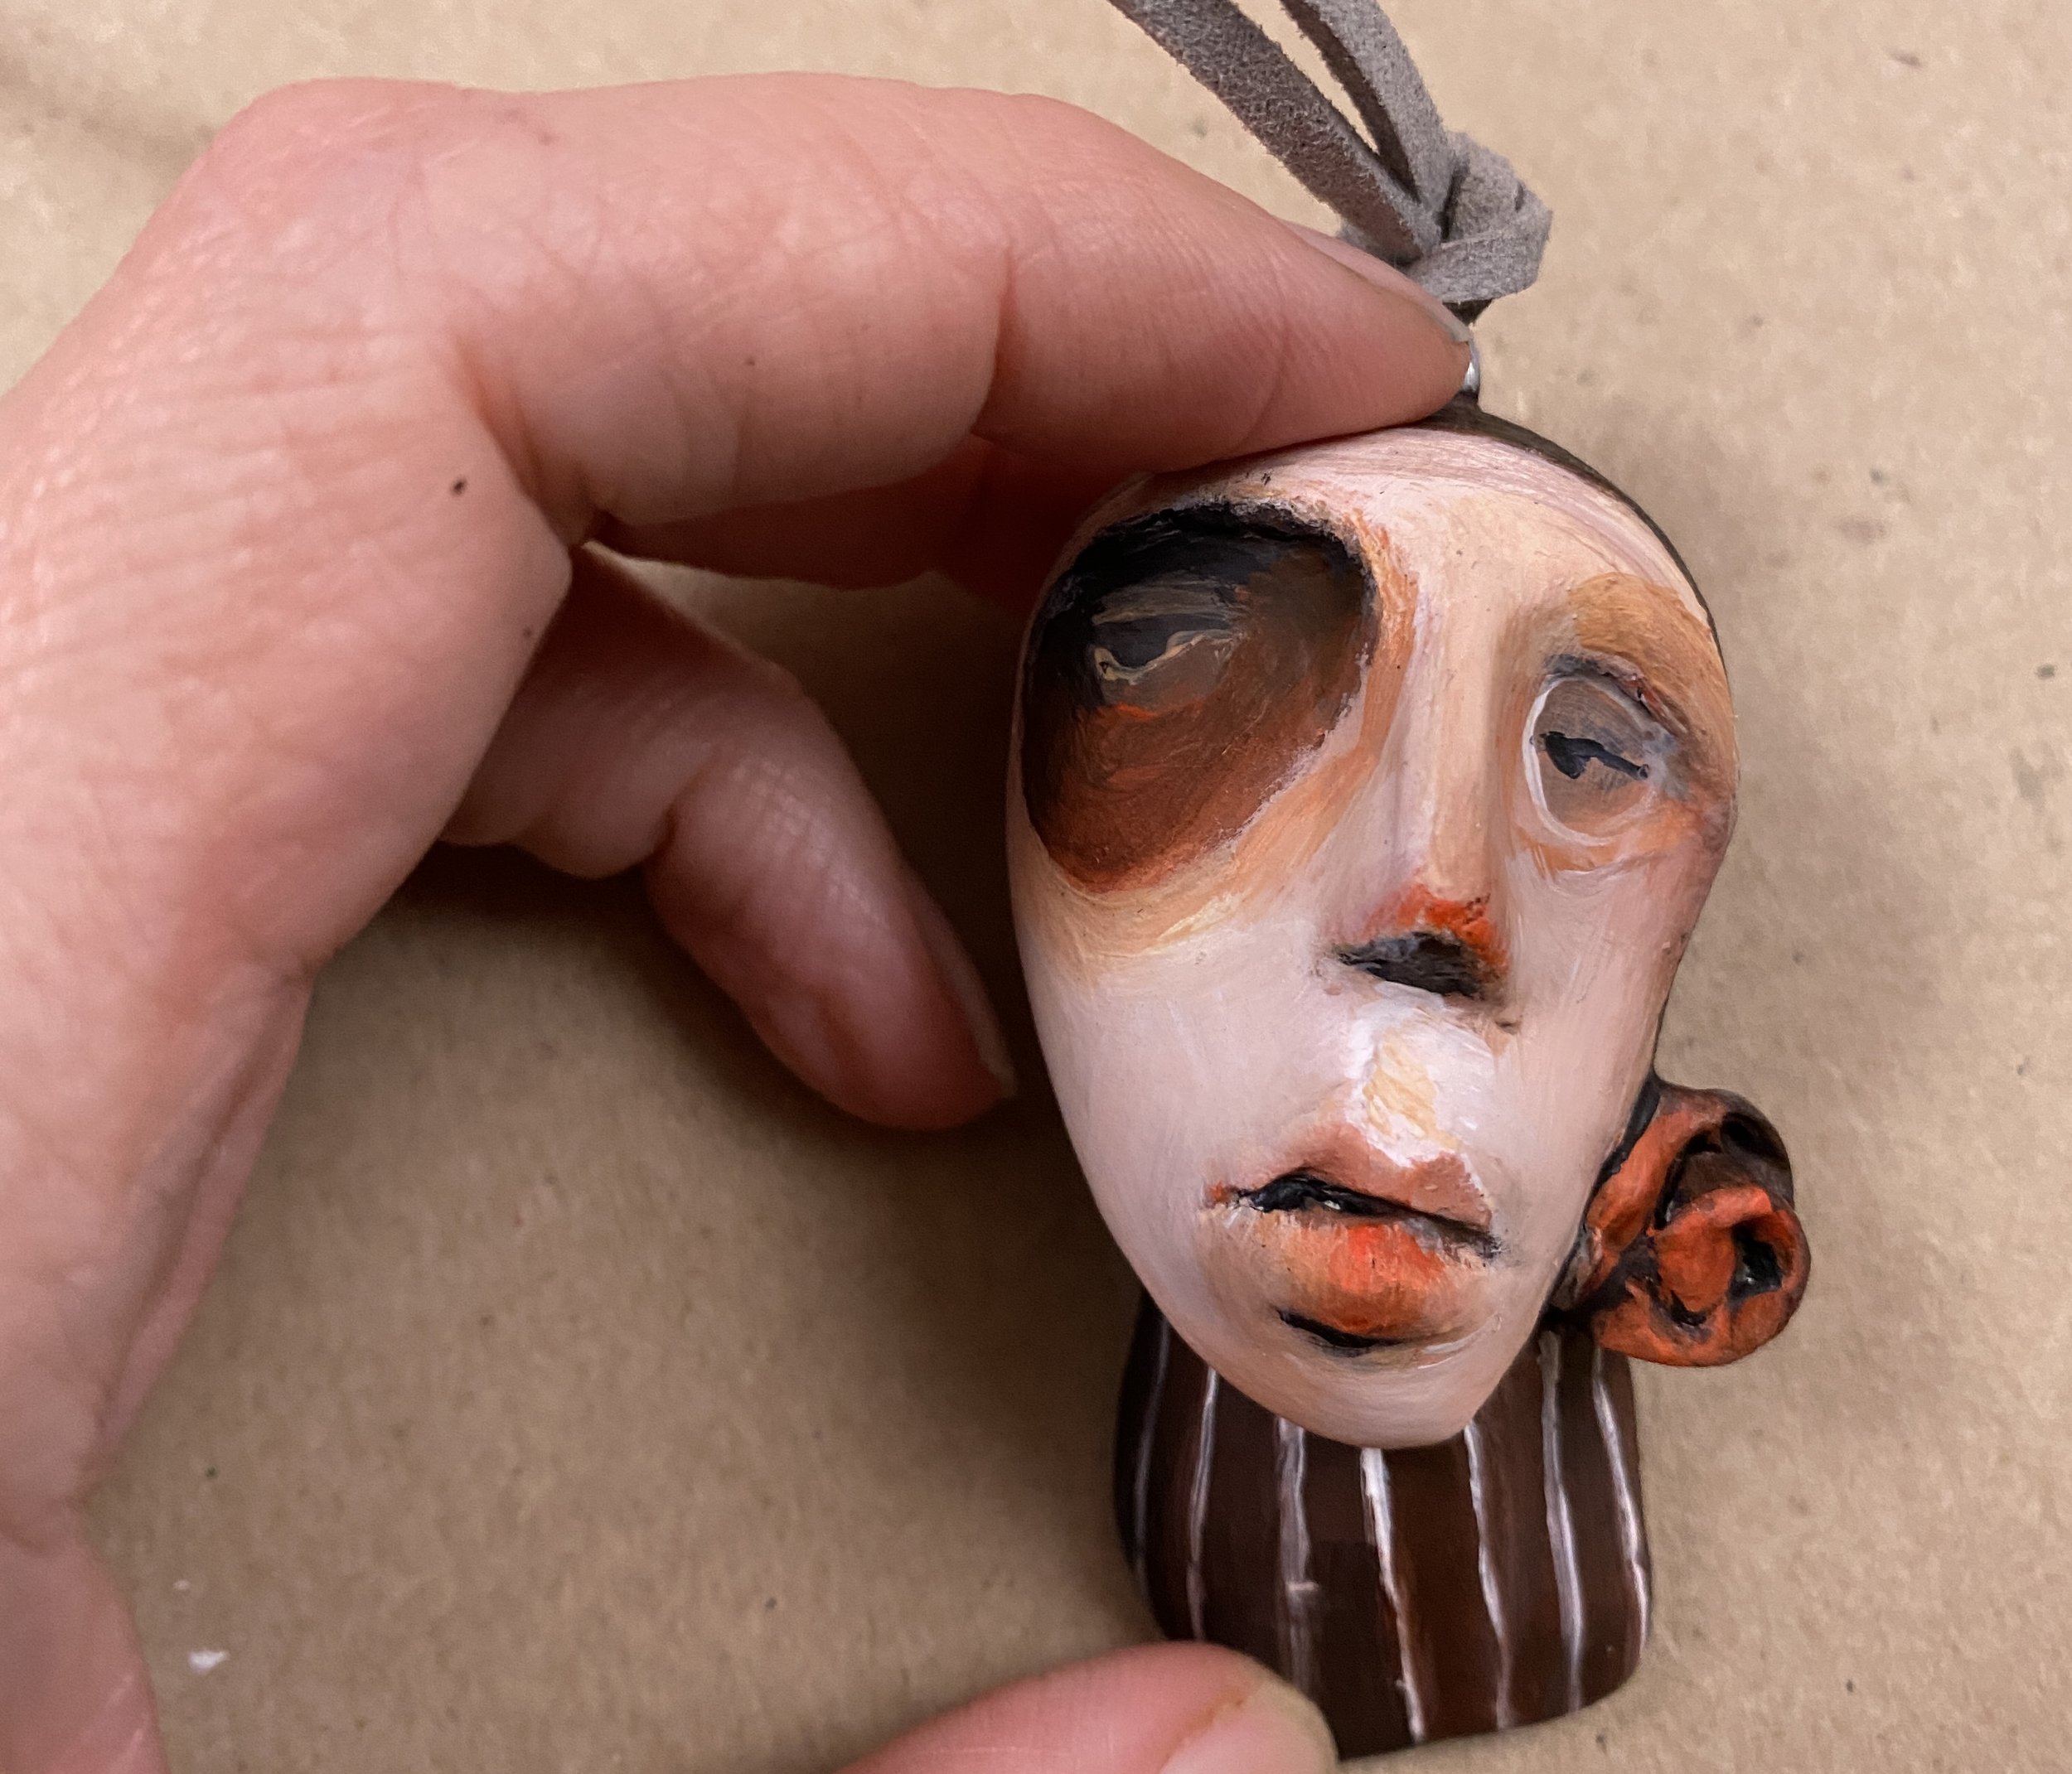
My journey with the medium of clay, which is very close to my heart, started with simple learning and dabbling in 2016/17, and lead to me running my first clay class, called The Soulbearers in 2016, from which I have been playing and sharing ever since. What I love about paperclay is that it is playful, and originates from and leads to various forms of fun and curious playing and exploration. From this, I have discovered the most wonderful beings and new creations as well as new ways of creating with this incredible medium. Because of its organic and forgiving nature, and because it is not expensive or the process labor intensive, it frees one up to continue pushing the boundaries.
This is how I discovered merging nature with clay, the combination so precious to me. What could be more beautiful than combining Mother Nature with paperclay?
I am thrilled to be sharing this quirky and emotive class with you. Thank you for being here with me. It is always my heart to simply share some new ideas with you so that you can move ahead and create your own incredible works.
From my heart to yours, Jeanne-Marie.
hello…
hello
admin
Please feel free to share your journey on facebook and instgram and please use the following hashtags to connect us:-
#thenatureofclayworkshop
#natureandpaperclay
#thesoulbearers
#comeclaywithme
Please feel free to tag me on fb and instagram and it will help me find you quickly.
supplies, tools and paints
As always, I like to keep our supplies list limited.
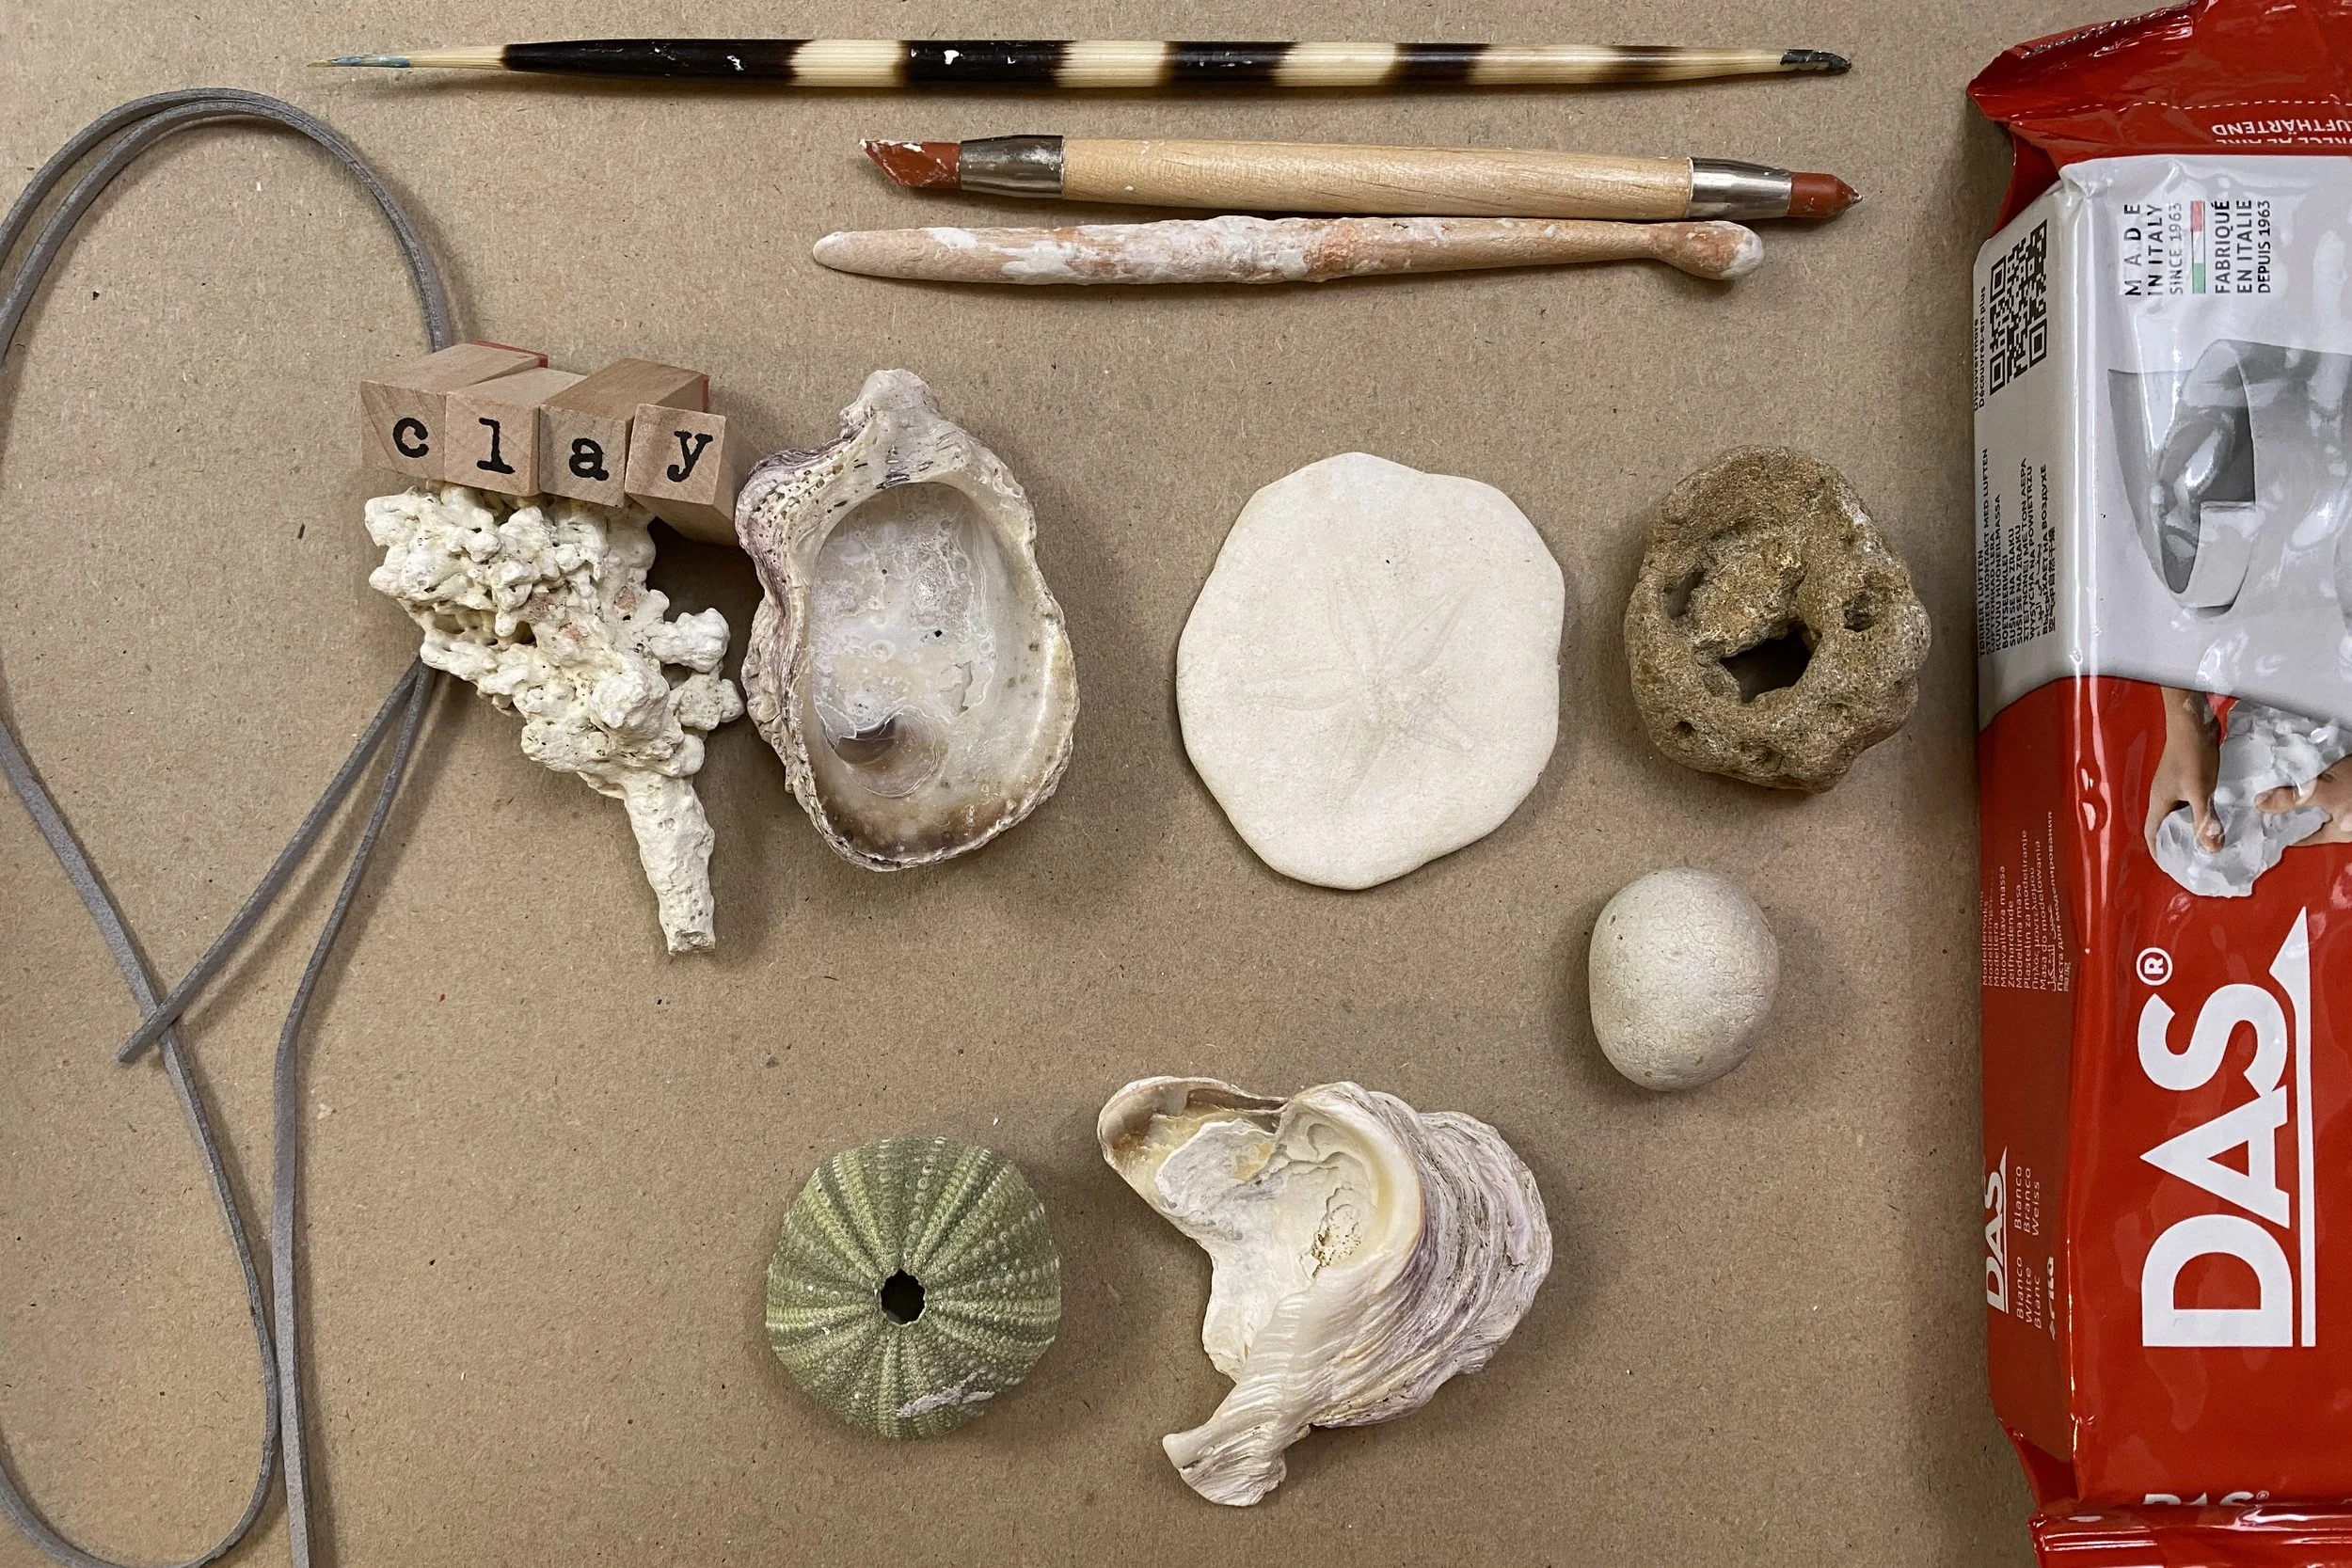
supplies & tools
PaperClay / Airdrying clay - Jovi/Das or whatever you are comfortable with.
Your favorite Clay tools
Acrylic Paints - of your choice, I will list mine in each lesson.
Variety of Neocolors - Olive, Vermillon, White and Yellow Ochre
Black Stabilo water-soluble pencil
OrganicMatter - stones/shells/sanddollar shell or whatever you can find
Silicon moulds for added elements - optional and always fun
Stamps and ephemeral (old papers & napkins
Winsor Newton Matt Varnish spray
Leather String / Metal loop for pendant

I think my favorite brushes to use are filberts and flat but I use a variety of different shapes and sizes. The clay pieces are small so you will require some ultra fine brushes for the delicate details. I love System 3 brushes.
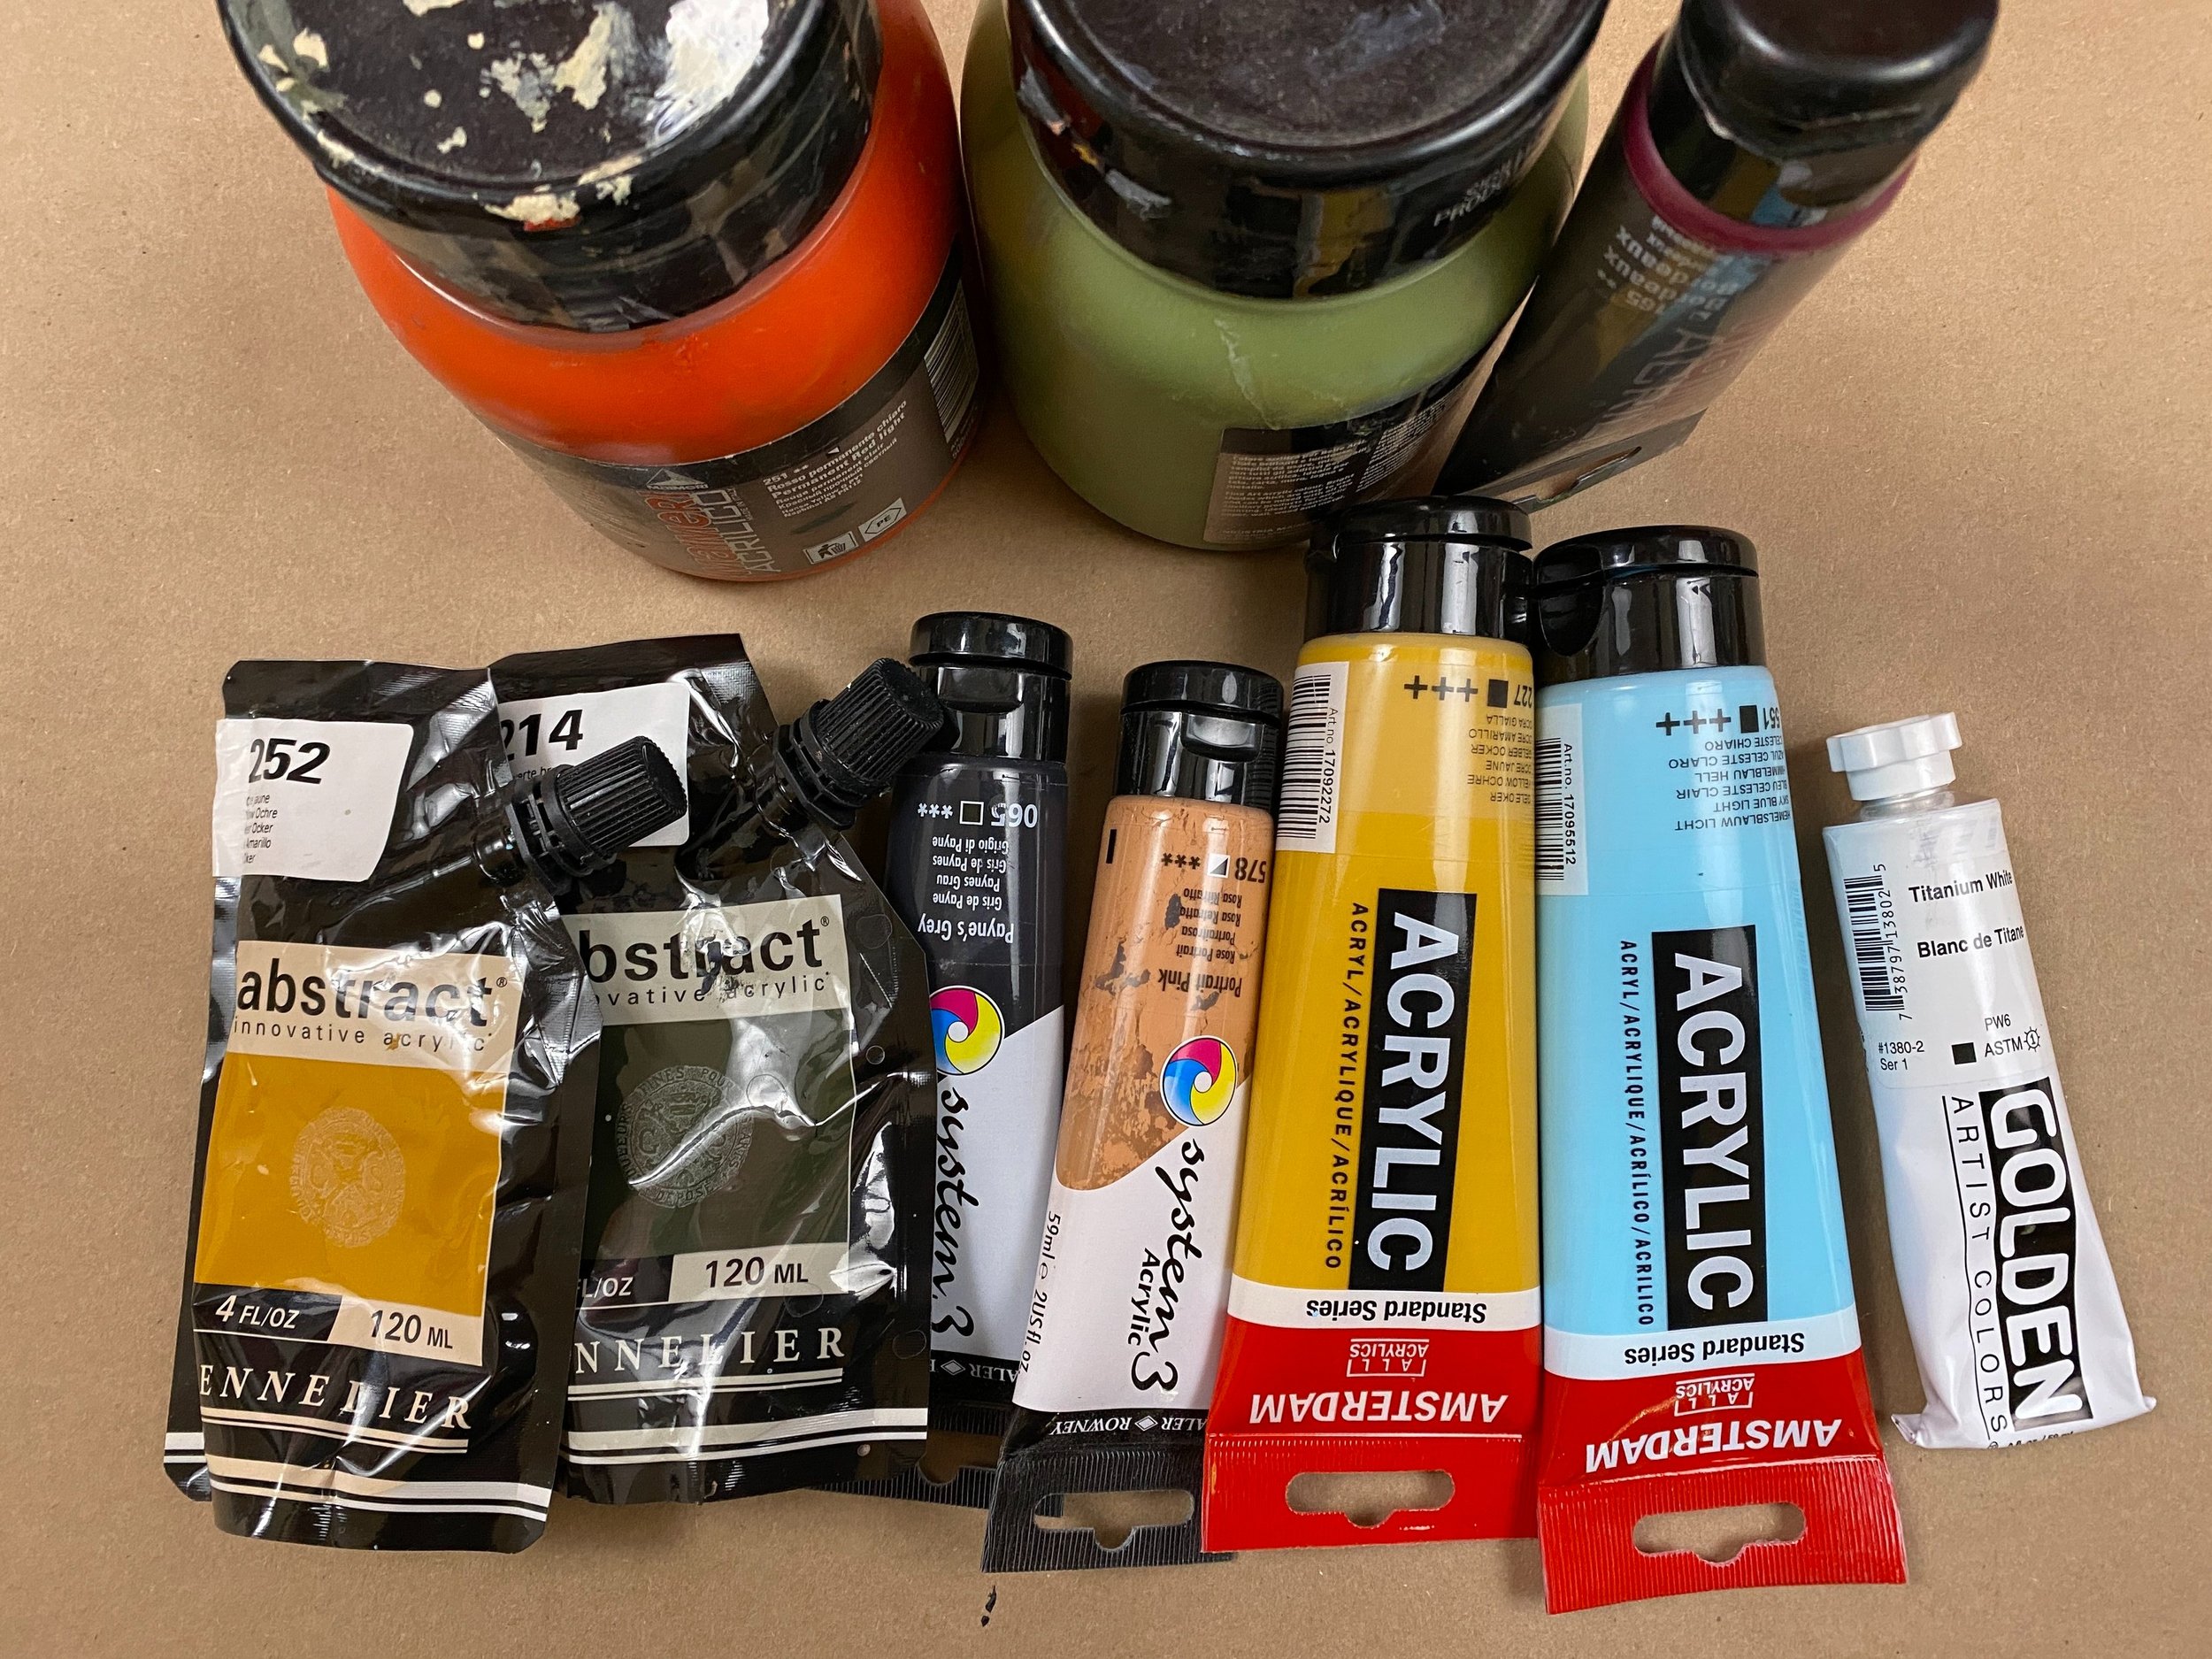
Some of brands I use… Sennelier Abstract, Amsterdam, Golden, Systems 3 and of course Maimeri. This collection of paints are all creamy and some are matt too. These paints seem to work well together too.
For the purpose of this class I pretty much use the same color palette the whole way through. It’s my “go-to” palette and it’s the base of all my lessons. In each lesson, I do share what paint color I used in my demonstration together with the brand. Although I don’t like to prescribe anything to you, especially in the painting department, I do want to share what I am working with in case you like it. I know for myself, I am very particular about what I use and I prefer to go with what I am comfortable using. That being said, I am always open to new ideas and exciting new things.
Personally, I am a Matt paint kind of girl and I tend to use a more matted version of everything.
varnish time
After each lesson, I will mention that it’s time to varnish and seal off your clay works. I use a matt varnish spray. I find it mutes down any shine and the high intensity of some brands. I love this finish.
Allow your clay to be thoroughly dry first before spraying.
Spray in a well ventilated room and with a mask on.
Leave your varnished piece to dry thoroughly before moving.
Please use with caution and exercise extreme care.
Now that we have the admin out of the way - let’s get started…
Introduction
Faces and more Faces
Starting small…
I want to show you how much fun making faces is and how having dry faces ready on hand can be a great lead out point to start any new project. A few of our lessons in this classroom start off with an already made and dried face, combining that with some kind of organic matter and I demonstrate how that leads into bigger and more complete works. It is a beautiful way to work and it has become one of my favorite ways of playing. Last year, I embarked on a month-long project called February Faces, where I created a new clay face every day. I later took each face further into a bigger project, which was the start of many new creations.
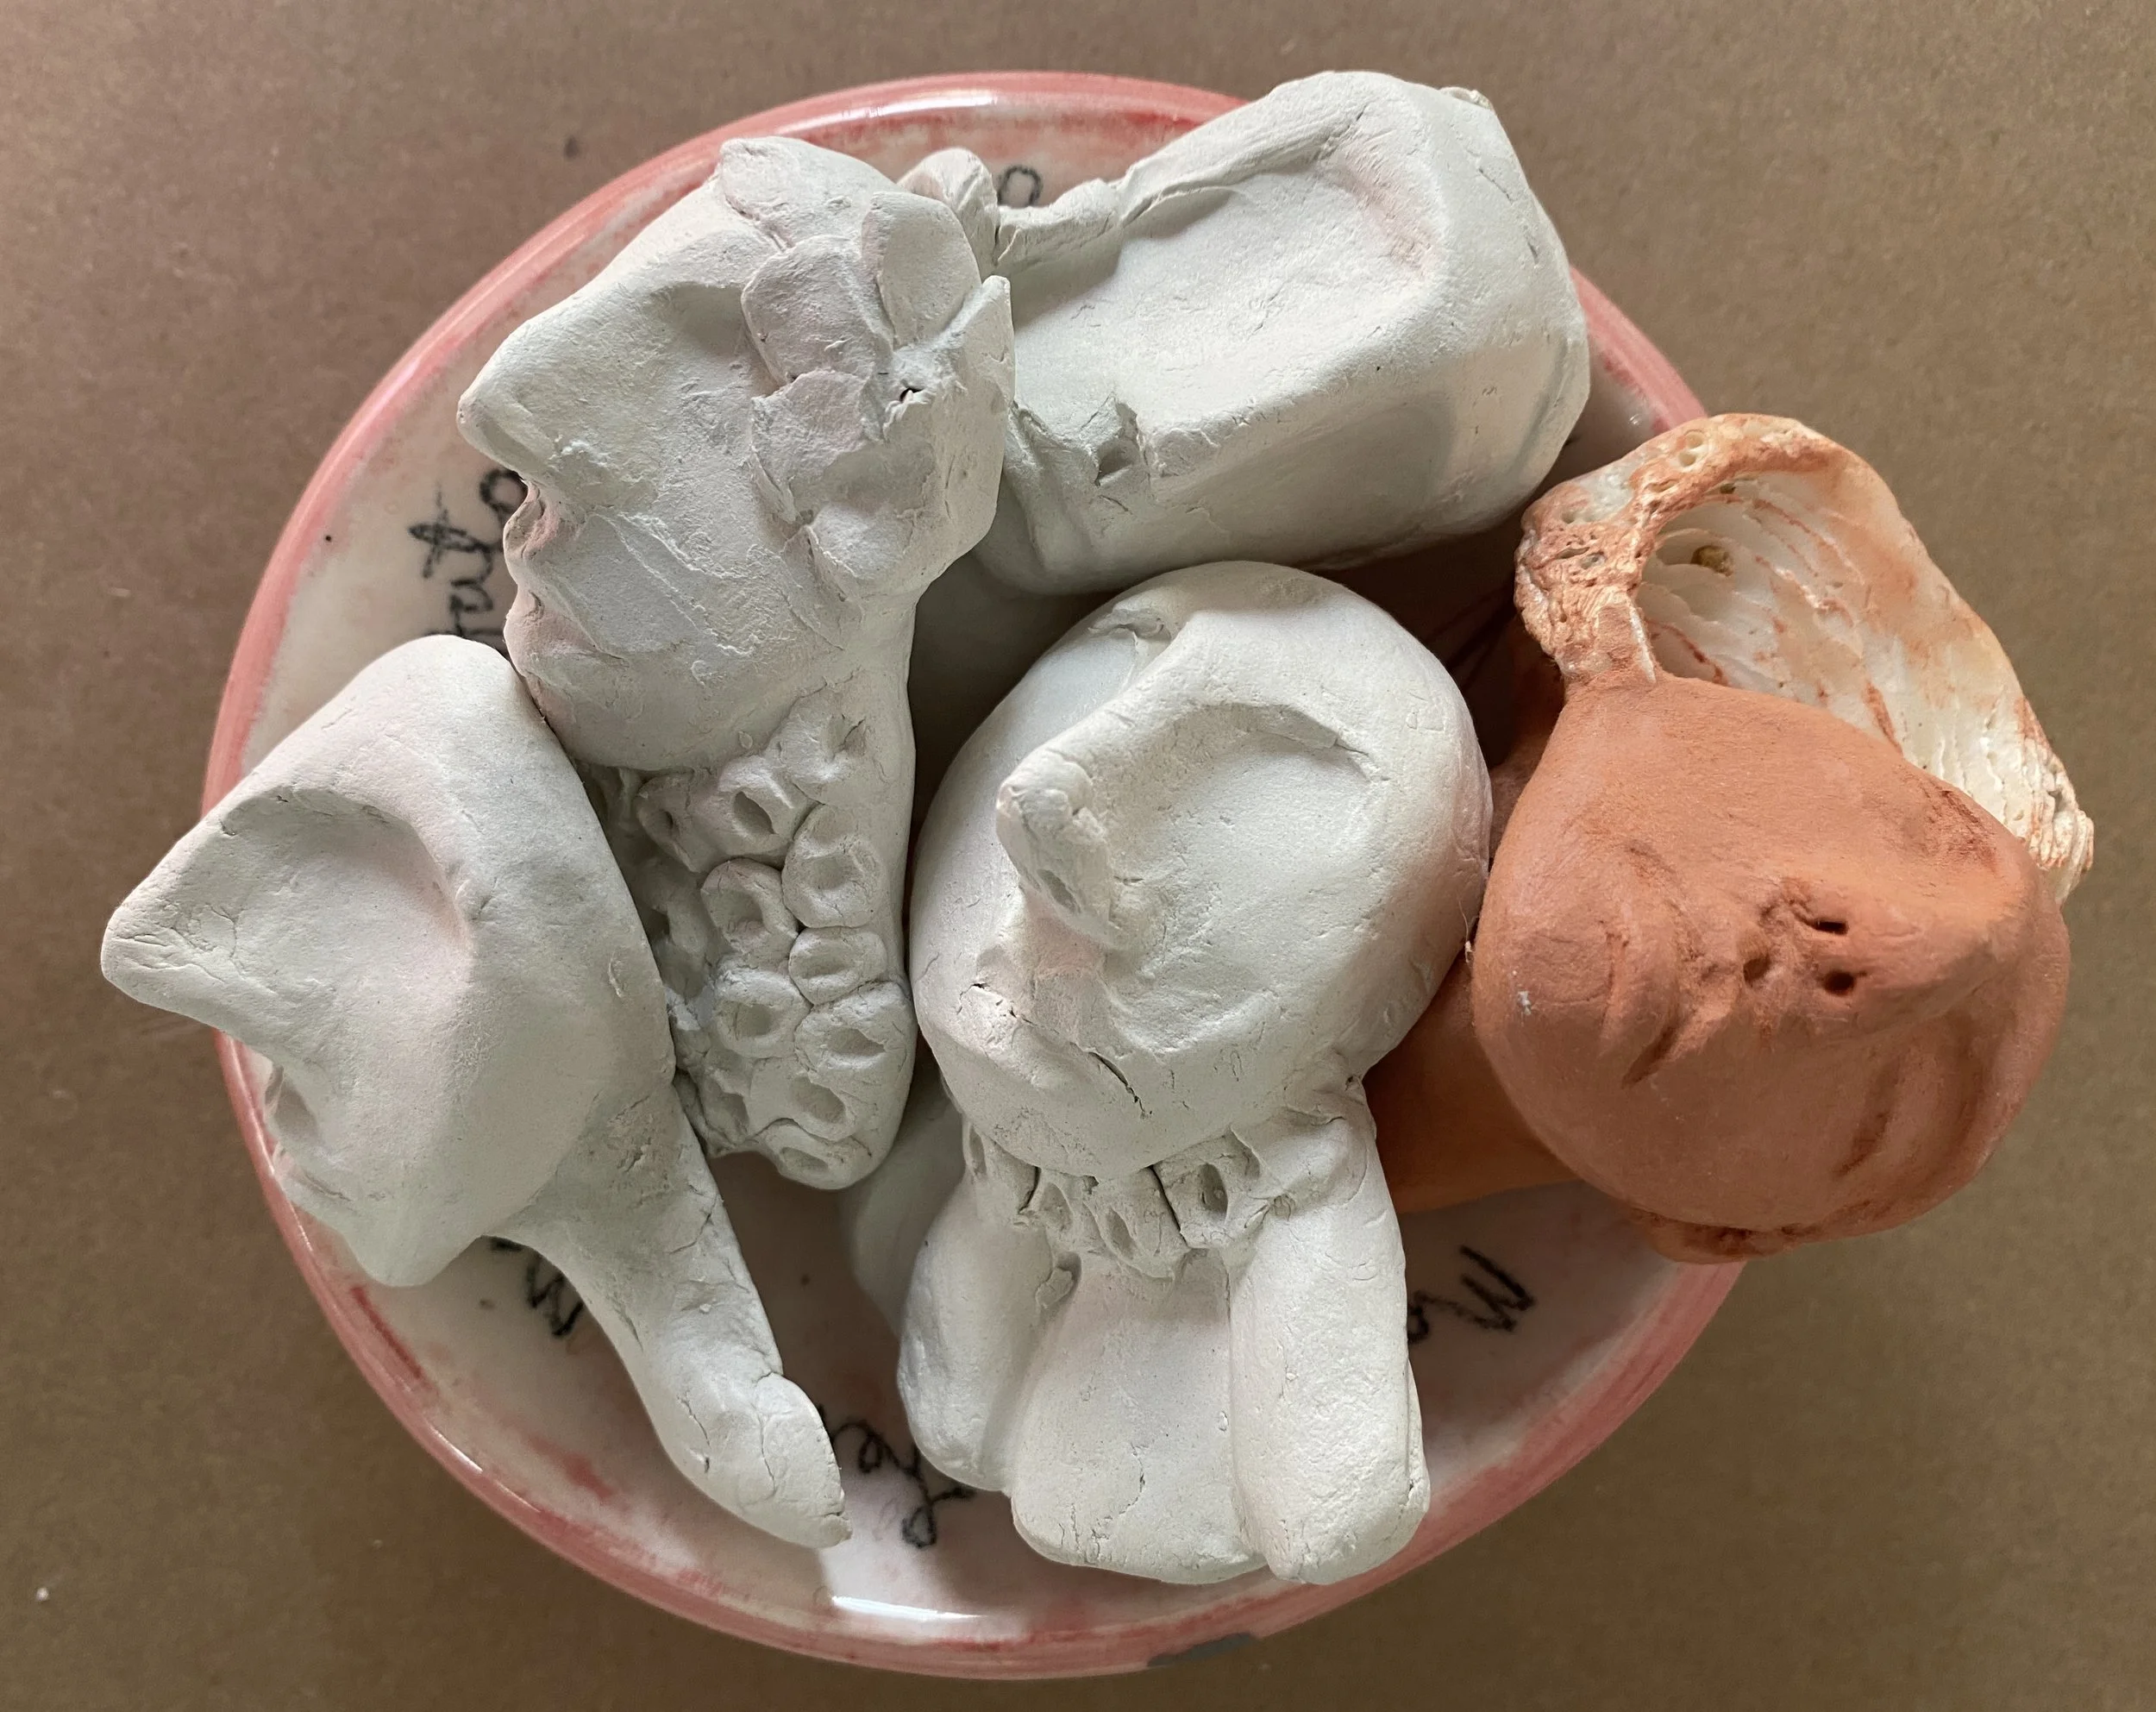
I spent around 45minutes on this lesson and created 3 new simple faces. After they dried, I added some added elements like flowers, patterns on their necks etc. and allowed them to dry again. Whenever I have a tiny bit of time or a little bit of clay available, I will quickly make a simple face or two. Sometimes while I am watching tv and I don’t want my hands to be idle, I will make a few faces and have them on standby. It has become a new kind of practice for me.