The Nature of Clay
Lesson 1

Lesson 1
Pebble Pendant
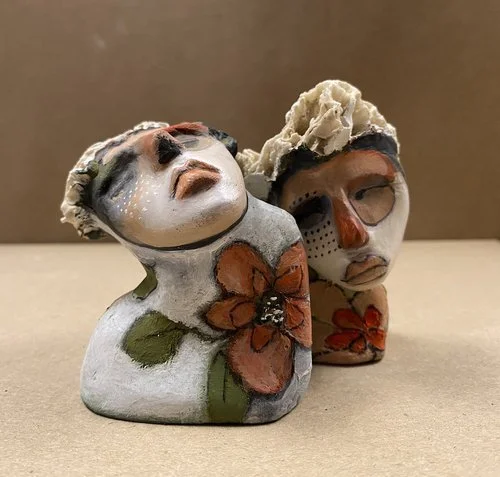
I found a beautiful tear-shaped stone on my beach during one of my walks and it turned out to be the perfect face shape. I knew immediately what I was going to make with it. It is a wonderful way to make faces and if you are new to the practice, I do recommend using pebbles as an armature. It may be a little less overwhelming and working with armatures helps tremendously.
This is a perfect place to start… with your first organic armature.
Supplies:-
PaperClay and Clay tools
Pebble
Pendant loop
Leather string
Rose shaped silicon mould
Acrylic Paints and white neocolor crayon
Once you have selected your pebble, wet it lightly with water before applying your paper clay. Don’t over wet it because it will cause the clay to slip right off. My pebble was on the smallish side but it was really lovely in the end and rather perfect for a pendant.
The loop I used at the back was a picture hanging loop but I usually look for small things I can find at home. It is amazing what you can find when you start looking. Also scout around your hardware stores to see what you can find.
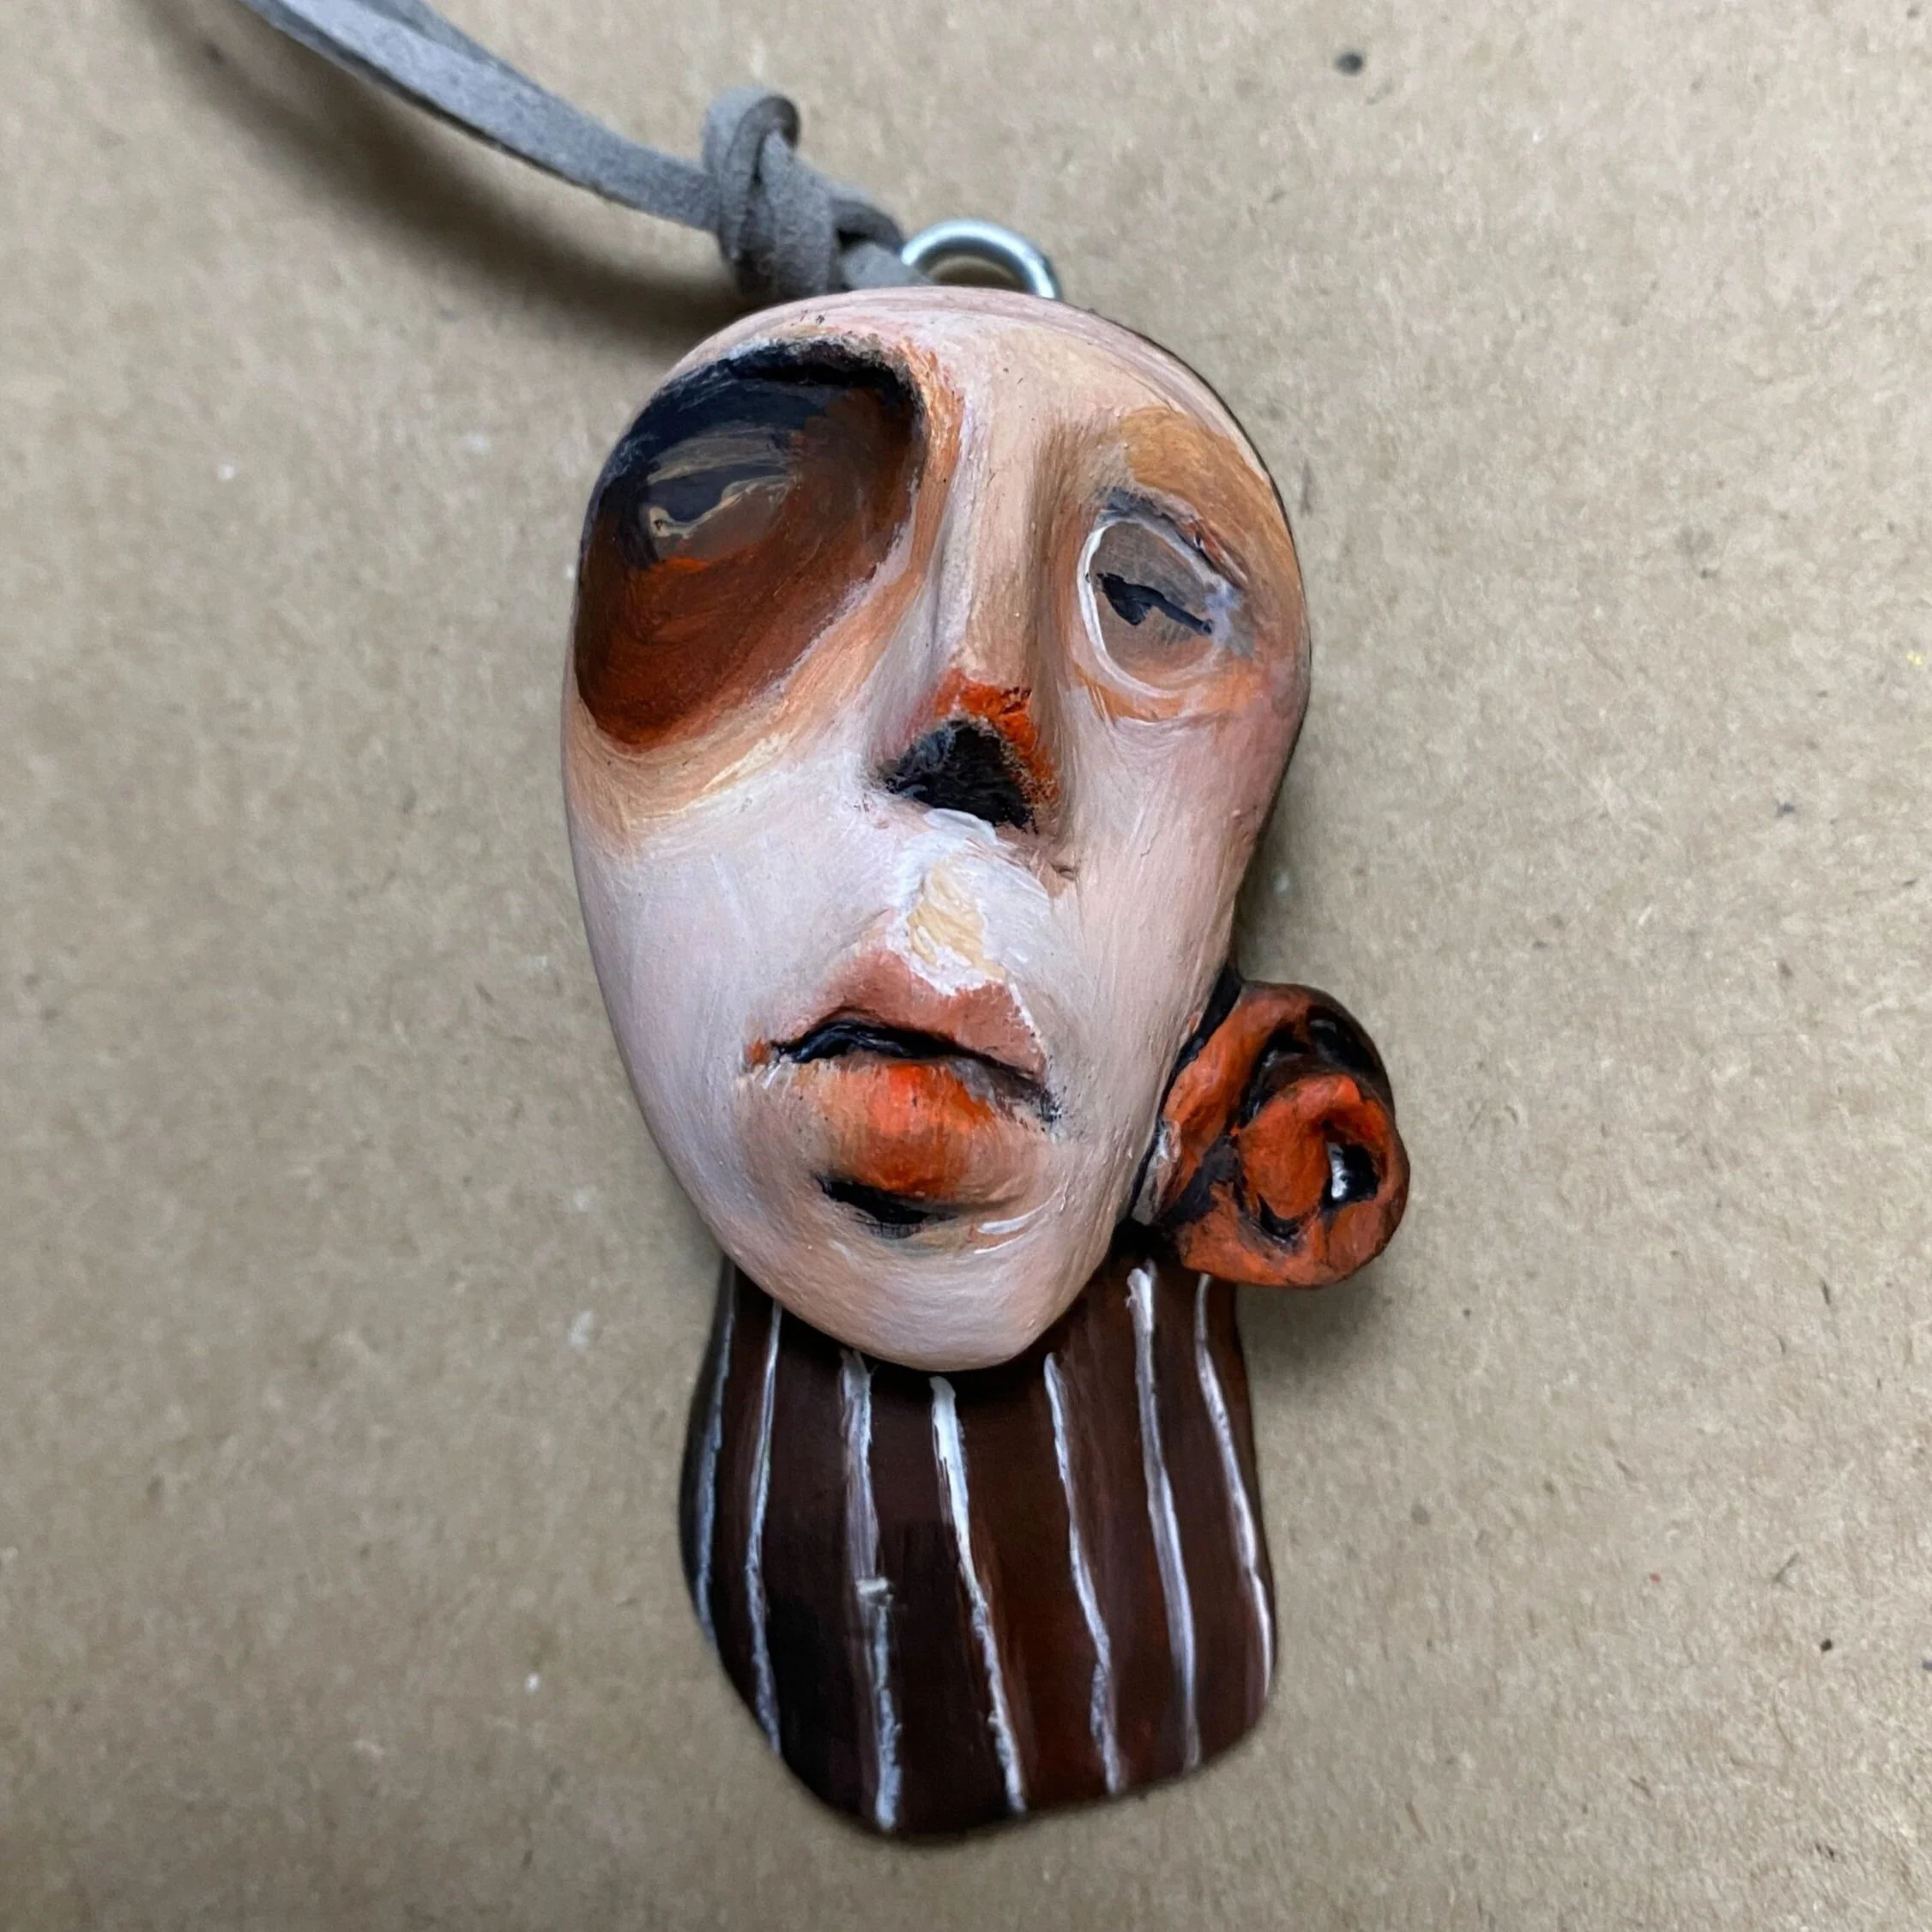
I used a rose silicon mould to make my flower. It’s a fun way to make added features and equally as pleasing.


lesson 1a - Making your pebble pendant
Now that she’s finished, allow her to dry overnight. The wonderful part about having an inner armature means that your piece should dry much quicker than if you were creating a face all out of clay. If your piece is cold to the touch, then it is not dry yet. Allow it to be neutral in temperature… then it’s dry.
The perk of working this small means there shouldn’t be any cracks or damage during the drying process. I do recommend that your pendant be fully dry before you start the painting process.
Painting
I love this part of the journey as much as I do creating these soulful little beings.
You never know where the paint is going to lead you, but like the clay part, trust the process. I have learnt over the years to allow the art to lead the way. I love the shape and form of this quirky being. It is not perfect but quite delightful and the form and shape feels lovely in my hands. I’m not sure about you, but when I have a pendant necklace on, touching and feeling the form is very important to me, almost like a kind of touchstone through the day.

Paint and Method
Before I start painting any of my dry clay works, I give it a light sand with a fine grained sandpaper and work out any blemishes that might have presented themselves. This step also allows me to see if any areas need reworking.
After sanding, I use a soft watercolor brush and give my clay piece a light wash with water. This sorts out all the fluffy fibres that now might be standing up on end. Remember that paper clay is made from paper, and sanding causes the fibres to stand on end. By adding water you are reactivating the glue in the medium to rebind the fibres back on themselves. Giving a beautiful smooth finish to your paperclay. I often get asked how I get my works so smooth, so this is a little tip / trick I picked up over the years.
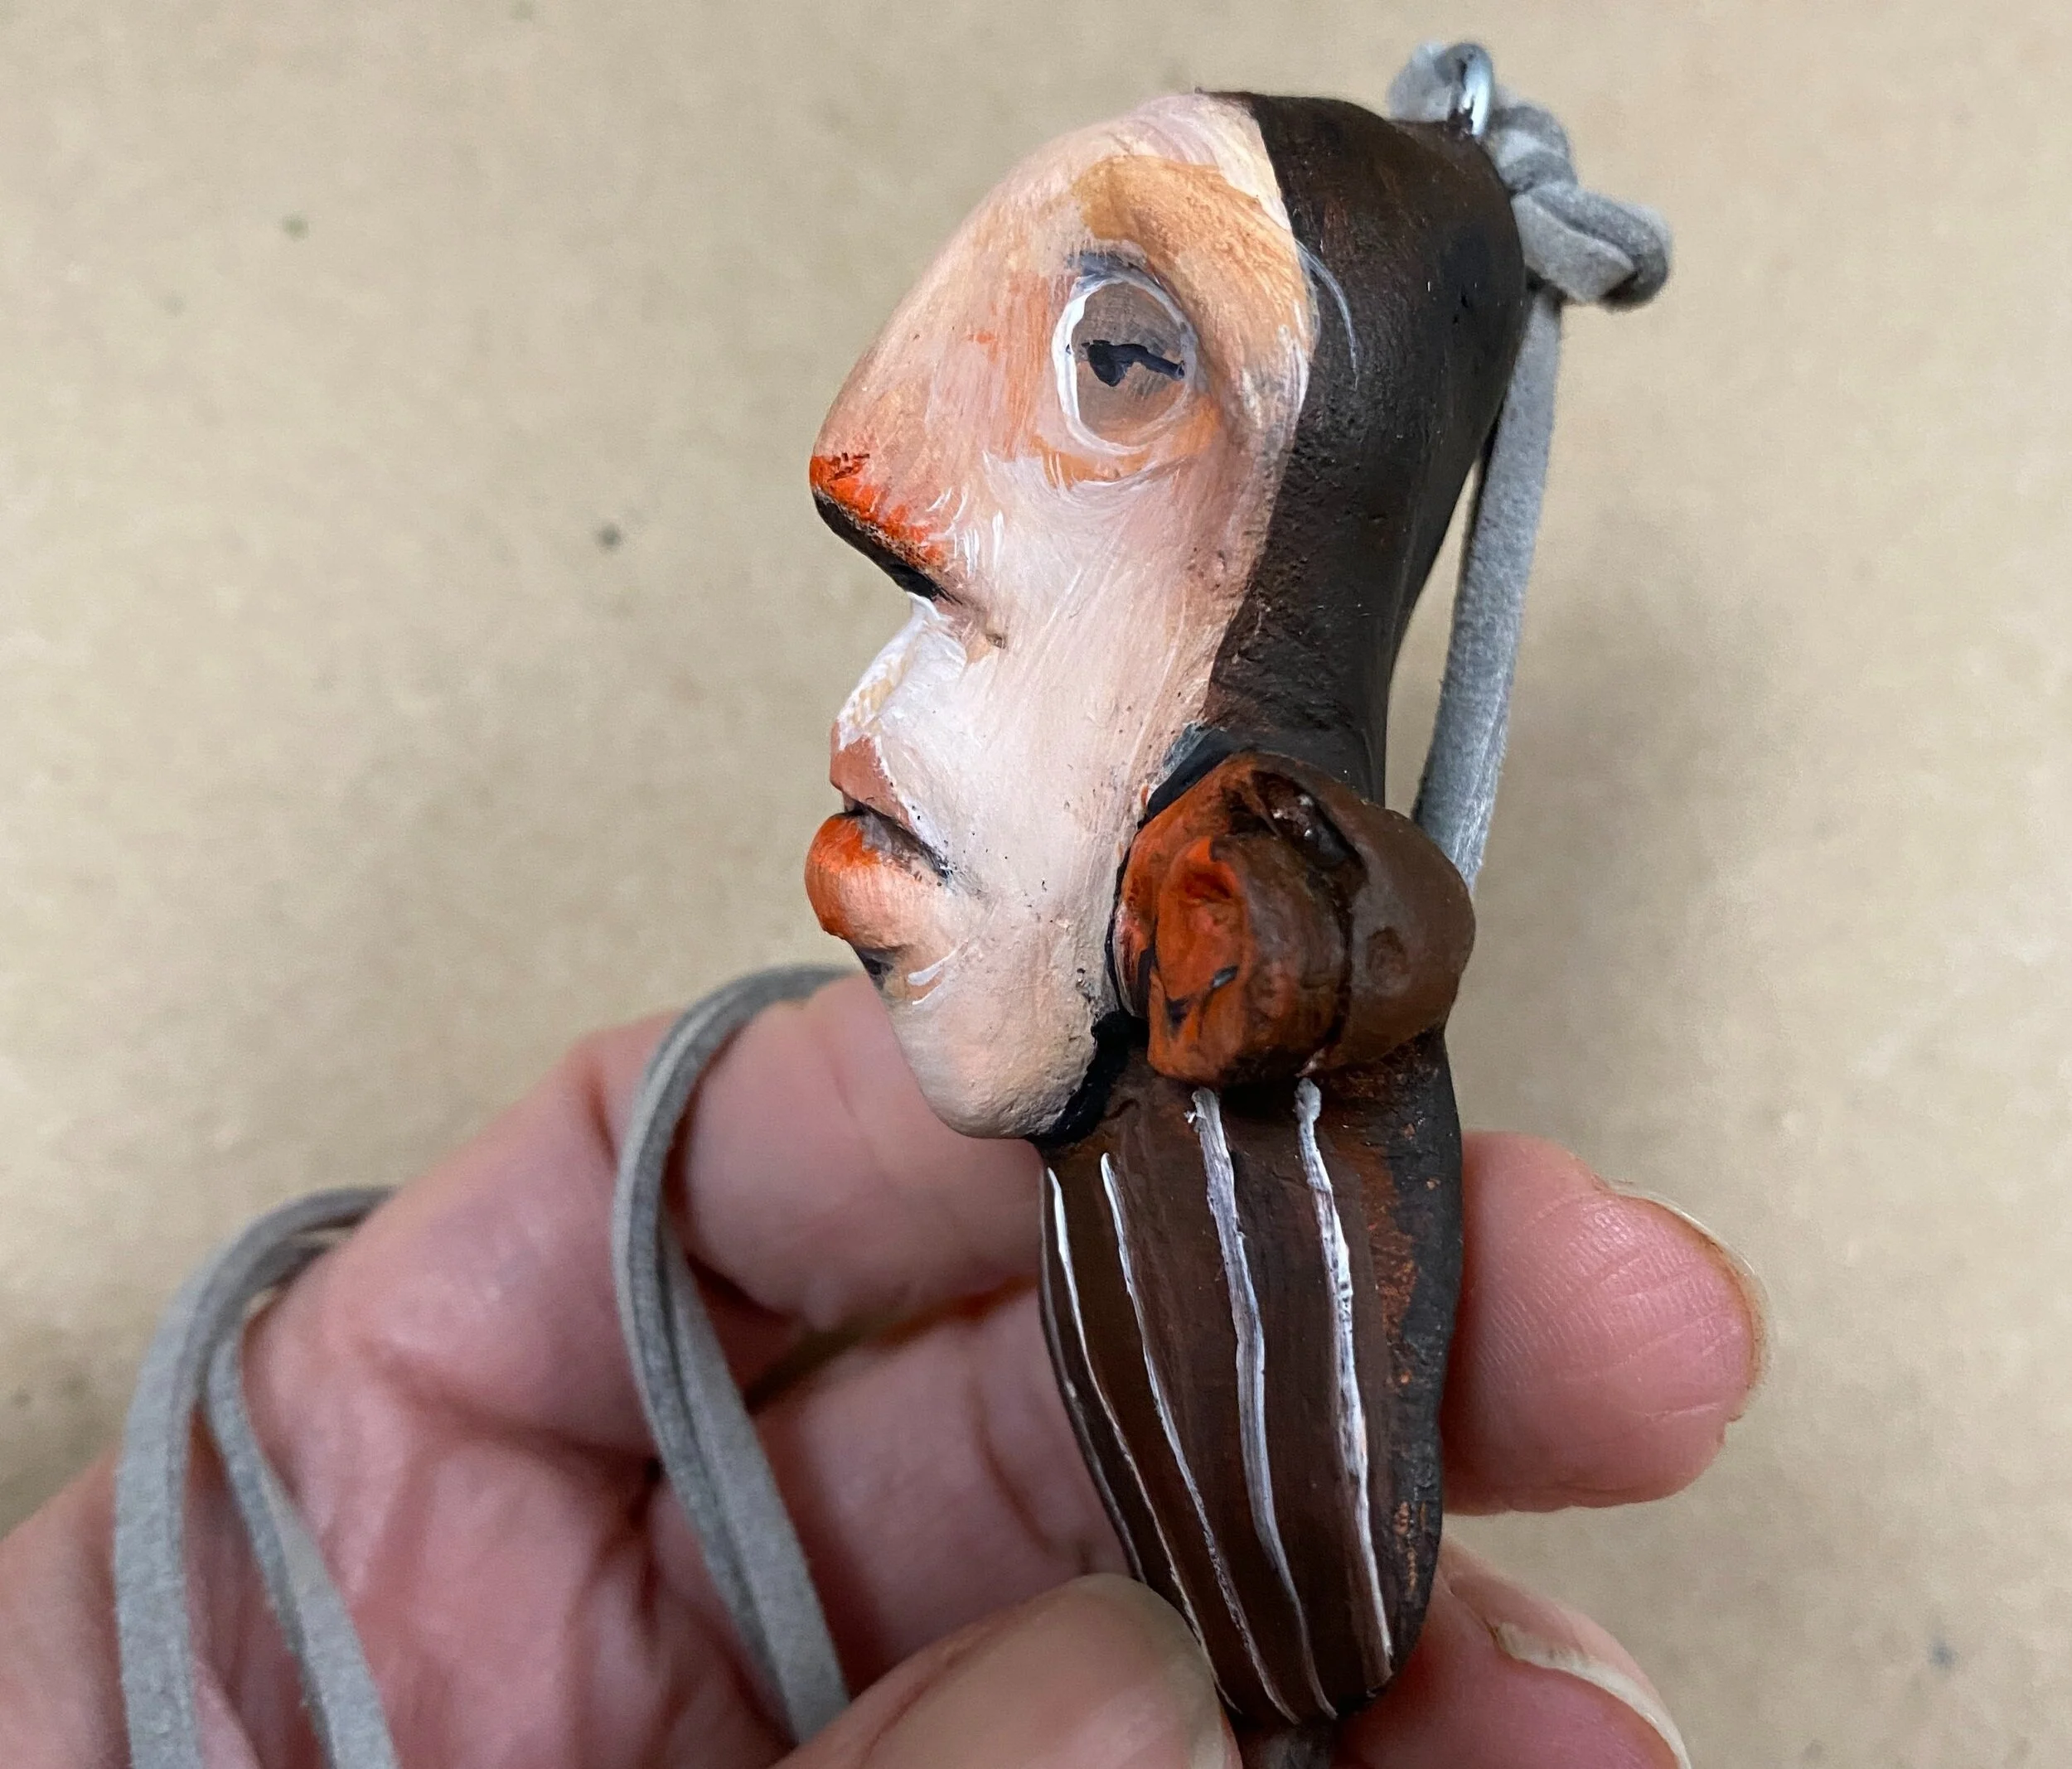
Like the way I start all my painting projects, I start by laying down my dark undertones. I start with Paynes Grey (Systems 3).
Once my cast shadows are down, I immediately start adding my Cadmium Scarlet Hue (System 3) and at one point my face is fully red. It is a wonderful undertone. Thereafter, I start laying up with my lighter colors, Portrait Pink (Systems 3) and a heavy body Titanium White (Golden).
I add my Yellow Ochre (Amsterdam) every now and again.
The deep oxide color you see on the neck and around the eye is a combination of mixing my Paynes Grey and Cadmium Scarlet Hue together. It happened organically and I loved the combination so I continued to use it throughout
I tend to use a wet on wet paint technique and I tend to do lots of layers mainly because I am using a less heavy bodied paint. I know this isn’t a technique that everyone will love or have the patience for, so please do what best works for you. That being said, I have discovered that the more layers I do, the more finished my piece looks in the end.
lesson 1b - painting your pebble pendant
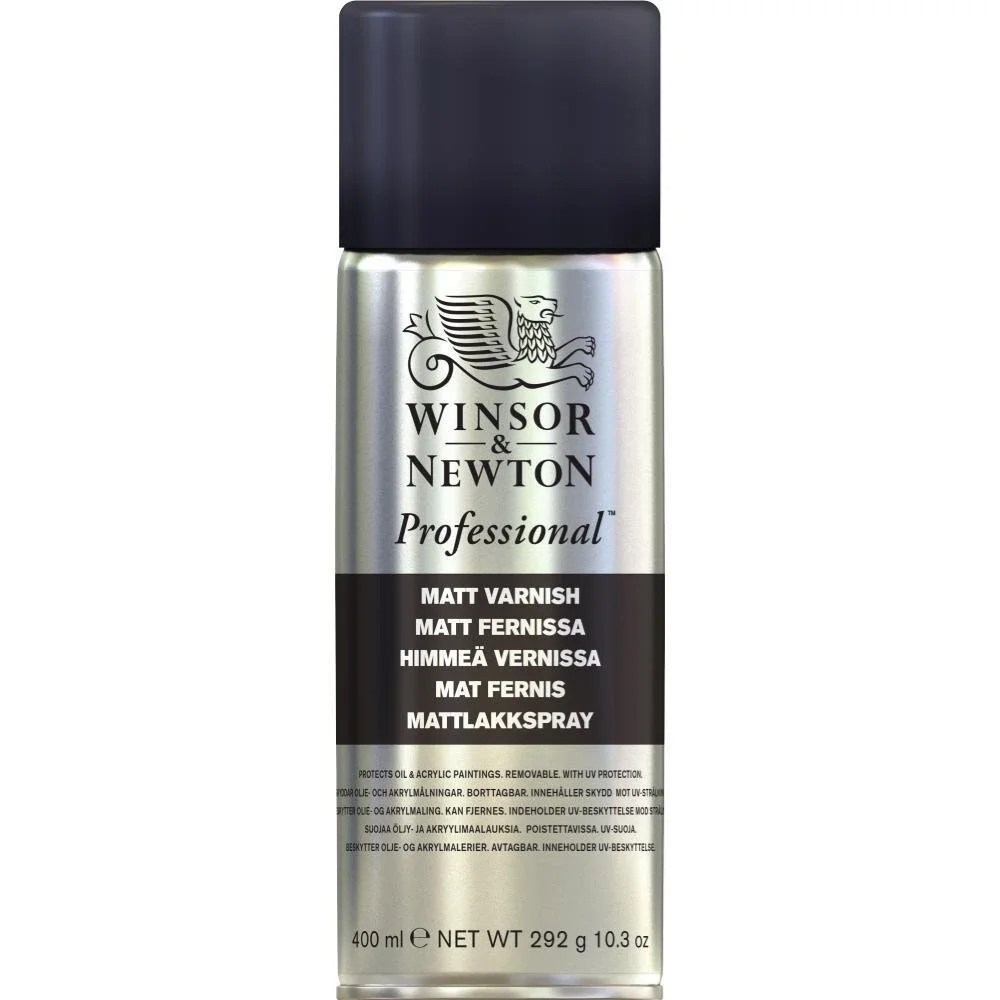
varnish time
It’s time to varnish and seal off your clay works. I use a matt varnish spray. I find it mutes down any shine and the high intensity of some brands. I love this finish.
Allow your painting to be thoroughly dry first before spraying.
Spray in a well ventilated room and with a mask on.
Leave your varnished piece to dry thoroughly before moving.
Please use with caution and exercise extreme care.
Once your painting and varnish is fully dry, go ahead and add your leather string.
I like mine long so my string is around 17”.