The Nature of Clay
Lesson 3

Lesson 3
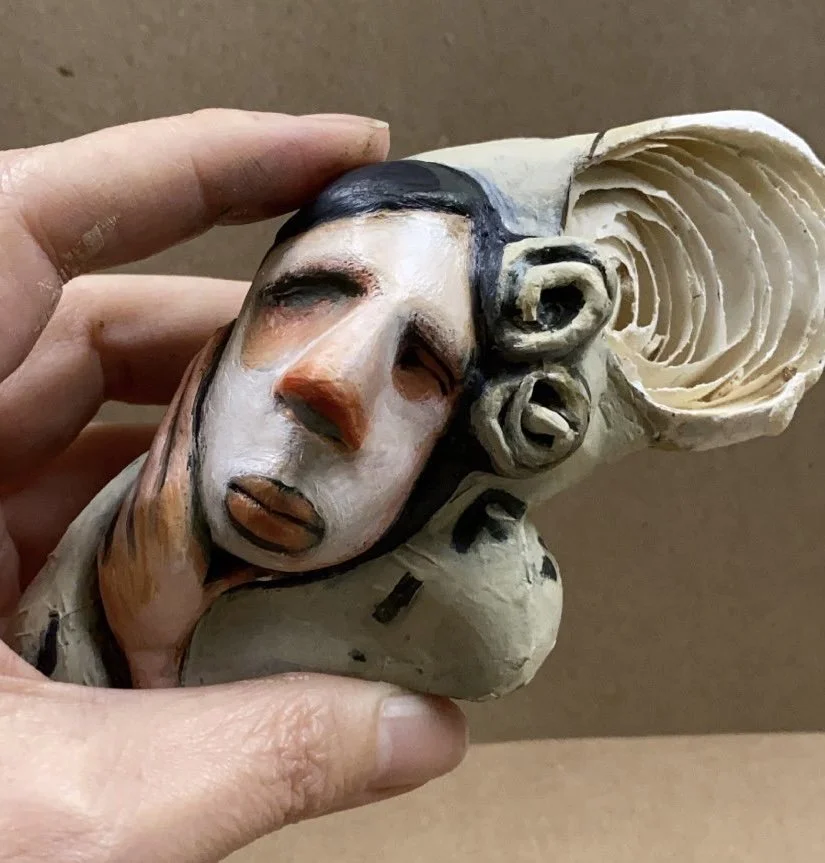
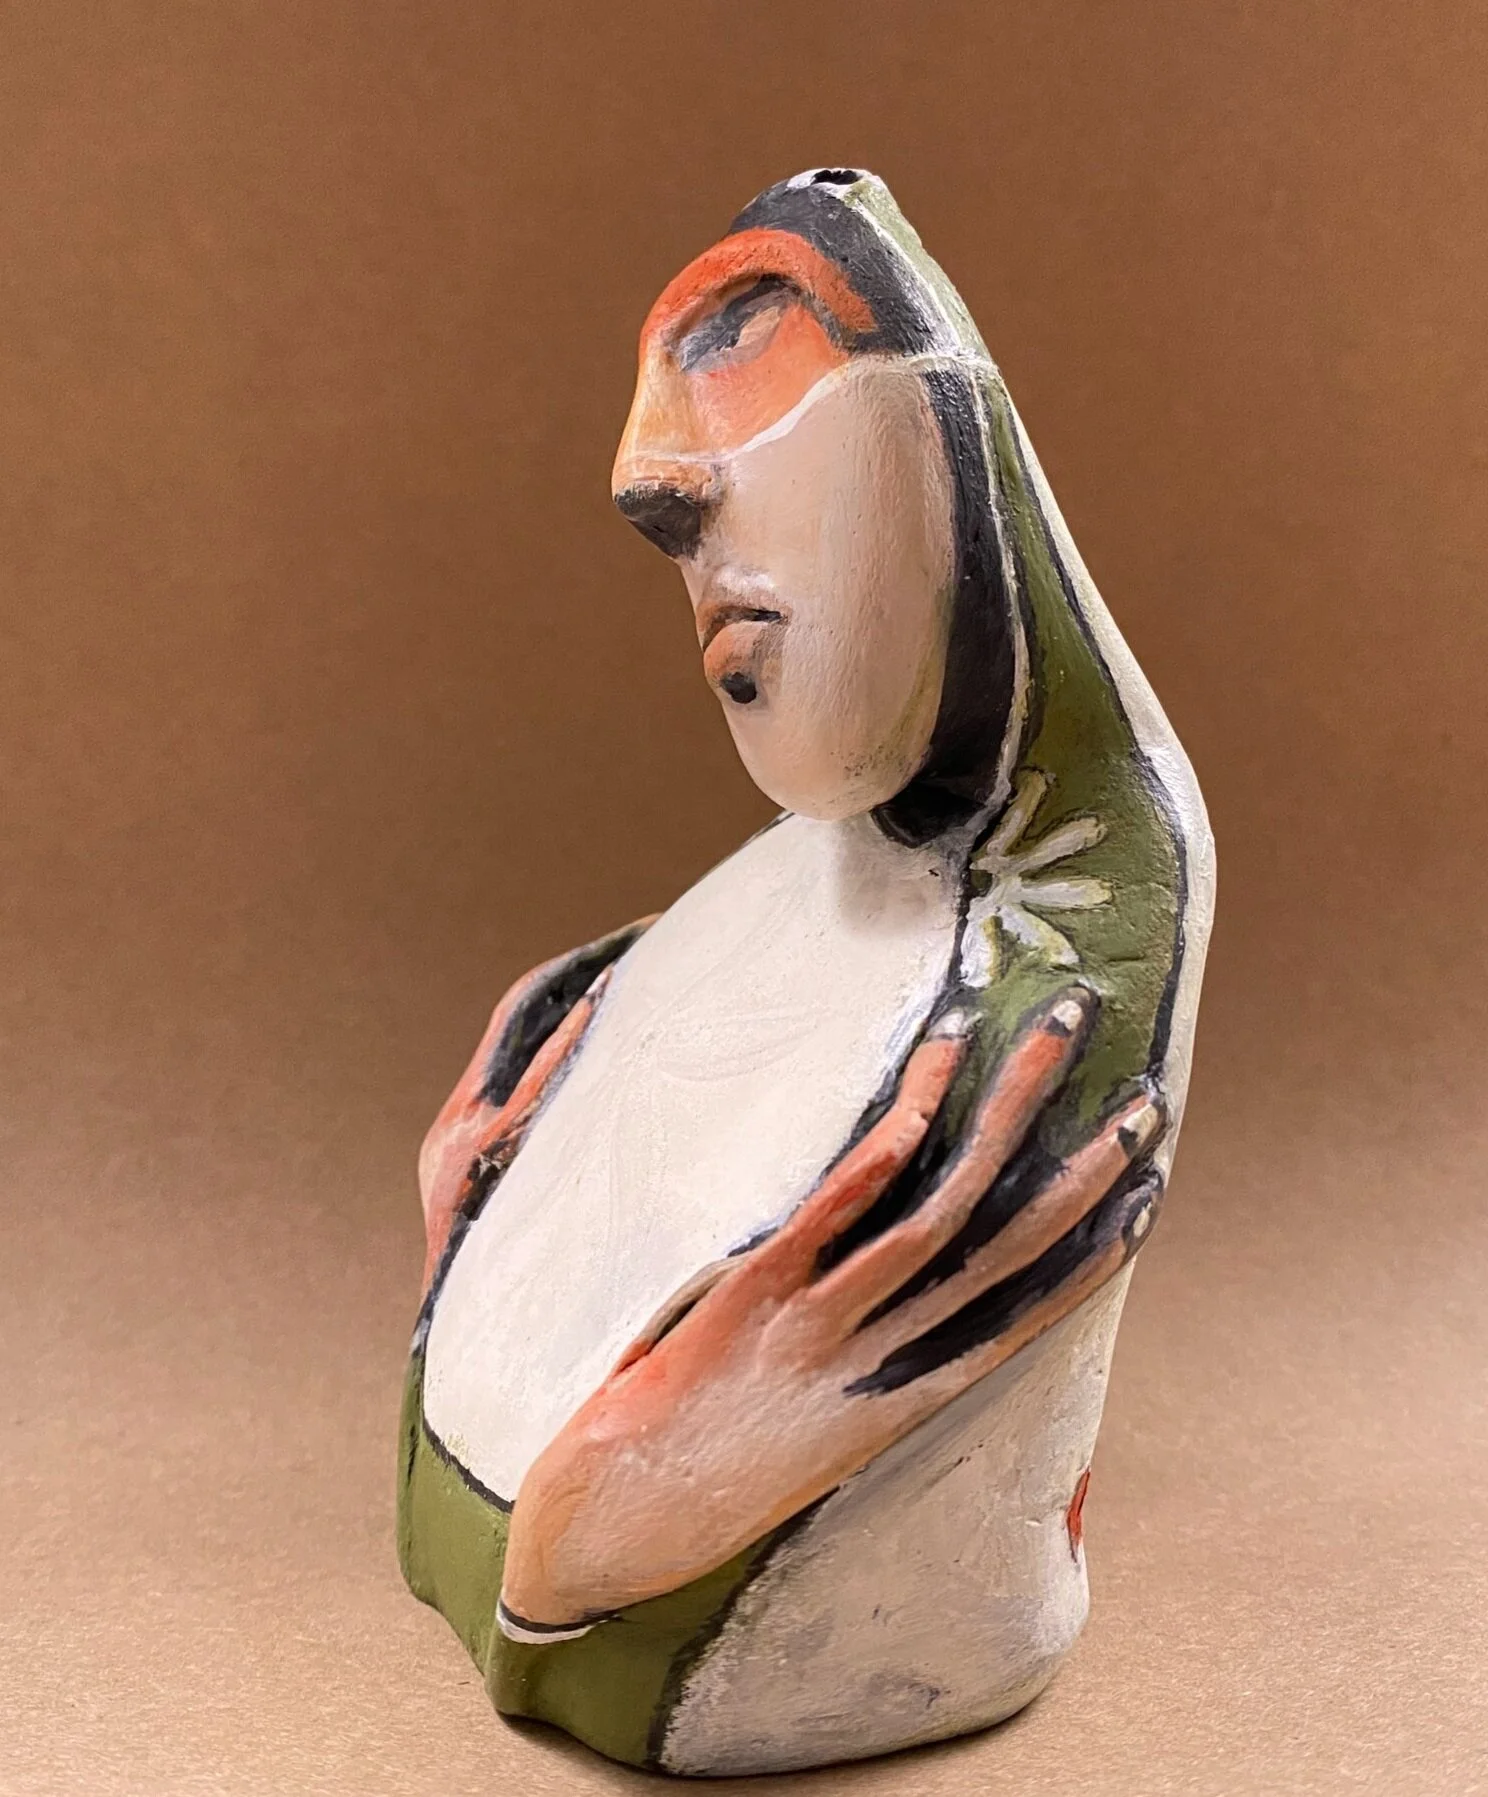
The Protected
This lesson starts with an already made pebble face, dried and ready to be used and a delicate SandDollar shell. The pebble was one I found on my beach but my SandDollar shell was not found locally or on my coastline. My daughter found it for me when she was visiting the island of Mauritius. They can be rather rare on my coastlines but if you are lucky to find one, they are much smaller in size and rather different in shape and feel.
The one I used was quite fragile and porous so I had to work carefully.
Getting to combine my pebble face with this delicate SandDollar Shell was so special to me. It felt like giving this treasure a new life and kind of a beautiful way to keep a treasured keepsafe safe in a sacred way.
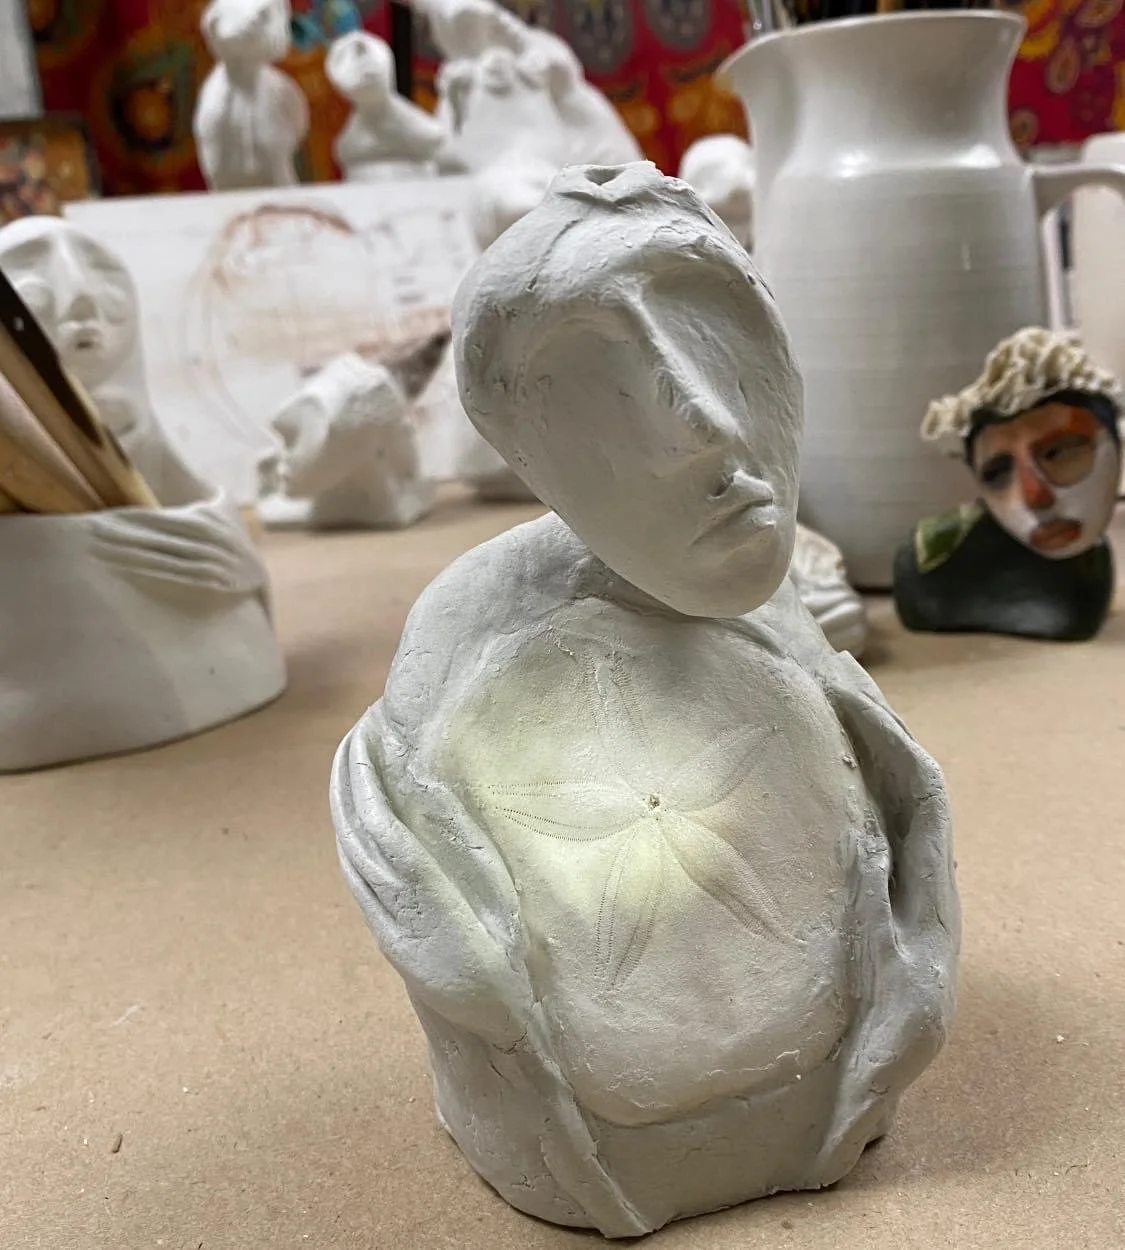
For this lesson I also wanted to include hands and I wanted her to be a bigger in size compared to lessons 1 and 2.
resource
You might not be able to find SandDollars in your neck of the woods or on your coastline, so I did a bit of digging on Etsy and found some exquisite ones available for sale. I love how each coastline have their own unique SandDollar species. I could see all of these unique shells merged with paperclay and the most beautiful beings created.
Click on each one to lead you to the Etsy shop.
Happy searching.

SandDollar - Washington Coast

SandDollar - Mexican Arrowhead/Keyhole

SandDollar - Northern California
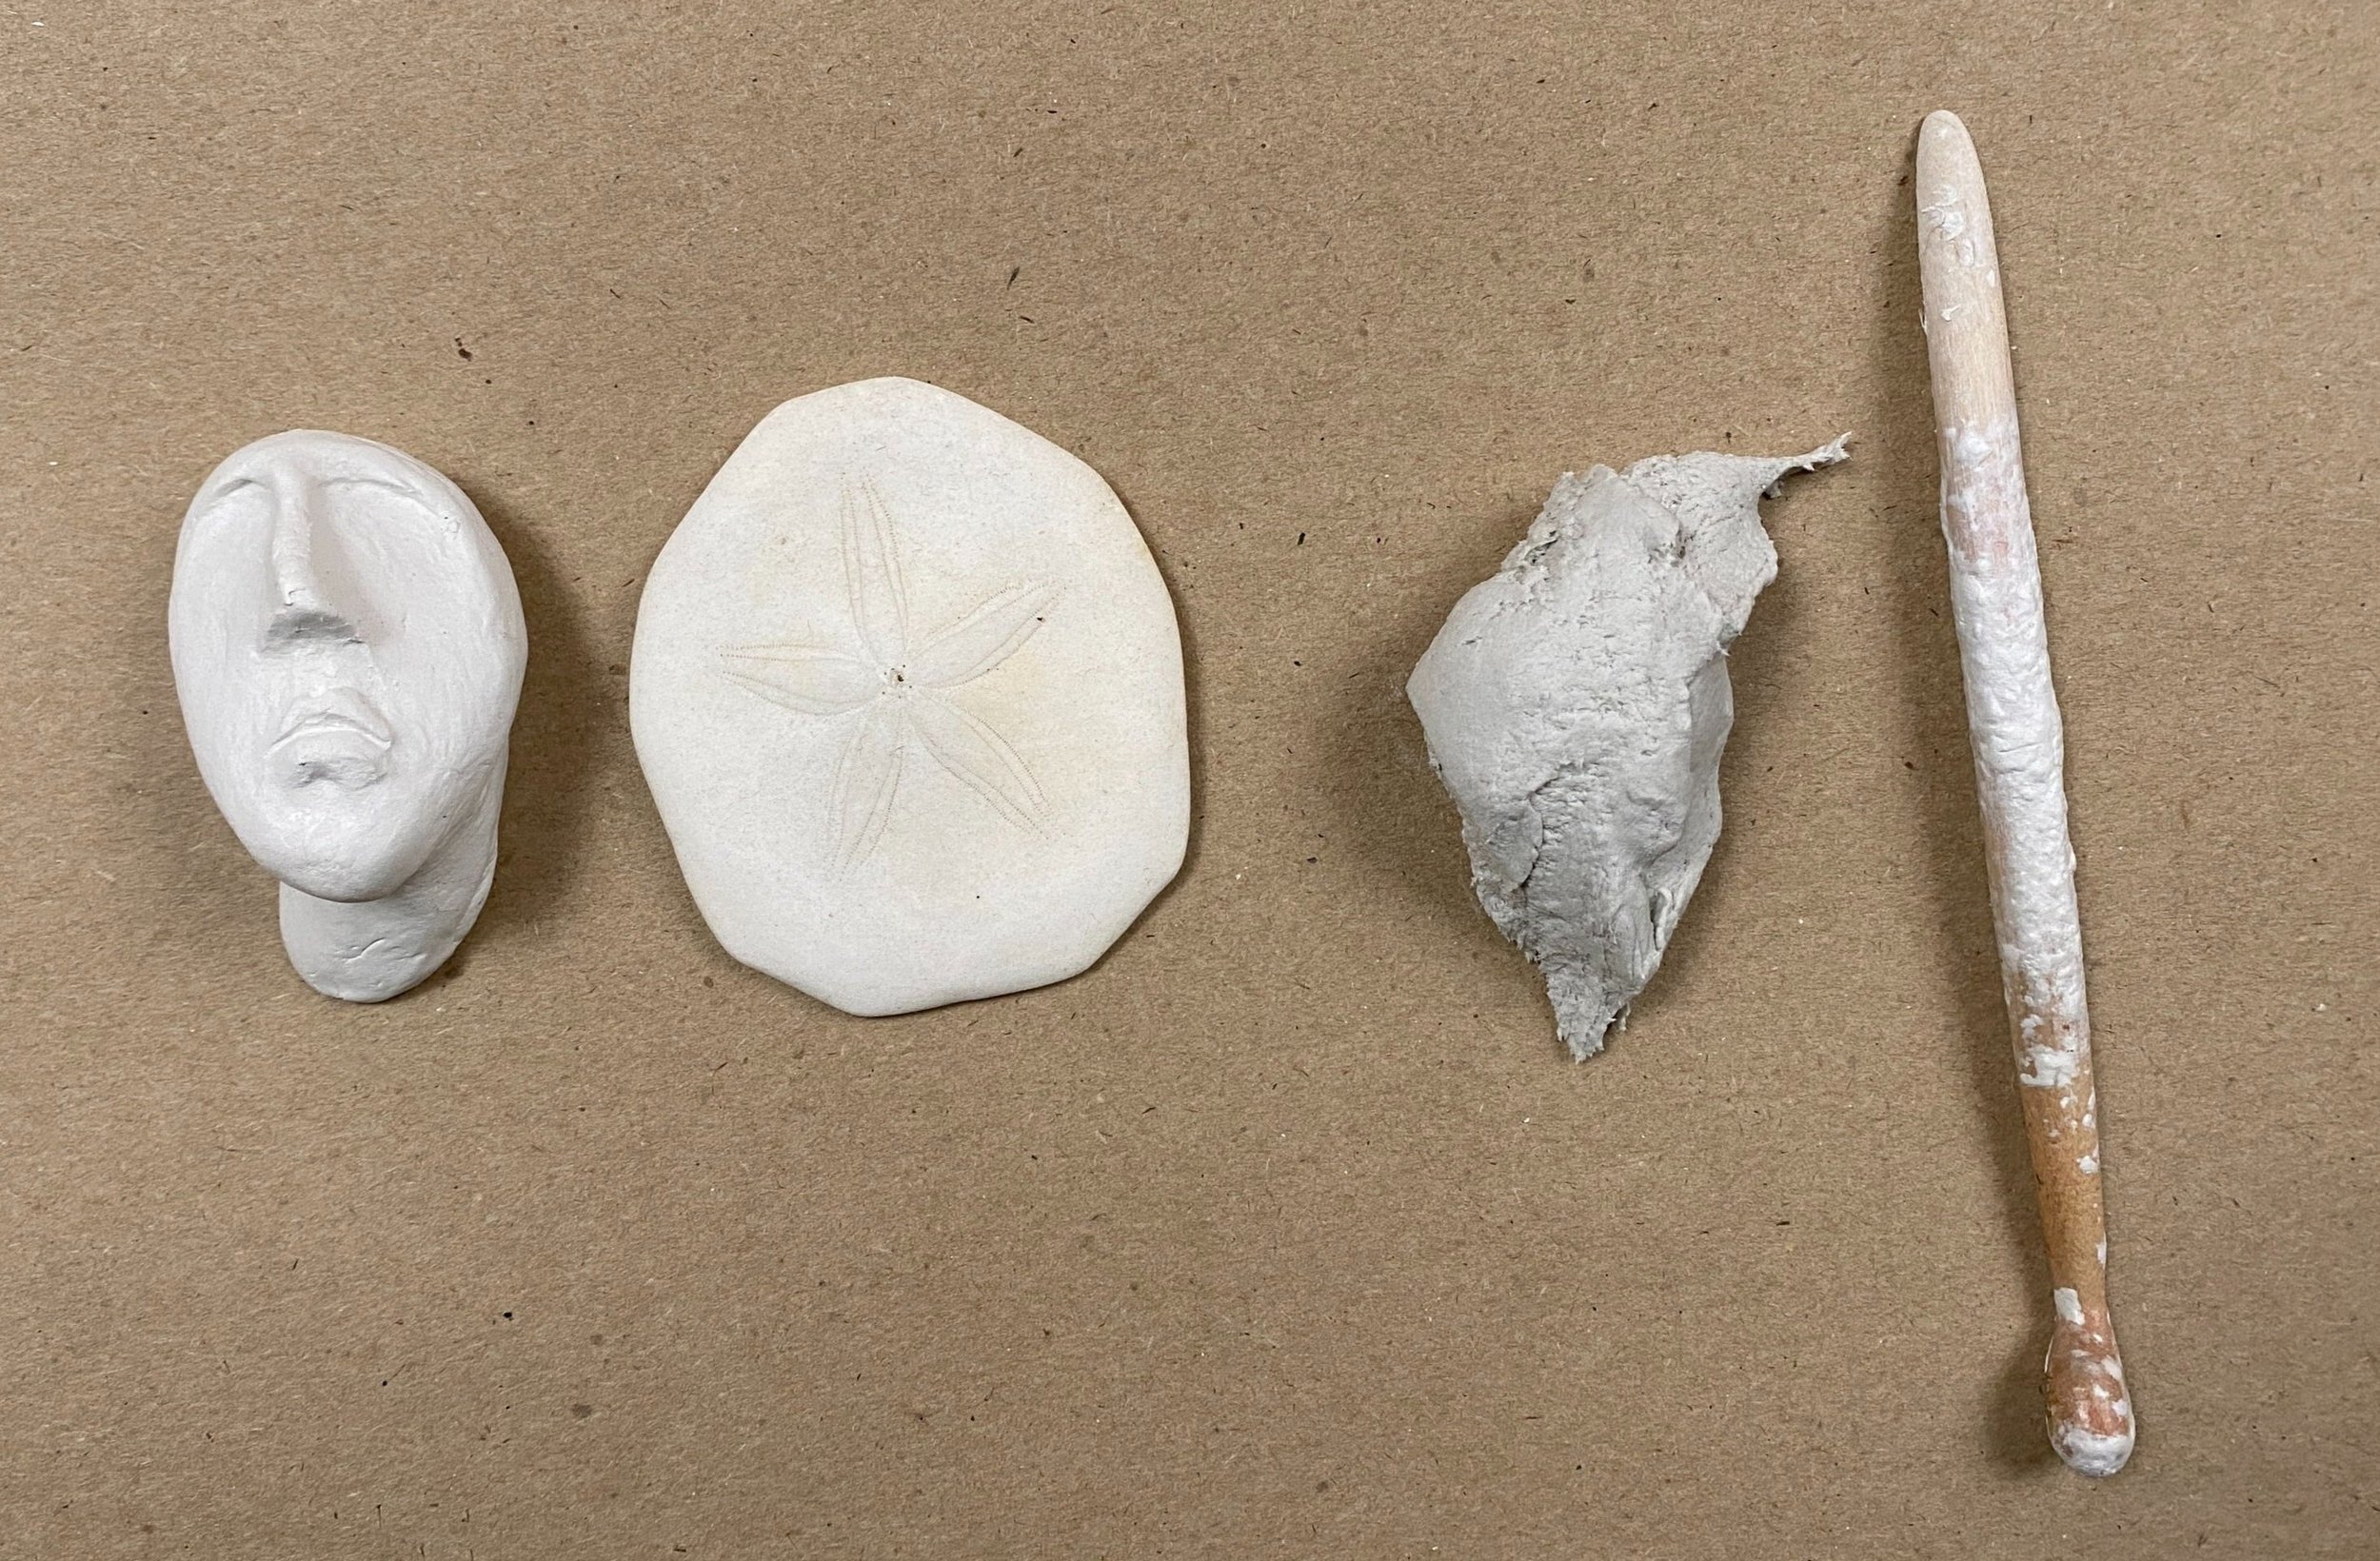
supplies:-
Pebble face, ready made and dry
SandDollar Shell, cleaned
Paperclay / Airdrying Clay and Tools

Lesson 3a - Making The Protected
Painting
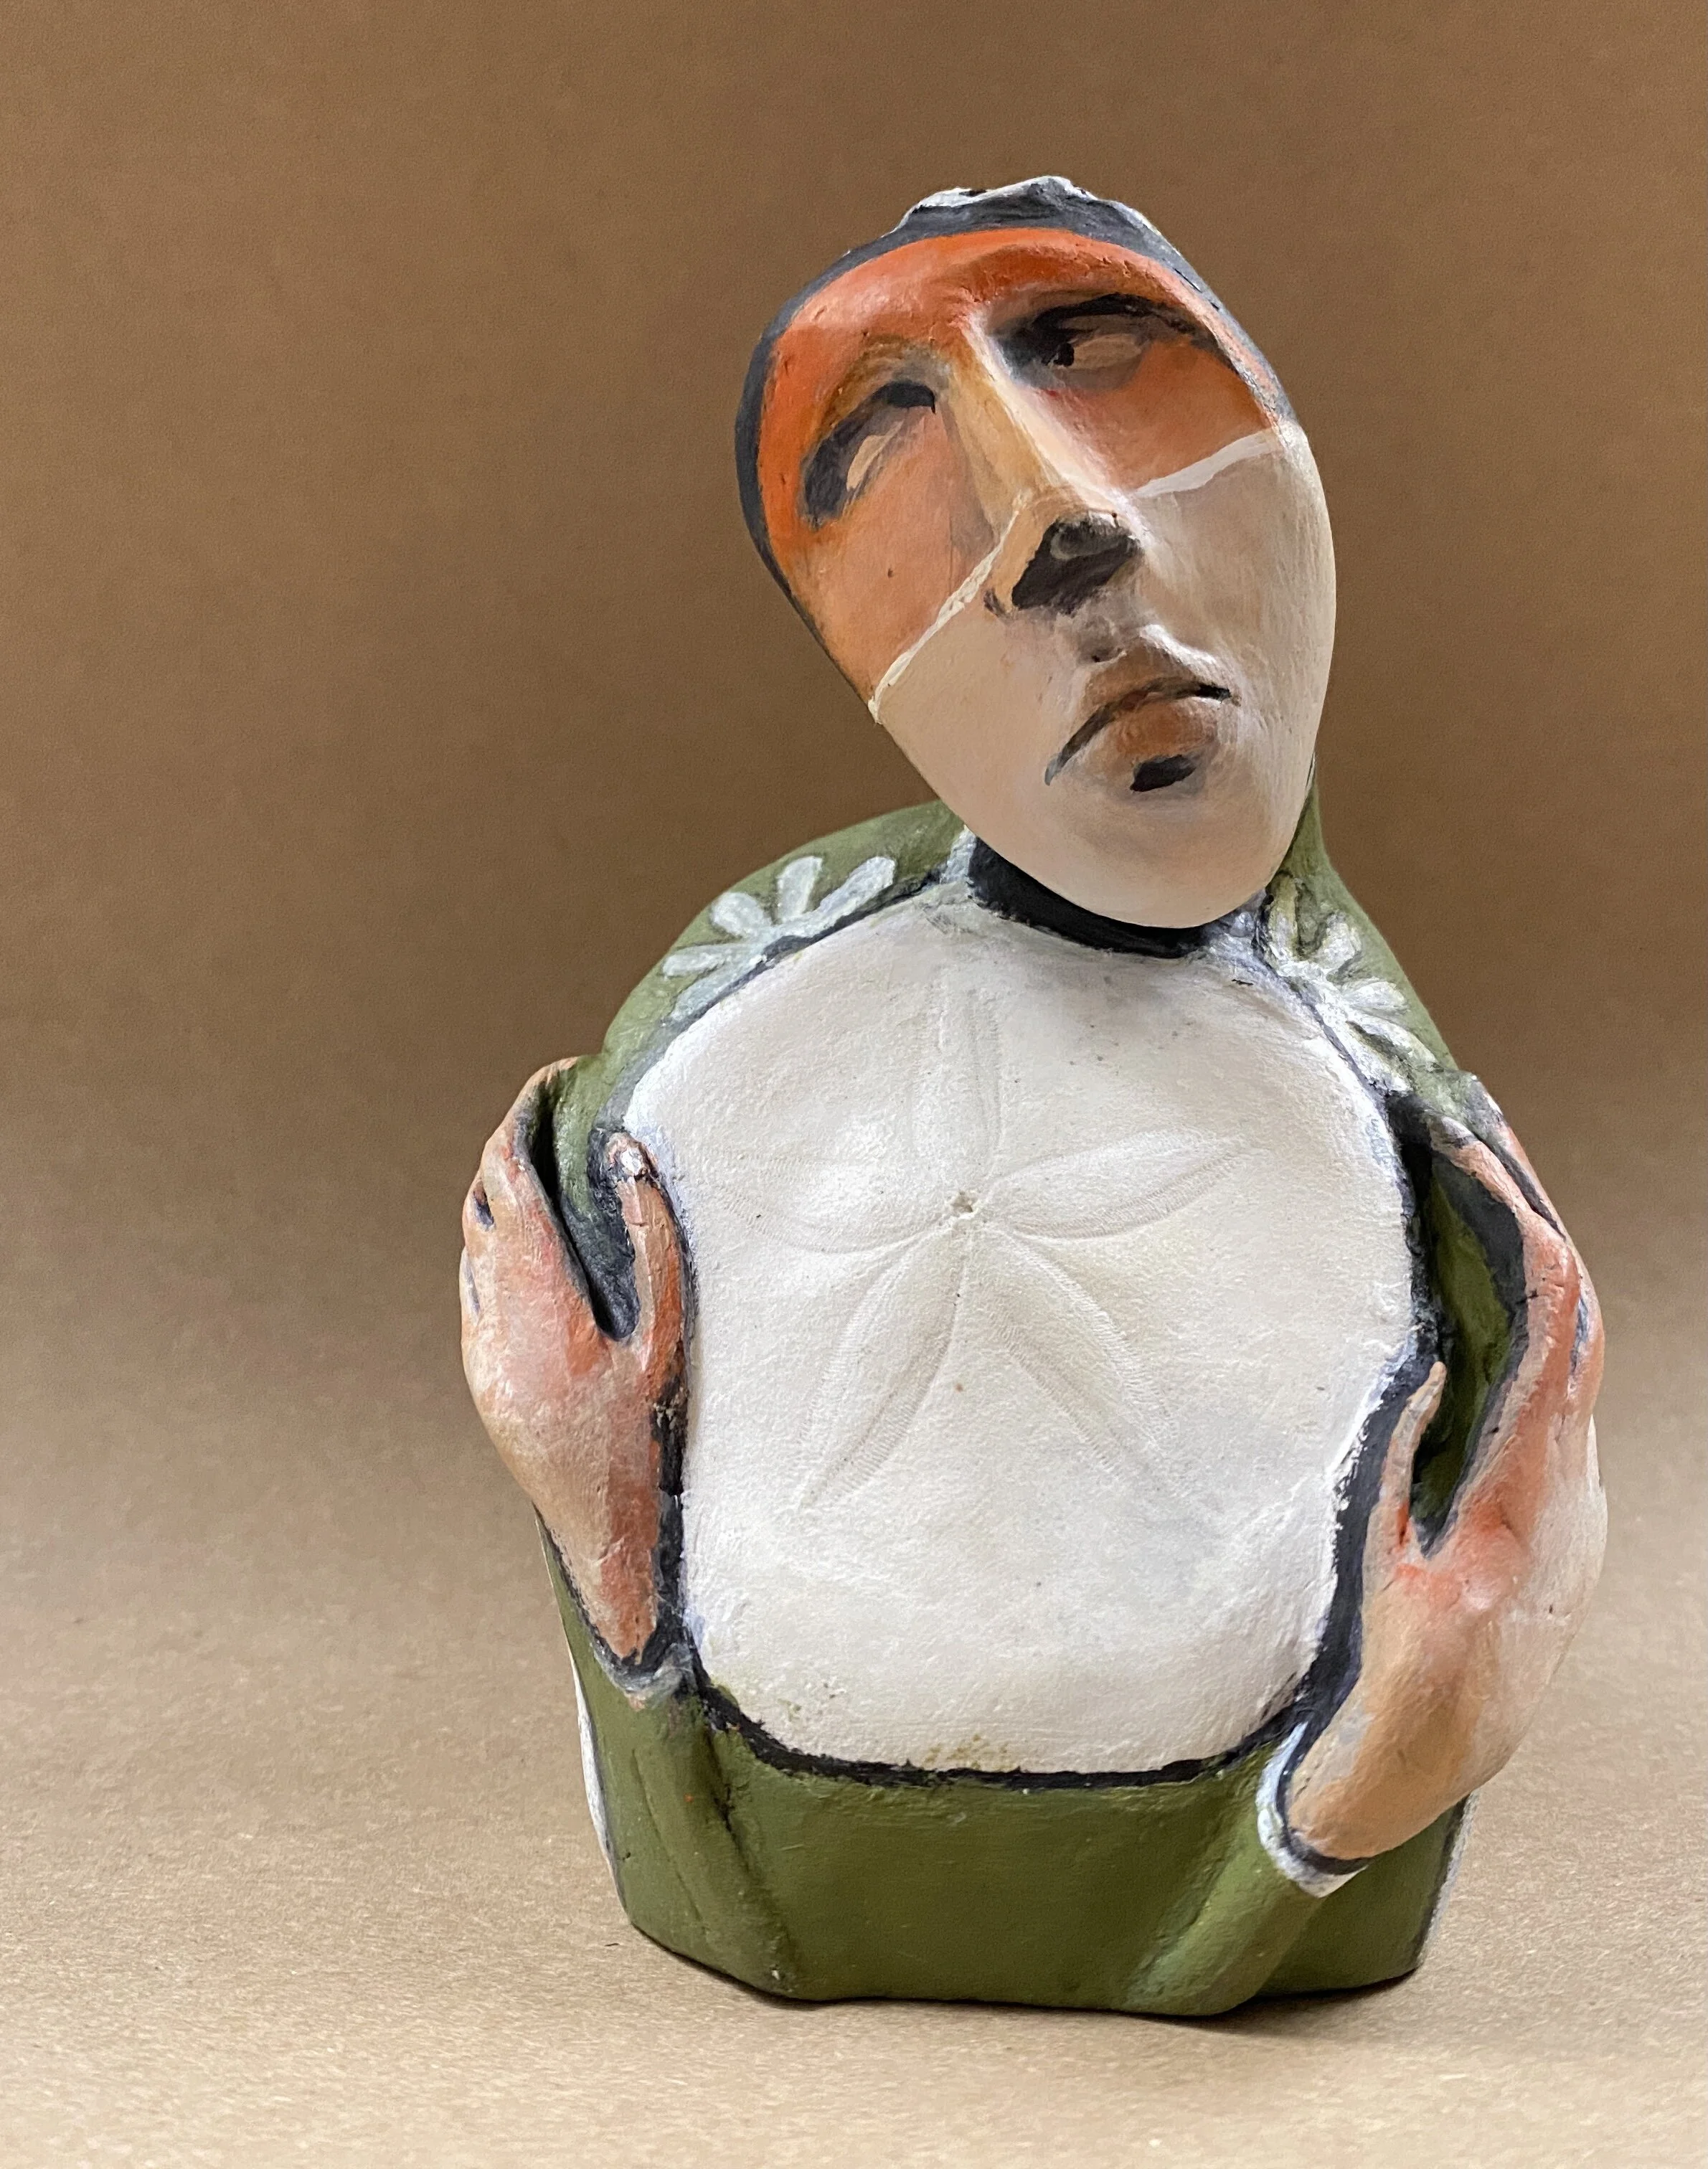

Colors / Paint I used:-
Titanium White (Golden)
Paynes Grey (Systems 3)
Cadmium Scarlet Hue (System 3)
Portrait Pink (Systems 3)
Yellow Ochre (Amsterdam)
Secret tools I used:
Olive Green Colorfix Primer (Art Spectrum)
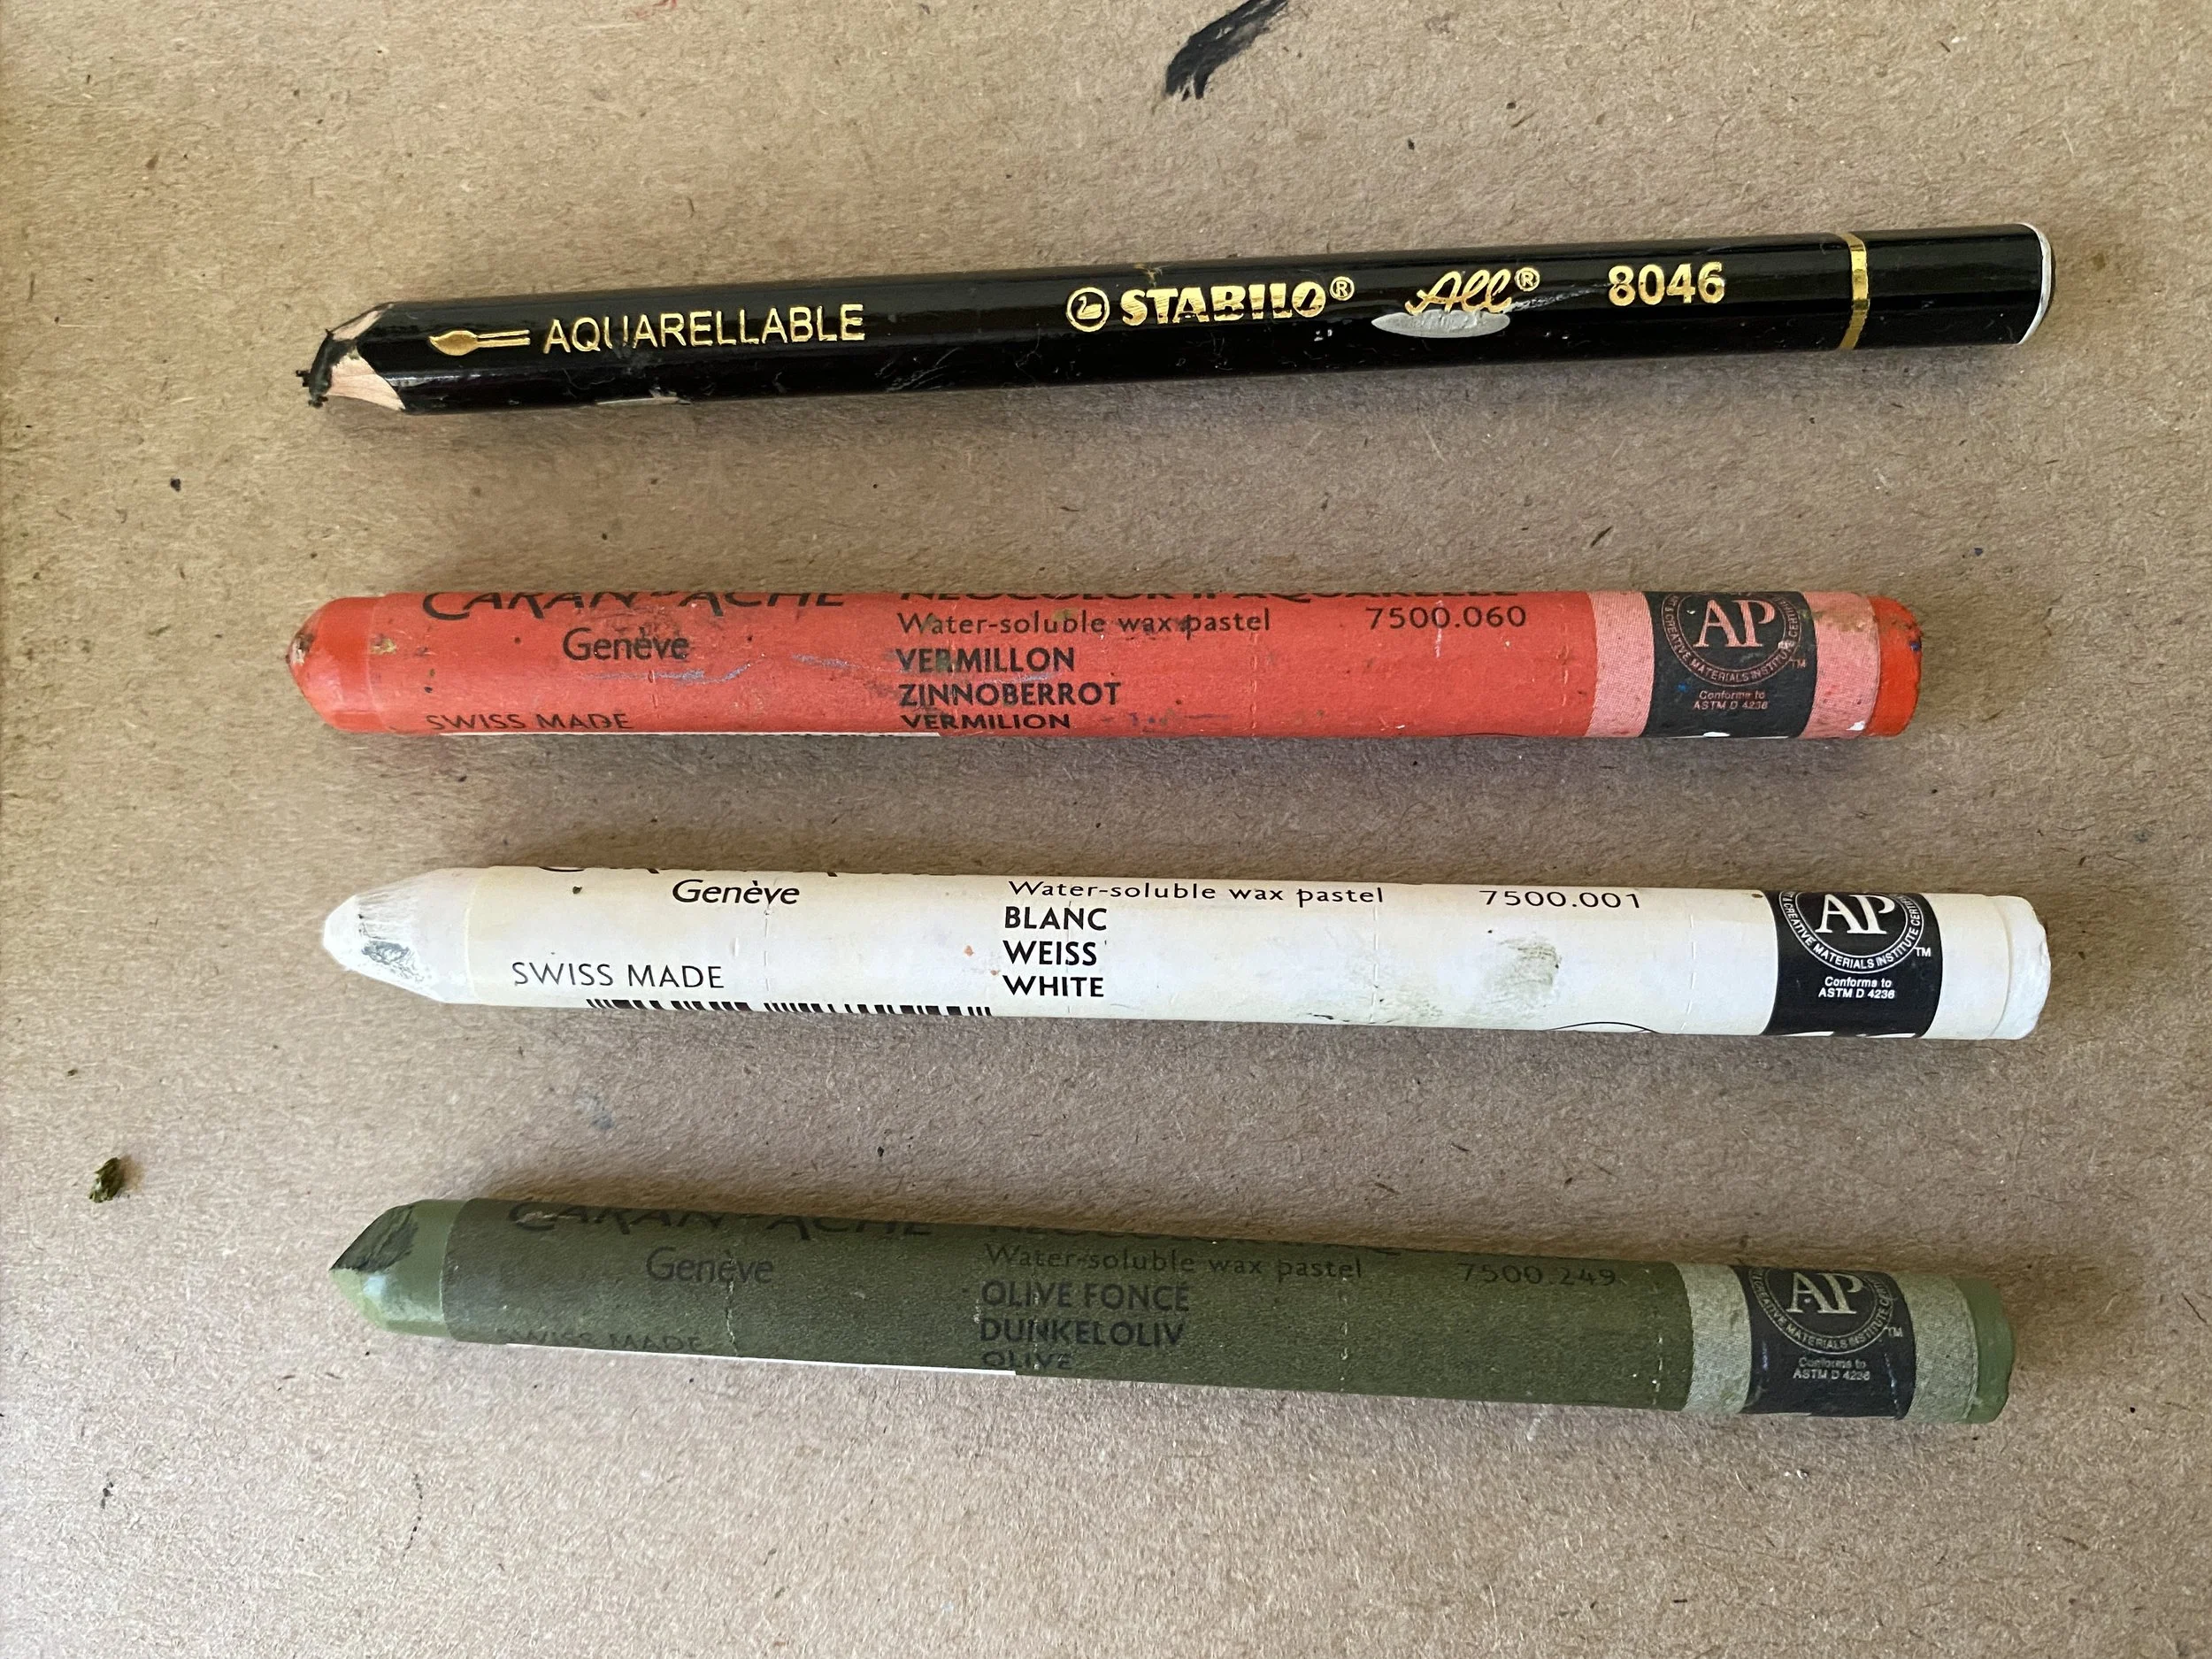
Olive Green Water-soluble Crayon (Neocolor)
Vermillon Water-soluble Crayon (Neocolor)
White Water-soluble Crayon (Neocolor)
Black Water-soluble pencil (Stabilo)

Lesson 3b - Painting The Protected - Part 1
Lesson 3c - Painting The Protected’s Expressive Hands
Lesson 3d - Painting The Protected - Final
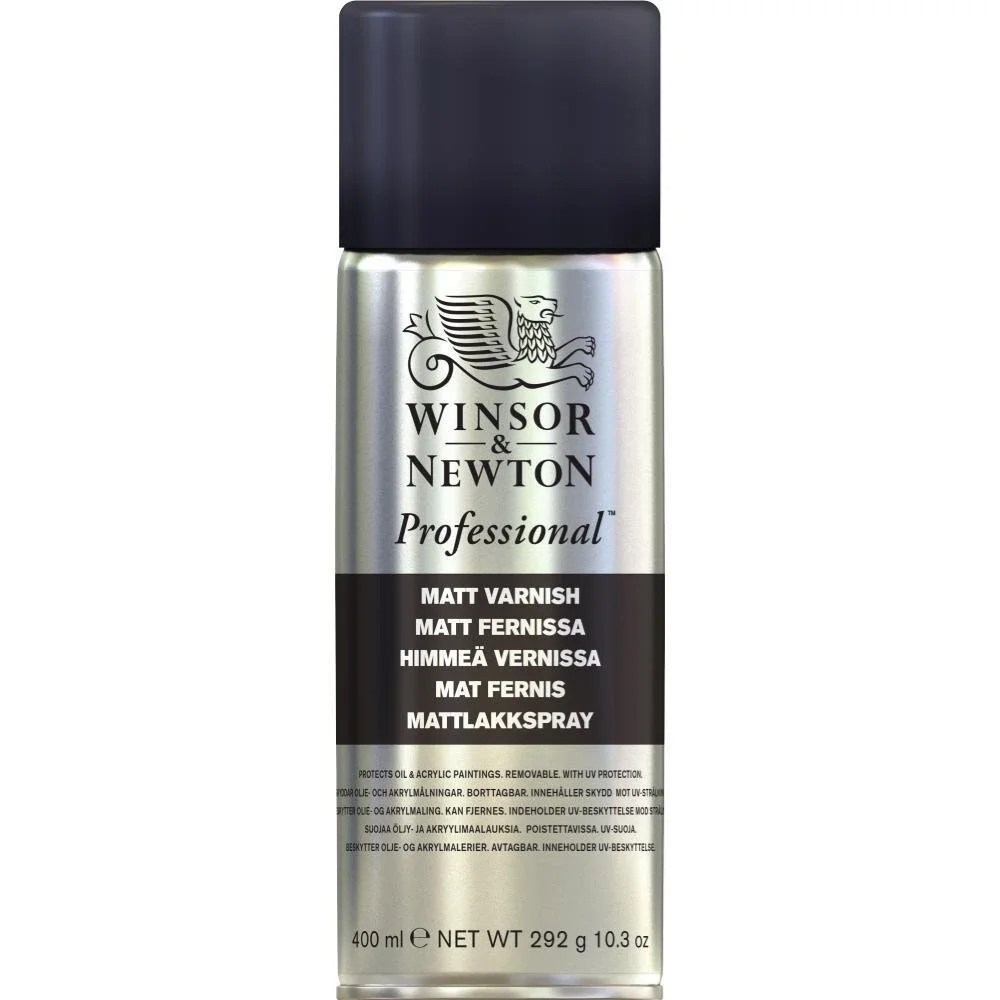
varnish time
It is time to varnish and seal off your clay work. I use a matt varnish spray. I find it mutes down any shine and the high intensity of some paint brands. I love this finish.
Allow your clay to be thoroughly dry first before spraying.
Spray in a well ventilated room and with a mask on.
Leave your varnished piece to dry thoroughly before moving.
Please use with caution and exercise extreme care.